

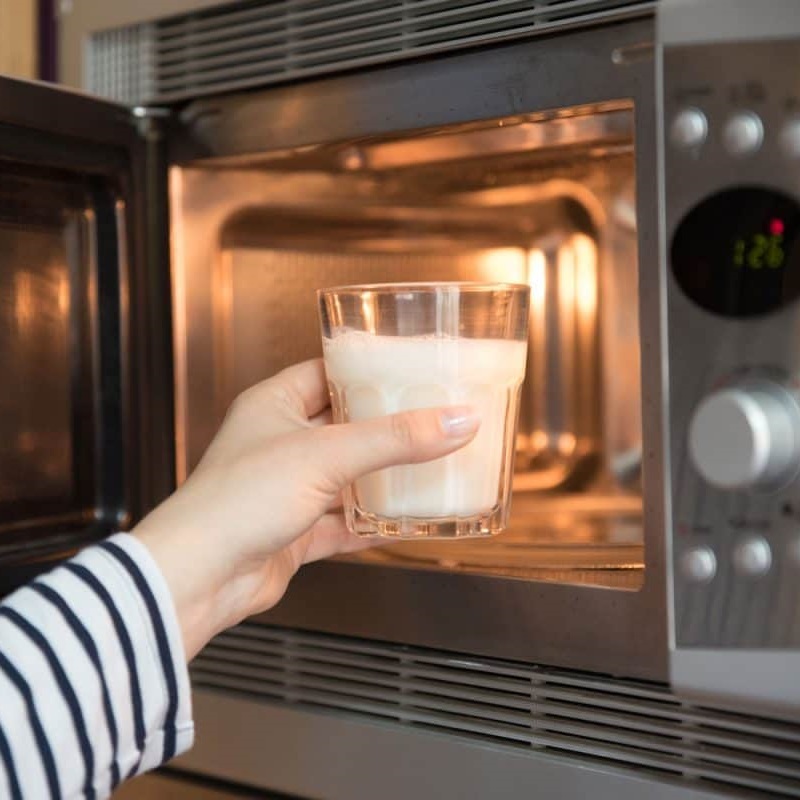
Warming milk in the microwave is a convenient way to prepare it for various uses, whether it’s for a comforting hot drink, a cooking recipe, or a bowl of cereal. However, the question of “how long to microwave milk” can be tricky to answer without specifics. Factors such as the amount of milk, the starting temperature, and the power of your microwave all play crucial roles. Understanding the right method can ensure that your milk is heated evenly and safely, avoiding scalded or unevenly warmed milk. Let’s dive into the details to perfect the art of microwaving milk.
Basic Timing Guidelines
When determining how long to microwave milk, starting with a basic guideline is helpful. For a standard cup (250 ml) of milk, the recommended time in a microwave set on high power is typically around one to one and a half minutes. This guideline assumes that the milk is at refrigerator temperature (~40°F or 4°C) before starting.
For smaller amounts, like half a cup, start with 30 to 45 seconds. Conversely, for larger quantities such as two cups, you might need around two to two and a half minutes. Always stir the milk halfway through the heating process to ensure even warming and prevent hot spots.
Stirring and Even Heating
Stirring is a critical step in microwaving milk to avoid the formation of skin on the surface and ensure even heating. Microwaves heat unevenly, creating hot spots that can lead to scalding if the milk isn’t stirred. Begin by microwaving the milk for half the suggested time, then give it a good stir.
For example, if you’re heating a cup of milk for one minute, microwave it for 30 seconds, stir thoroughly, then continue for another 30 seconds. This practice helps distribute the heat evenly and keeps the milk’s temperature consistent throughout.
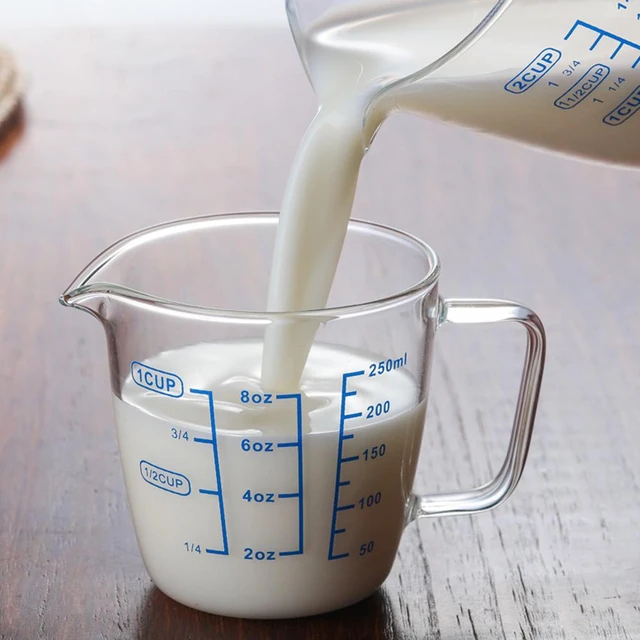
Using Suitable Containers
Choosing the right container is essential when microwaving milk. Use microwave-safe glass or ceramic containers, as these materials distribute heat more evenly compared to plastic or metal. Avoid using containers with metallic finishes, which can cause sparks or damage the microwave.
Glass measuring cups are a good choice because they are resistant to heat and make it easy to measure precise amounts of milk. Pour the milk halfway up the container to prevent spills as milk tends to bubble and rise when heated. Using the proper container ensures safety and efficiency.
Monitoring Temperature
To achieve the desired warmth without overheating, it’s crucial to monitor the milk’s temperature. The ideal temperature for warmed milk is around 150°F (65°C), which is pleasantly warm but not scalding. You can use a kitchen thermometer to measure the temperature directly, ensuring it’s within a safe range.
If you don’t have a thermometer, relying on touch is a practical alternative. Gently dip a clean finger into the milk to test its warmth. It should feel warm but not hot to the touch. Monitoring the temperature prevents overheating and retains the milk’s quality.
Preventing Scalding
Scalding is a common issue when microwaving milk. It not only changes the flavor but also ruins the texture. To avoid scalding, never microwave milk on the highest power setting for extended periods. Use a medium or medium-high setting instead.
Heating the milk in short intervals, such as 30-second increments, and stirring in between each interval helps prevent the temperature from rising too quickly. For example, for a cup of milk, microwave it in 30-second bursts, stirring each time to keep the heat distributed evenly. This methodical approach reduces the risk of scalding.
Adjusting for Different Milk Types
Different types of milk, such as whole, skim, almond, soy, or oat milk, may require slight adjustments in heating times. Whole milk has a higher fat content and may take slightly longer to heat compared to skim milk. Non-dairy milk alternatives also vary in consistency and composition, impacting their microwave heating time.
As a general rule, start with the basic guidelines, and adjust accordingly based on the type of milk you’re using. For example, almond milk may heat quicker due to its thinner consistency, so begin with shorter intervals and adjust as needed. Flexibility in timing ensures optimal results for various milk types.
Perfecting Hot Drinks
Microwaving milk for hot drinks like hot chocolate, lattes, or even a simple warm milk nightcap needs attention to detail for the best results. Begin by measuring the milk into a microwave-safe mug and follow the general heating instructions, ensuring to stir halfway through to even out the temperature.
For hot chocolate, you might want to microwave the milk until it’s steaming, then add cocoa or a hot chocolate mix. Stir thoroughly to blend the ingredients well. The same goes for lattes, where frothing the milk after microwaving can give it the perfect creamy texture. Perfecting the microwave technique enhances the quality of your hot drinks.
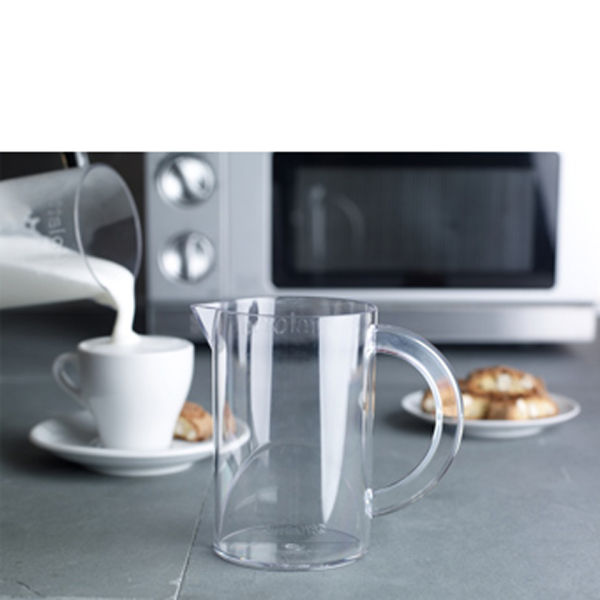
Using Microwave Milk Warmers
Specialty microwave milk warmers and frothers are available on the market, designed to heat milk evenly and often froth it simultaneously. These devices can be especially useful for making coffee drinks like lattes and cappuccinos at home.
Follow the manufacturer’s instructions for your specific device, which usually involves filling it with milk and setting the timer according to your desired temperature. These gadgets take the guesswork out of microwaving milk and provide consistent, high-quality results. Investing in a milk warmer can simplify your process if you frequently heat milk.
Ensuring Safe Practices
Safety is paramount when microwaving milk. Never leave the microwave unattended while heating, as milk can quickly bubble over, creating a mess and a potential hazard. Using a microwave cover can help contain splatters and spills, keeping your microwave clean.
Additionally, let the container rest for a few seconds after microwaving before removing it, as sudden movements can cause hot milk to spill. Always use oven mitts or a kitchen towel to handle the hot container, as microwave-safe vessels can still become very warm. Following these safety practices prevents accidents and ensures smooth operation.
Enhancing Flavor
Microwaving milk provides an excellent opportunity to infuse it with flavors. Consider adding a sprinkle of cinnamon, a dash of vanilla extract, or a bit of honey before microwaving. These additions can enhance the taste and make your warm milk even more enjoyable.
Stir any added flavorings well to distribute them evenly throughout the milk. This method works especially well for hot drinks or recipes that benefit from a touch of extra flavor. Experimenting with different flavors adds variety and excitement to your daily cup of warm milk.
 Using Milk in Cooking
Many recipes require warm milk, from baking to making sauces. Microwaving milk for cooking purposes follows the same principles but often involves larger quantities. Always measure the milk according to the recipe, and heat it gradually to avoid exceeding the desired temperature.
For recipes like béchamel sauce or custards, gently heating the milk in the microwave ensures it incorporates smoothly without causing the recipe to curdle. Following careful microwaving techniques ensures that the milk enhances your recipes without causing complications. Proper preparation in the microwave simplifies your cooking process.
Reheating Leftover Milk
Sometimes you may need to reheat leftover milk rather than starting with a fresh cup. Reheating follows similar guidelines, but it often requires less time since the milk is already partially warmed. Begin with shorter intervals, such as 20-30 seconds, stirring each time until it reaches the desired temperature.
Monitoring and stirring are crucial when reheating to ensure the milk doesn’t scorch or develop an off-putting skin on the surface. Proper reheating techniques make leftover milk just as delicious and well-integrated as freshly warmed milk. Paying attention to these details maintains the milk’s quality.
Avoiding Common Mistakes
Common pitfalls include overheating, not stirring, and using inappropriate containers. Overheated milk can develop an unpleasant taste and texture, while not stirring leads to uneven heating. Using non-microwave-safe containers can cause safety hazards and affect the milk’s quality.
By following the outlined tips—stirring frequently, using the right containers, and heating in short intervals—you minimize these risks and ensure a pleasant microwaving experience. Avoiding common mistakes leads to consistently well-warmed milk. Attention to detail helps achieve perfect results every time.
Conclusion: Mastering Microwaving Milk
In conclusion, the question of “how long to microwave milk” involves understanding basic timing, monitoring temperature, stirring frequently, and using the right containers. Adjusting for different types of milk and specific uses can refine your approach. By following these guidelines, you ensure evenly heated milk with minimal risk of scalding. Whether you’re preparing a comforting hot drink or warming milk for a recipe, these techniques make the process efficient and successful. Mastering the art of microwaving milk brings convenience and enjoyment to your daily routine.