
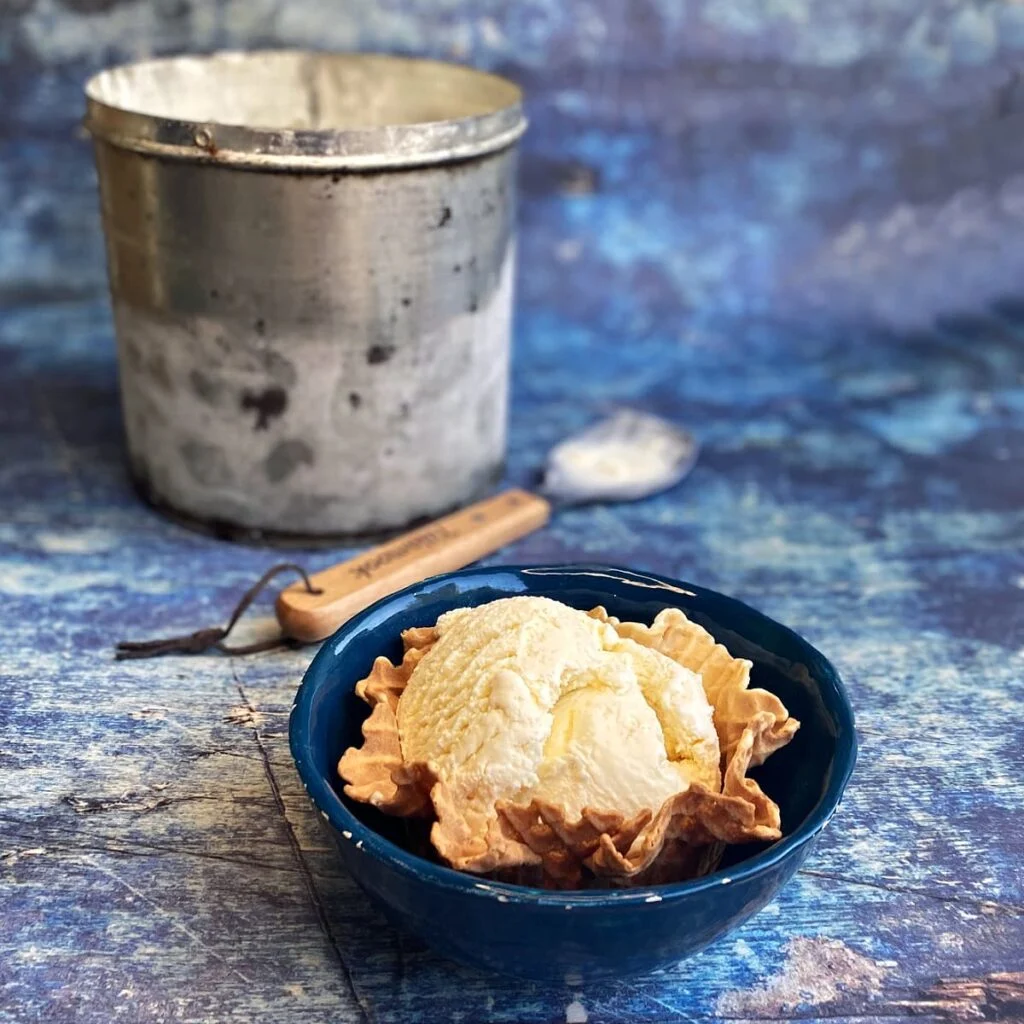
Creating the perfect scoop of ice cream at home is a delightful and rewarding experience, especially when using an ice cream maker. Whether you’re a seasoned ice cream aficionado or a beginner eager to explore the frozen treat world, this homemade ice cream recipe for ice cream maker enthusiasts will guide you through each step to achieve creamy, delicious results every time.
Why Choose a Homemade Ice Cream Recipe for Your Ice Cream Maker?
Embarking on the journey of making ice cream at home offers numerous advantages over store-bought versions. Not only can you control the ingredients and tailor flavors to your liking, but using an ice cream maker also ensures a smoother and more consistent texture. Additionally, homemade ice cream provides the flexibility to experiment with unique flavor combinations, dietary preferences, and seasonal ingredients, making it a versatile dessert option for any occasion.
The Benefits of Using an Ice Cream Maker
Investing in an ice cream maker brings several benefits to your homemade dessert endeavors. Firstly, it automates the churning process, preventing ice crystals from forming and resulting in a creamier texture. Secondly, it allows you to customize your ice cream recipes precisely, whether you’re adjusting sweetness levels, experimenting with dairy alternatives, or incorporating mix-ins like nuts, fruits, and chocolates. Lastly, making ice cream at home can be a fun and engaging activity for families and friends, fostering creativity and teamwork in the kitchen.
Essential Ingredients for a Perfect Homemade Ice Cream Recipe for Ice Cream Maker
Crafting the ideal homemade ice cream involves selecting high-quality ingredients that contribute to the overall flavor and texture. Here’s a breakdown of the essential components you’ll need:
Dairy Base: Milk and Cream
The foundation of any ice cream recipe lies in its dairy content. A combination of whole milk and heavy cream provides the richness and creaminess essential for smooth ice cream. Whole milk offers a balanced flavor and body, while heavy cream adds the necessary fat content to prevent ice crystallization and enhance the mouthfeel.
Sweeteners: Sugar and Alternatives
Sugar not only sweetens your ice cream but also plays a crucial role in its texture by lowering the freezing point. Granulated sugar is commonly used, but alternatives like honey, maple syrup, or agave nectar can be incorporated for unique flavor profiles. For those seeking a lower-sugar option, artificial sweeteners or natural substitutes like stevia are viable choices, though they may slightly alter the texture.
Egg Yolks: Creating a Custard Base (Optional)
While not mandatory, adding egg yolks to your homemade ice cream recipe creates a custard base that enhances richness and stability. Egg yolks act as emulsifiers, preventing fat separation and contributing to a smoother texture. If you prefer a lighter and quicker option, you can omit the egg yolks and still achieve satisfactory results.
Flavorings and Mix-Ins: Personalizing Your Ice Cream
The possibilities for flavoring your homemade ice cream are endless. Vanilla extract is a classic choice, but experimenting with other extracts like almond, mint, or coffee can add depth to your creations. Fresh fruits, chocolate chips, nuts, caramel swirls, and cookie chunks are popular mix-ins that infuse your ice cream with exciting textures and flavors. Remember to prepare and incorporate mix-ins appropriately to ensure even distribution without overpowering the base flavor.
Step-by-Step Guide to Crafting Your Homemade Ice Cream
Creating your own ice cream is a straightforward process that involves preparing the base, chilling it thoroughly, and then using your ice cream maker to achieve the perfect consistency. Follow these detailed steps to craft a delectable batch of homemade ice cream.
1. Preparing the Ice Cream Base
Start by combining your primary ingredients in a saucepan. If using egg yolks, whisk them with sugar until the mixture becomes pale and creamy. Gradually add milk and heavy cream, stirring constantly to prevent the eggs from curdling. Heat the mixture over medium heat, stirring continuously until it thickens slightly and reaches about 170°F (77°C). This ensures that any potential pathogens are killed and the custard base is smooth.
For a non-custard version, simply heat the milk and cream with sugar until the sugar is fully dissolved, and then remove from heat. This alternative method reduces preparation time while still delivering a creamy end product.
2. Infusing Flavors
Once the base is prepared, it’s time to infuse your chosen flavors. Stir in your preferred extracts or zests to enhance the ice cream’s profile. If adding solid ingredients like cocoa powder or instant coffee, ensure they are fully dissolved to avoid graininess. Allow the mixture to cool slightly before proceeding to the next step.
3. Chilling the Mixture
To achieve the best texture, the ice cream base must be thoroughly chilled before churning. Transfer the mixture to a container and refrigerate for at least 4 hours, preferably overnight. Chilling not only enhances the flavors but also ensures that the ice cream maker works efficiently without overloading or freezing unevenly.
4. Churning in the Ice Cream Maker
Once chilled, pour the mixture into your ice cream maker. Follow the manufacturer’s instructions regarding machine settings and processing times. Typically, the ice cream maker will churn the base for about 20-30 minutes, transforming it from a liquid to a creamy, soft-serve consistency. It’s during this stage that you can add any pre-prepared mix-ins, such as chopped nuts or chocolate chunks, ensuring they are evenly distributed without overwhelming the base.
5. Freezing to Perfection
After churning, the ice cream will have a soft consistency. For a firmer texture, transfer it to an airtight container and place it in the freezer for an additional 2-4 hours. This step allows the flavors to meld and the ice cream to set properly, making it ready to serve at the ideal scoopable consistency.
Versatile Flavor Ideas for Your Homemade Ice Cream
Exploring various flavor combinations can elevate your homemade ice cream experience. Here are some creative and classic ideas to inspire your next batch:
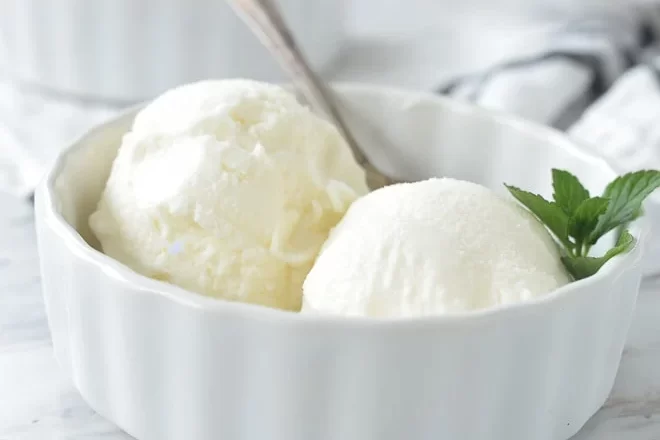
Classic Vanilla Bean
A timeless favorite, vanilla bean ice cream is simple yet elegant. Use high-quality vanilla beans, splitting them and scraping the seeds into the base for an intense, aromatic flavor that shines through every scoop.
Rich Chocolate Fudge Swirl
Blend cocoa powder into your base and add swirls of homemade fudge during the churning process. The result is a decadent chocolate ice cream with ribbons of gooey fudge that provide delightful bursts of sweetness.
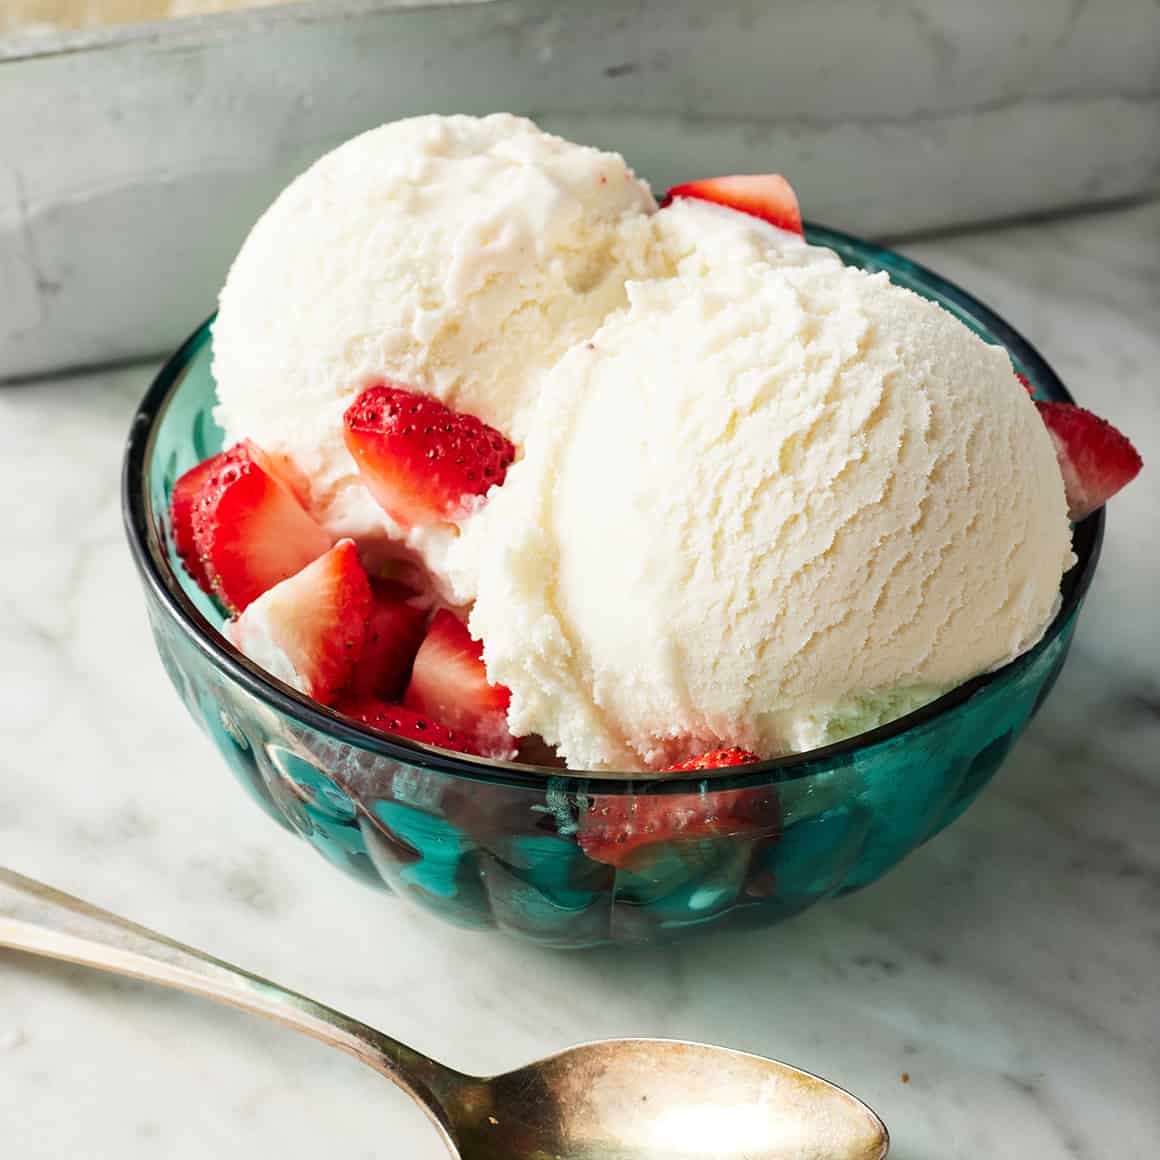
Strawberry Cheesecake Delight
Incorporate fresh strawberries into your base and add chunks of cheesecake pieces and graham cracker crumbs as mix-ins. This combination offers the creamy tang of cheesecake balanced with the freshness of strawberries and the crunch of graham crackers.
Mint Chocolate Chip
Enhance your base with peppermint extract and add chocolate chips during churning. The refreshing mint flavor paired with rich chocolate pieces creates a satisfying contrast that’s both invigorating and indulgent.
Salted Caramel Pretzel
Mix caramel sauce into your ice cream base and sprinkle in crushed pretzels for a sweet and salty treat. The salty crunch of pretzels complements the smooth, buttery caramel, resulting in a harmonious blend of flavors and textures.
Tips for Perfecting Your Homemade Ice Cream
Achieving the ideal homemade ice cream involves attention to detail and a few insider tips. Here are some strategies to enhance your ice cream-making process:
Use High-Quality Ingredients
The quality of your ingredients directly impacts the final product. Opt for fresh, high-quality dairy, pure extracts, and real mix-ins to ensure your ice cream is flavorful and rich. Avoid artificial flavorings and low-fat substitutes, as they can compromise both taste and texture.
Maintain Proper Temperature
Chilling your ice cream base thoroughly is crucial. Starting with a cold mixture reduces the time the ice cream maker needs to churn, leading to fewer ice crystals and a smoother texture. Additionally, ensure your ice cream maker’s bowl is adequately frozen as per the manufacturer’s instructions before use.
Prevent Over-Churning
While it might be tempting to let your ice cream maker run longer, over-churning can lead to a grainy texture as the mixture becomes too hard and loses its creaminess. Stop the machine as soon as the ice cream reaches a soft-serve consistency and transfer it to the freezer promptly.
Experiment with Mix-Ins
Be creative with your mix-ins, but avoid adding too many or using ingredients that don’t hold up well in the freezing process. Chopped nuts, chocolate chips, dried fruits, and cookie pieces are excellent choices. For a harmonious blend, add mix-ins in small batches throughout the churning process.
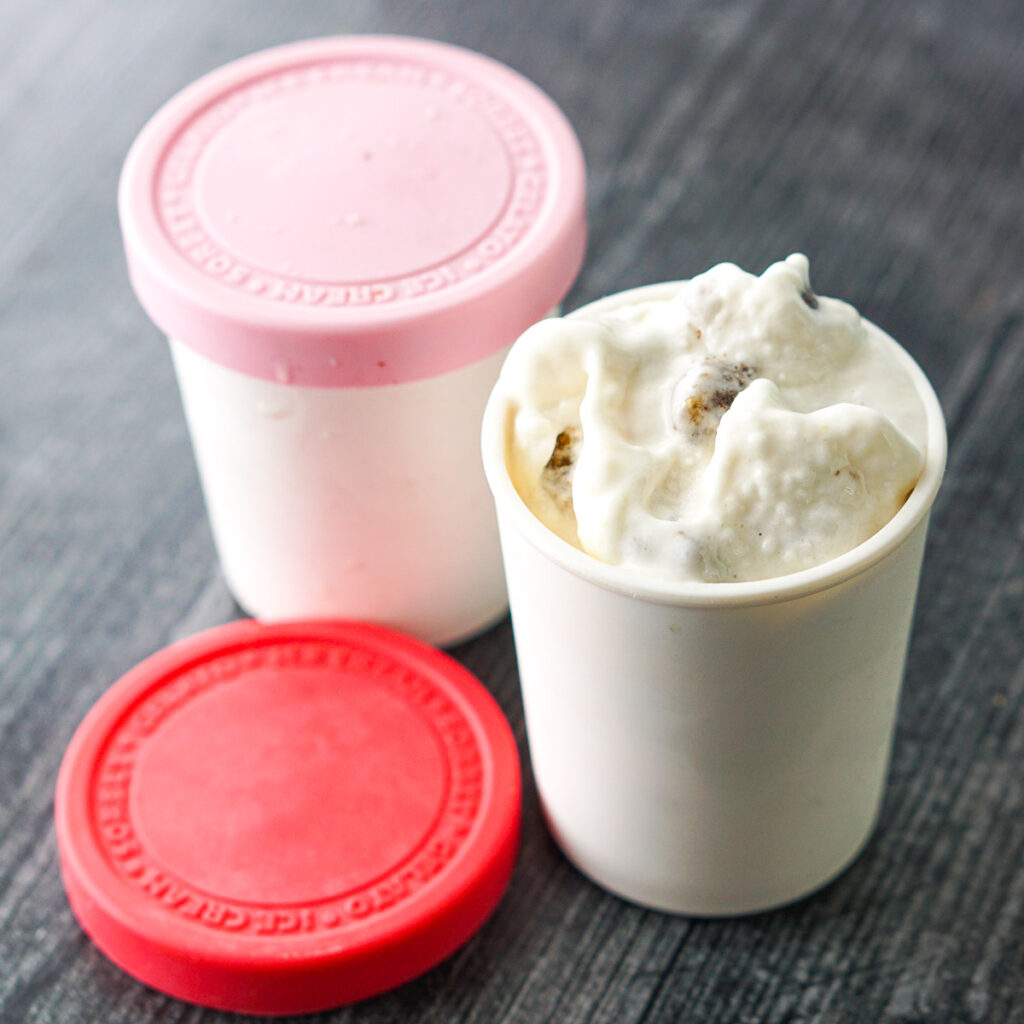
Store Properly
Proper storage ensures your homemade ice cream remains fresh and maintains its texture. Use an airtight container with a tight-fitting lid and press a piece of plastic wrap directly onto the surface of the ice cream before sealing. This minimizes air exposure, preventing ice crystal formation and preserving the ice cream’s creamy consistency.
Troubleshooting Common Challenges
Even with the best recipe and ingredients, you might encounter some common issues when making homemade ice cream. Here’s how to address them:
Ice Crystals Formation
Ice crystals can form if the base isn’t chilled sufficiently before churning or if the ice cream isn’t stored properly. Ensure you thoroughly chill the mixture for at least 4 hours and wrap the container tightly to prevent air from entering.
Runny Texture
A runny texture can result from under-churning or using too much liquid in the recipe. Follow the churning time recommended by your ice cream maker’s manufacturer and avoid adding excess liquids. If your ice cream is still runny after freezing, let it sit at room temperature for a few minutes before serving to soften slightly.
Grainy Consistency
Graininess often occurs due to over-churning or freezing the ice cream for too long. Keep a close eye on the churning process and transfer the ice cream to the freezer as soon as it reaches the desired softness. Additionally, using the correct ratio of fat and sugar can help prevent graininess.
Flavor Imbalance
A lack of balance in flavors can make your ice cream taste either too sweet, bland, or overpowering. Taste the base before churning and adjust the sweetness or flavorings as needed. Remember that flavors can intensify during freezing, so it’s better to err on the side of a slightly understated flavor when in doubt.
Enhancing Your Homemade Ice Cream Recipe for Ice Cream Maker with Unique Twists
To take your homemade ice cream recipe for ice cream maker to the next level, consider incorporating unique twists and innovative techniques. Here are some ideas to inspire your culinary creativity:
Infused Bases
Infuse your ice cream base with herbs, spices, or teas to add subtle yet intriguing flavors. For example, steeping basil or lavender in the milk and cream mixture can lend a sophisticated aroma and taste. Similarly, incorporating matcha powder can create a vibrant and healthful green tea ice cream.
Alcohol-Enhanced Flavors
Adding a small amount of alcohol, such as liqueurs or spirits, can enhance the depth of your ice cream flavors and prevent it from freezing too hard. Popular choices include Bailey’s Irish Cream for a boozy vanilla base or Kahlúa for a coffee-flavored ice cream.
Layered Ice Creams
Create visually stunning and flavor-diverse ice creams by layering different flavors. Pour a base flavor into the ice cream maker, freeze it slightly, then add a contrasting flavor layer before completing the churning process. This results in a marbled effect with distinct flavor profiles in each bite.
Vegan and Dairy-Free Options
For those with dietary restrictions or preferences, crafting vegan or dairy-free ice cream is entirely achievable. Substitute dairy milk and cream with almond milk, coconut milk, or cashew cream, and use natural sweeteners like agave or maple syrup. Additionally, incorporating aquafaba (the liquid from canned chickpeas) can help mimic the creaminess typically achieved with eggs.
Health-Conscious Variations
To make your ice cream more health-conscious, reduce sugar content by using natural sweeteners, incorporate protein powders for an added nutritional boost, or add superfoods like chia seeds and spirulina. These adjustments allow you to enjoy a guilt-free frozen treat without compromising on taste.
Serving and Storing for Ice Cream Maker Creations
Proper serving and storage techniques can enhance your homemade ice cream experience, ensuring it remains fresh and tasty.
Serving Tips
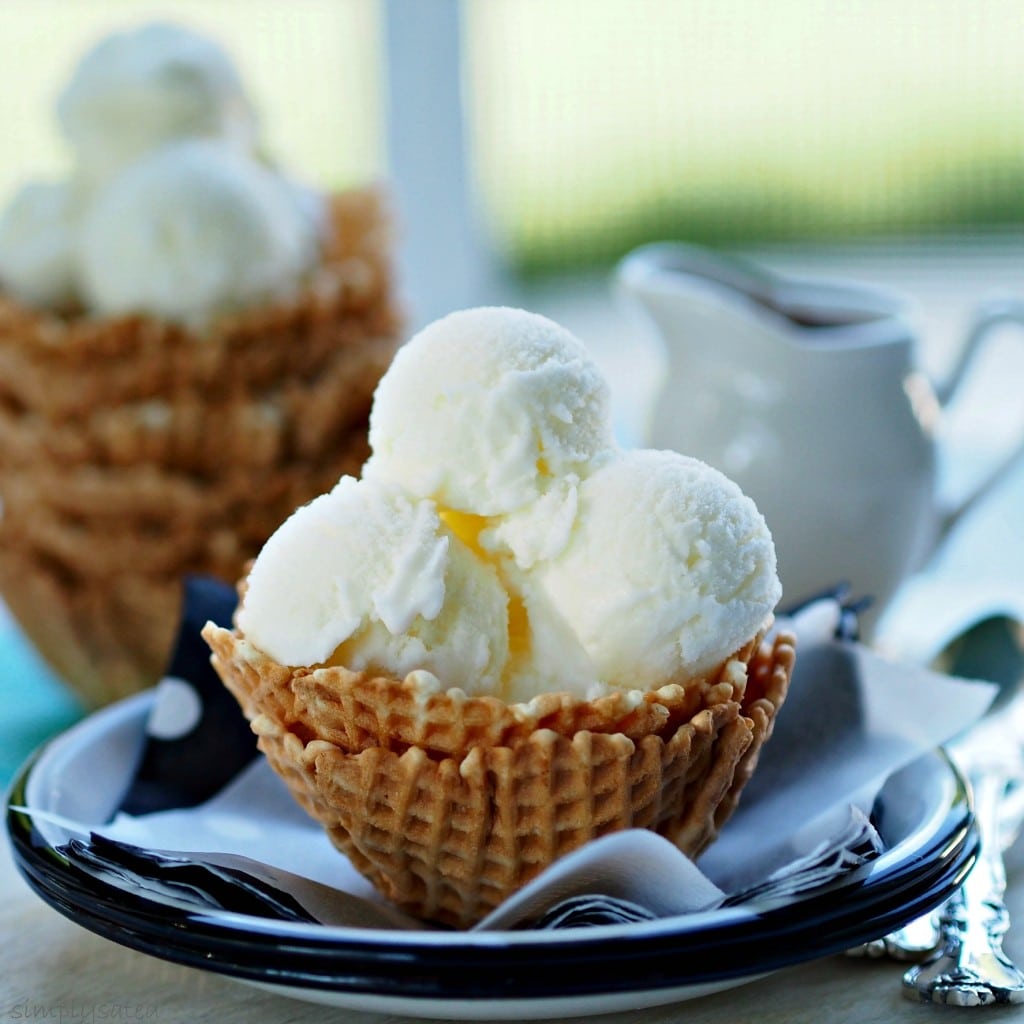
- Optimal Temperature: Serve your ice cream slightly softened for the best texture. Let it sit at room temperature for 5-10 minutes before scooping.
- Presentation: Use warm ice cream scoops to make scooping easier and to create smooth, elegant scoops. Consider garnishing with fresh fruits, sauces, or sprinkles to elevate the presentation.
- Pairing Suggestions: Complement your ice cream with desserts like warm brownies, pie, or fruit compotes. Pairing with beverages such as coffee or dessert wines can also enhance the overall tasting experience.
Storage Guidelines
- Airtight Containers: Always store ice cream in airtight containers to prevent absorption of odors and moisture, which can degrade the quality.
- Freezer Temperature: Maintain your freezer at a consistent temperature of 0°F (-18°C) to ensure the ice cream remains solid and creamy.
- Shelf Life: Homemade ice cream is best enjoyed within 2 weeks of making it. While it can be stored longer, the texture and flavor may begin to deteriorate over time.
Frequently Asked Questions
Can I make homemade ice cream without an ice cream maker?
Yes, homemade ice cream can be made without an ice cream maker by using methods like the freezer bag technique or by periodically stirring the mixture as it freezes. However, using an ice cream maker typically results in a smoother and creamier texture with fewer ice crystals.
How long does homemade ice cream last in the freezer?
Homemade ice cream can last up to 2 weeks in the freezer when stored properly in an airtight container. For the best taste and texture, it’s recommended to consume it within this timeframe.
Can I use alternative sweeteners in my homemade ice cream recipe?
Absolutely. You can substitute granulated sugar with alternatives like honey, maple syrup, agave nectar, or natural sweeteners like stevia. Keep in mind that the sweetness level and texture might vary slightly depending on the sweetener used.
Is it possible to make non-dairy ice cream with an ice cream maker?
Yes, you can make non-dairy ice cream using an ice cream maker by substituting dairy milk and cream with plant-based alternatives such as almond milk, coconut milk, or cashew cream. Ensure that the base is well-blended and properly chilled before churning for the best results.
Can I add alcohol to my ice cream recipe?
Yes, adding a small amount of alcohol, such as liqueurs or spirits, can enhance the flavor and prevent ice cream from freezing too hard. However, use alcohol sparingly, as too much can inhibit the freezing process and result in a runny texture.
 Conclusion
Embarking on the adventure of making homemade ice cream with your ice cream maker opens up a world of culinary possibilities. By following this comprehensive homemade ice cream recipe for ice cream maker enthusiasts, you can craft delectable, creamy ice cream tailored to your unique tastes and preferences. With high-quality ingredients, attention to detail, and a touch of creativity, your homemade ice cream will not only rival store-bought varieties but also offer the satisfaction of a personalized frozen treat made with love and care. So, gather your ingredients, fire up your ice cream maker, and indulge in the delightful experience of creating your own scrumptious ice cream at home.