

In today’s fast-paced world of advanced technology and instant gratification, there’s something undeniably charming about creating your own frozen delights using an old fashioned ice cream maker. This timeless appliance not only brings back nostalgic memories but also allows you to experiment with flavors and enjoy freshly made ice cream right at home. Whether you’re a seasoned dessert enthusiast or a curious beginner, an old fashioned ice cream maker can transform your kitchen into a delightful ice cream parlor.
How to Choose the Perfect Old Fashioned Ice Cream Maker
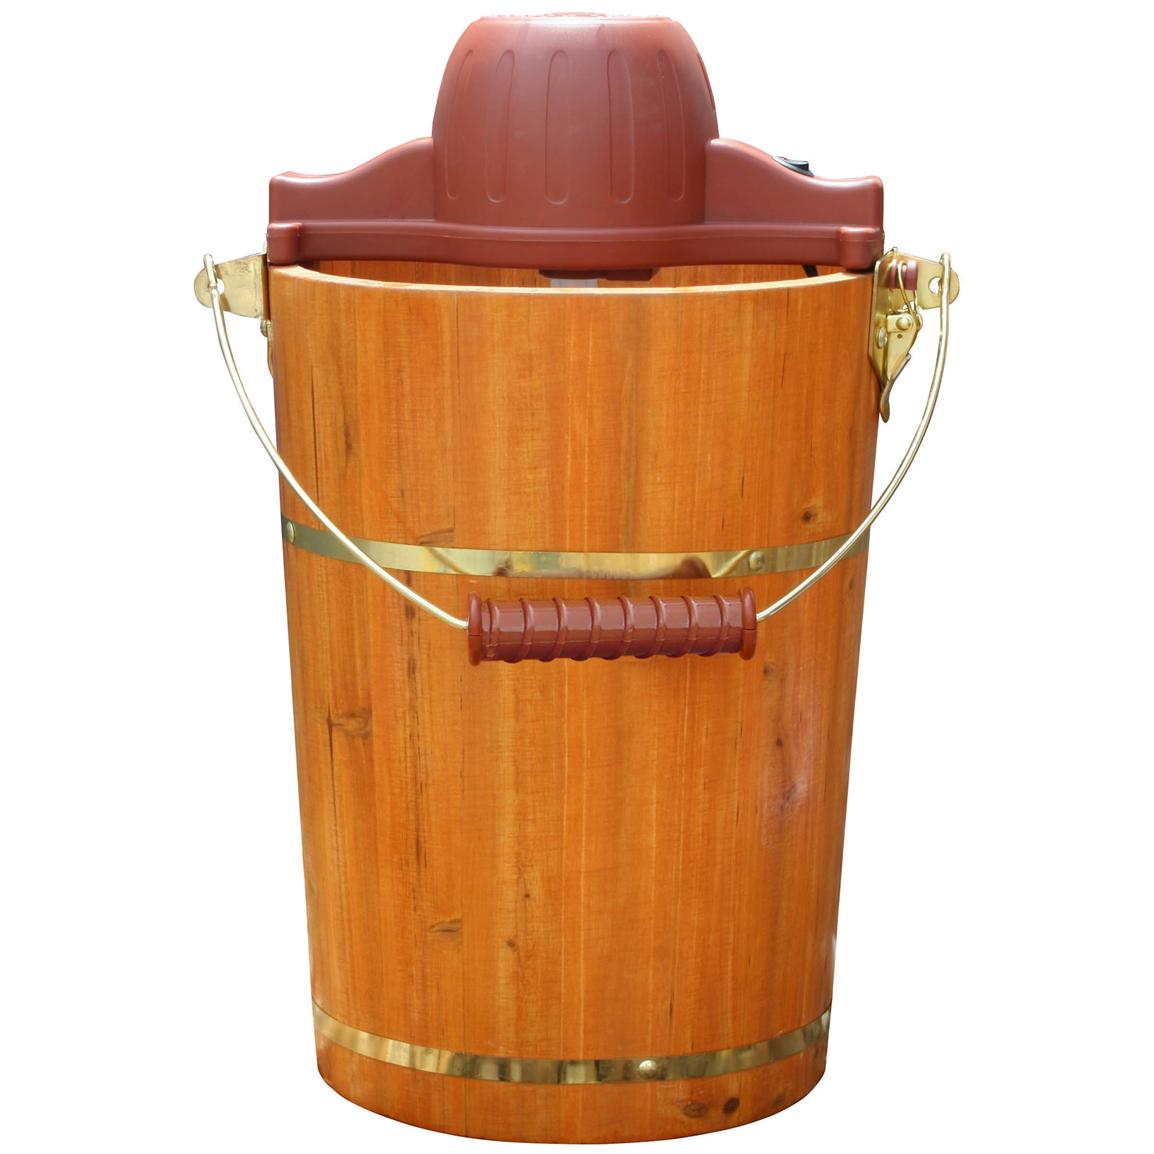
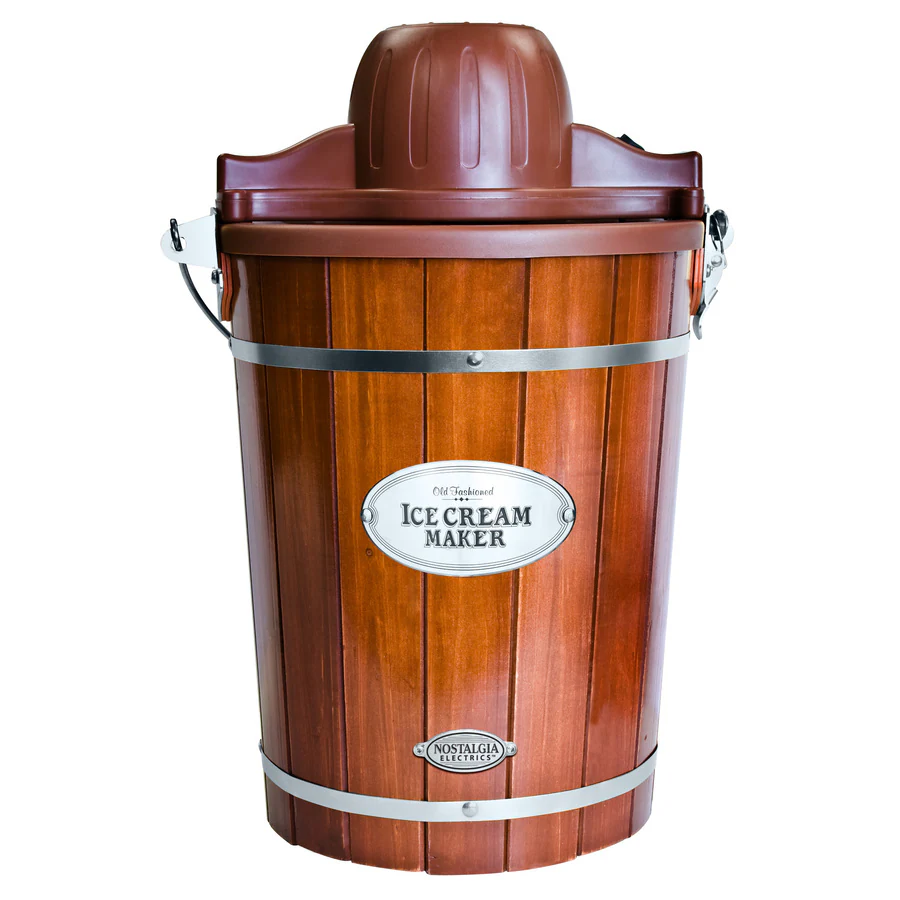
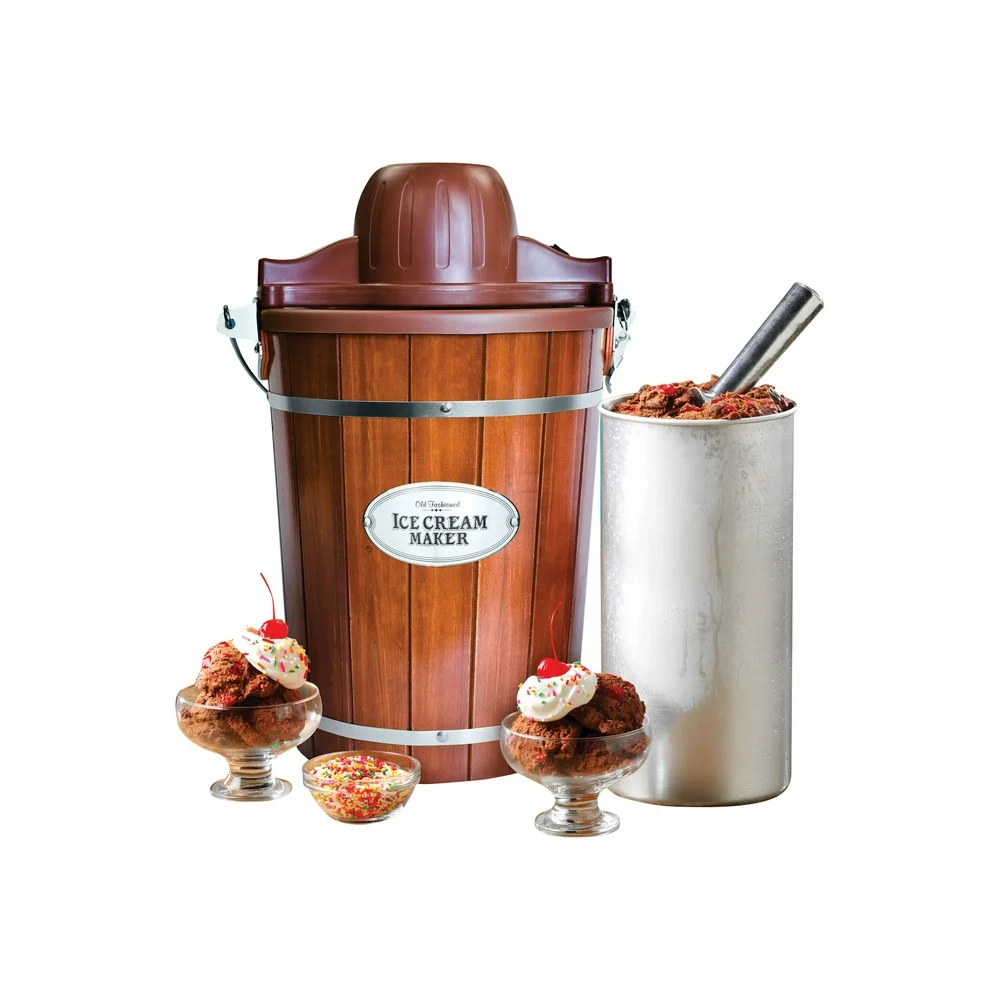
Understanding Different Types
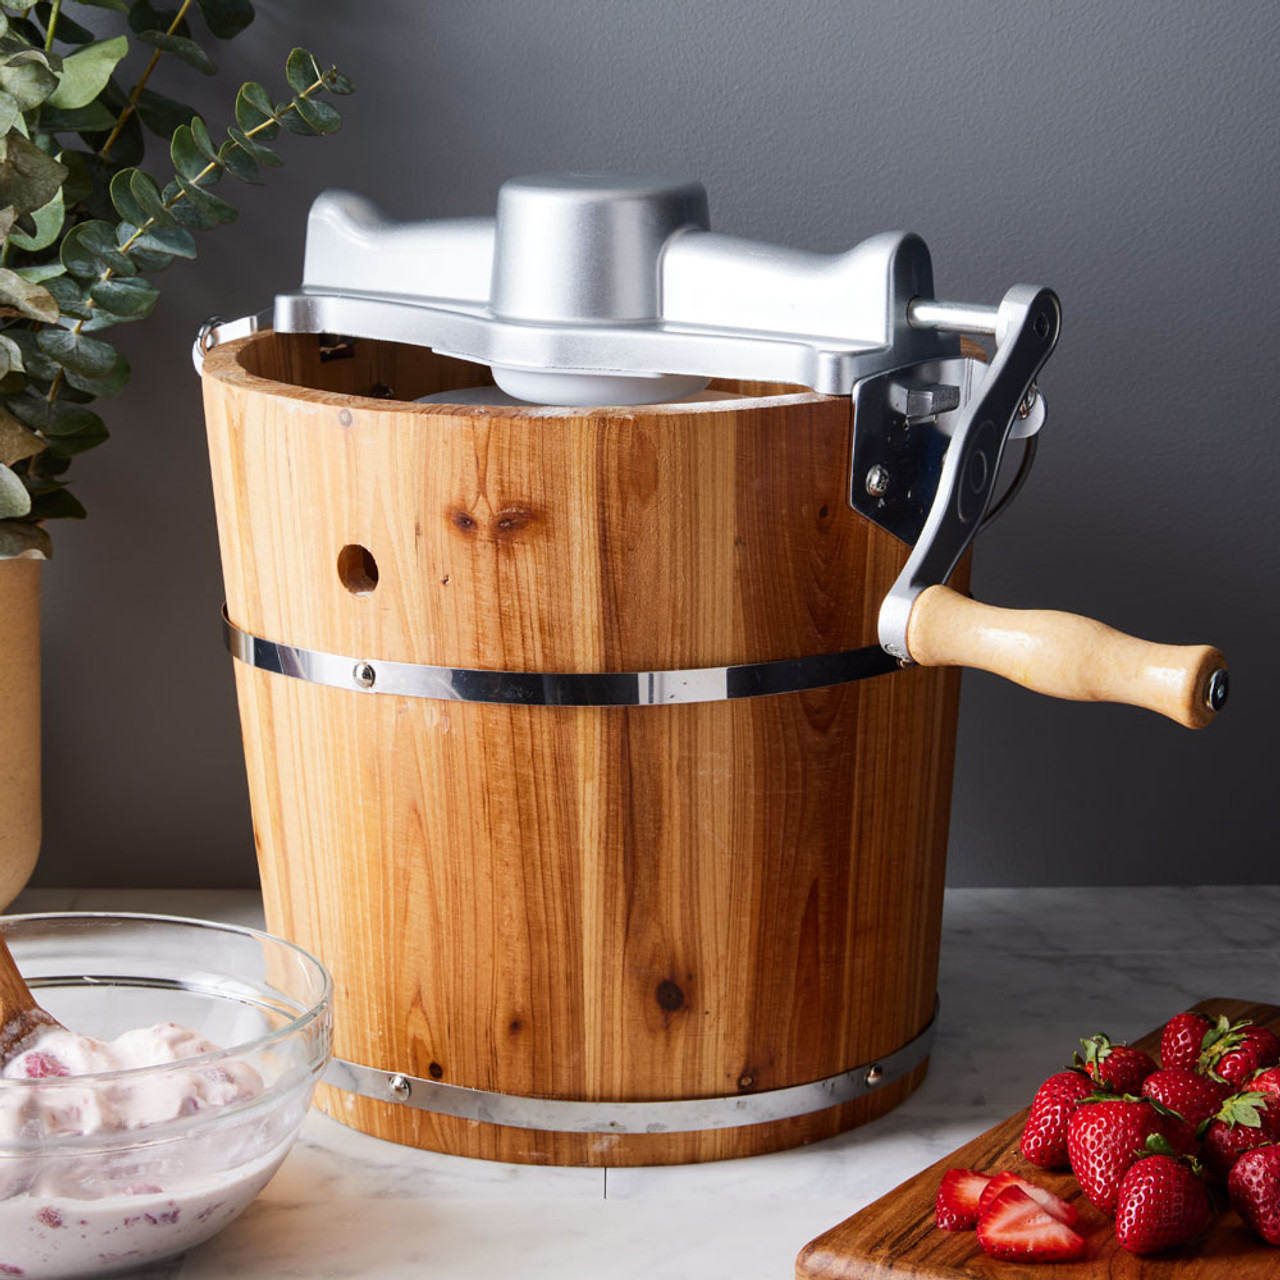
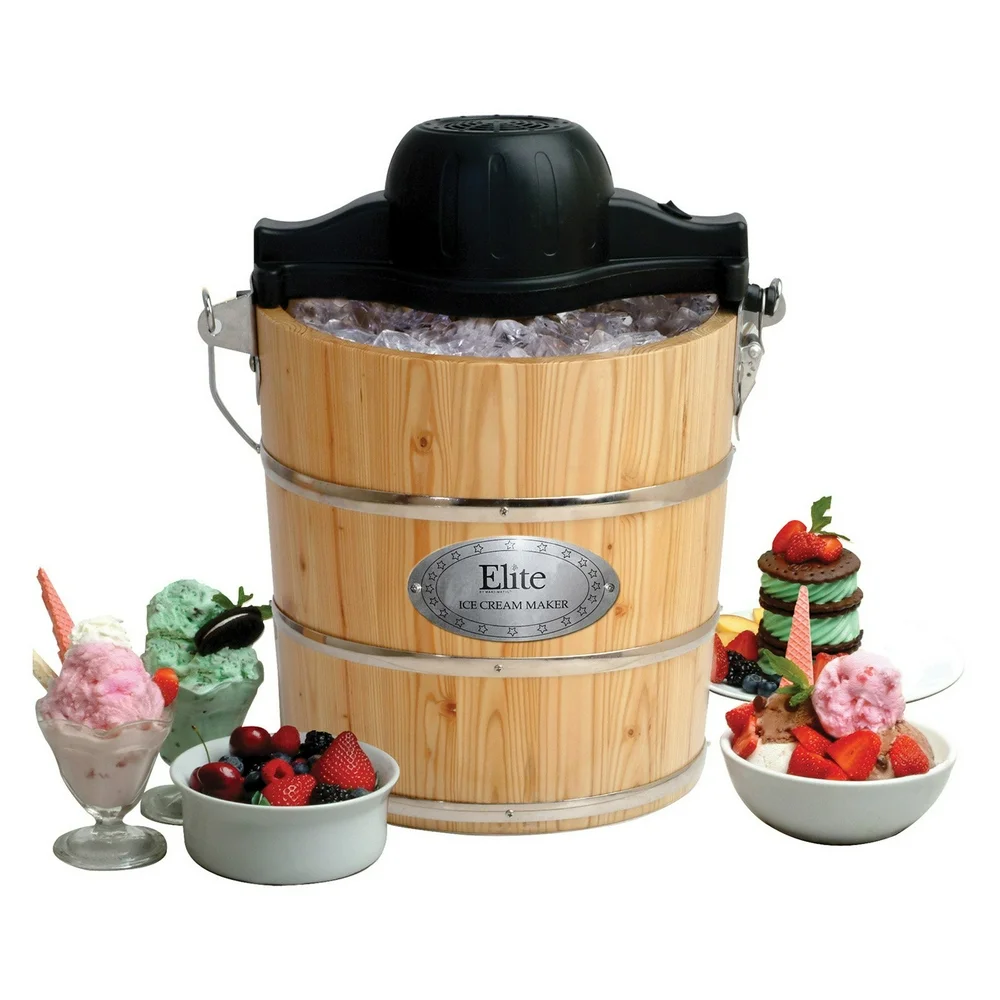
When selecting an old fashioned ice cream maker, it’s essential to understand the various types available. Traditional hand-crank models require manual effort but offer a more authentic experience. Some models use ice and salt mixtures to freeze the ice cream, which can be a fun and interactive process. On the other hand, pre-packed ice cream makers come with their own ice packs, eliminating the need for ice and salt and making the process more convenient.
Key Features to Consider
To ensure you invest in an ice cream maker that meets your needs, consider the following features:
- Capacity: Determine how much ice cream you want to make at once. Larger families might prefer bigger machines, while smaller models are perfect for individual use.
- Durability: Look for models made from high-quality materials like stainless steel or sturdy plastic to ensure longevity.
- Ease of Use: Consider how user-friendly the machine is, especially if you’re a beginner. Clear instructions and straightforward mechanisms can enhance the overall experience.
- Maintenance: Choose an ice cream maker that is easy to clean and maintain. Removable parts that are dishwasher safe can save you time and effort.
Step-by-Step Guide to Making Ice Cream
Preparing Your Ingredients
The first step in making ice cream with an old fashioned ice cream maker is to gather and prepare your ingredients. Typically, you’ll need:
- Heavy cream
- Whole milk
- Sugar
- Vanilla extract (or other flavorings)
- Salt (if using an ice and salt method)
Ensure all ingredients are well-chilled before you begin. This will help the freezing process and result in a smoother texture.
Setting Up the Ice Cream Maker
Depending on the type of old fashioned ice cream maker you have, the setup process may vary slightly. For hand-crank models, ensure that the ice and salt mixture surrounds the freezer bowl evenly. If you’re using a pre-packed model, make sure the ice pack is properly frozen before you start.
The Churning Process
Once everything is set up, it’s time to start churning. If you’re using a hand-crank model, be prepared for a good workout as you turn the crank steadily. This manual effort not only helps in freezing the ice cream but also ensures that air is incorporated, making the texture creamy. For pre-packed models, the motor will handle the churning, allowing you to relax and watch the transformation.
Adding Mix-Ins and Flavors
As the ice cream begins to thicken, you can add in your favorite mix-ins such as chocolate chips, nuts, or fruit pieces. Be creative with your flavors – from classic vanilla and chocolate to more adventurous combinations like matcha green tea or salted caramel. The old fashioned ice cream maker allows you to tailor each batch to your exact preferences.
Freezing and Serving
Once the ice cream reaches the desired consistency, transfer it to a container and freeze it for a few hours to firm up. When ready to serve, let the ice cream sit at room temperature for a few minutes to soften slightly, making it easier to scoop. Enjoy your homemade creation, knowing that you crafted every step of the way.
Tips and Tricks for Perfecting Your Ice Cream-Making Skills
Balancing Ingredients
Achieving the perfect balance of creaminess and sweetness is crucial. While the basic recipe provides a solid foundation, don’t hesitate to adjust the sugar levels or experiment with different types of milk to find what suits your taste best. Remember, less is often more when it comes to sugar, allowing the natural flavors of your ingredients to shine through.
Experimenting with Flavors
One of the joys of using an old fashioned ice cream maker is the endless possibilities for flavor experimentation. Try infusing your ice cream with herbs like mint or basil, or incorporate spices such as cinnamon and nutmeg for added depth. Seasonal fruits and local ingredients can also inspire unique and delightful creations.
Maintaining Consistency
Consistency is key to great ice cream. If you find that your ice cream is too icy or too soft, adjust the freezing time or the amount of cream and milk used. A higher fat content generally results in a creamier texture, while lower fat can lead to a more icy finish. Practice makes perfect, so keep tweaking your recipes until you achieve the desired consistency.
The Benefits of Choosing an Old Fashioned Ice Cream Maker Over Modern Alternatives
Cost-Effective and Eco-Friendly
Old fashioned ice cream makers are often more affordable than their electric counterparts, making them an excellent choice for budget-conscious consumers. Additionally, many traditional models use minimal electricity, making them a more eco-friendly option. By choosing an old fashioned ice cream maker, you can enjoy homemade ice cream without a significant impact on your energy bills or the environment.
Enhanced Flavor and Freshness
Nothing beats the taste of freshly made ice cream. With an old fashioned ice cream maker, you can enjoy ice cream that is free from artificial additives and tailored to your personal taste preferences. This level of freshness and customization is often unmatched by pre-packaged or commercially produced ice creams, providing a superior dessert experience.
Hands-On Experience and Fun
Using an old fashioned ice cream maker can be a fun and engaging activity, especially for families and friends. The hands-on process of churning and mixing can create lasting memories and a sense of accomplishment. It’s an excellent way to involve children in the kitchen and teach them the basics of cooking and measuring ingredients.
Common Challenges and How to Overcome Them
Dealing with Ice and Salt
For those using the traditional ice and salt method, ensuring the correct ratio is essential. Too much salt can make the ice melt too quickly, while too little salt may not lower the temperature sufficiently. Experiment with different proportions to find the right balance that works with your specific ice cream maker.
Achieving the Right Texture
Achieving a smooth and creamy texture can sometimes be challenging. Factors such as ingredient temperatures, churning time, and the balance of fats play significant roles. Make sure all ingredients are well-chilled before starting, and don’t rush the churning process. Patience and attention to detail will help you achieve the perfect texture.
Storage and Freezing
Proper storage is crucial to maintaining the quality of your homemade ice cream. Use airtight containers to prevent ice crystals from forming and to keep the ice cream fresh. Label your containers with the date and flavor to keep track of your creations and ensure they are consumed within a reasonable timeframe.
Creative Recipes to Try
Classic Vanilla Bean Ice Cream
Start with a timeless favorite by making a classic vanilla bean ice cream. Use fresh vanilla beans and high-quality cream and milk to create a rich and creamy base. This versatile ice cream can be enjoyed on its own or paired with pies, cakes, and other desserts.
Chocolate Hazelnut Swirl
Combine the bold flavors of chocolate and the nutty richness of hazelnuts for a decadent treat. Swirl in chocolate fudge and toasted hazelnuts during the churning process to create a delightful contrast of textures and flavors.
Strawberry Basil Sorbet
For a refreshing and unique option, try making a strawberry basil sorbet. Blend fresh strawberries with a hint of basil for an herbaceous twist on a classic fruit sorbet. This vibrant and flavorful dessert is perfect for warm summer days.
Salted Caramel Pecan
Balance the sweetness of caramel with a touch of salt and the crunch of pecans. Fold in homemade salted caramel sauce and roasted pecans into the ice cream base for a luxurious and indulgent dessert.
Matcha Green Tea Ice Cream
Embrace the earthy and slightly bitter notes of matcha green tea for a sophisticated ice cream flavor. This Japanese-inspired dessert pairs wonderfully with red bean paste or mochi for a complete experience.
Maintenance and Care
Cleaning Tips
Proper cleaning is essential to ensure the longevity of your ice cream maker. Disassemble all removable parts and wash them with warm, soapy water after each use. For models with ice and salt components, rinse the parts thoroughly to remove any residual salt. Allow all parts to dry completely before reassembling to prevent mold and odors.
Storage Recommendations
Store your old fashioned ice cream maker in a cool, dry place to avoid exposure to moisture and extreme temperatures. If you have limited kitchen space, consider investing in a model that is easy to disassemble and stack for compact storage.
Regular Maintenance
Inspect your ice cream maker regularly for any signs of wear and tear. Tighten any loose screws and replace worn parts as needed to keep your machine in optimal working condition. Refer to the manufacturer’s instructions for specific maintenance guidelines tailored to your model.
 Conclusion
Bringing an old fashioned ice cream maker into your home can open up a world of culinary creativity and delightful flavors. By embracing this traditional method, you not only enjoy the satisfaction of making your own ice cream but also savor the unique tastes and textures that come from using quality ingredients and personalized recipes. Whether you’re indulging in a classic vanilla bean or experimenting with innovative flavors, an old fashioned ice cream maker can transform your dessert experience and create lasting memories. So, take a step back from modern conveniences and rediscover the timeless joy of homemade ice cream today.