
Creating a delightful dessert at home is always a rewarding experience, especially when you master the art of making ice cream. If you’re searching for the vanilla ice cream recipe for ice cream maker, you’ve come to the right place. Vanilla ice cream is a classic favorite, beloved for its creamy texture and rich, authentic flavor. This comprehensive guide will walk you through a foolproof recipe, essential tips, and techniques to ensure your homemade vanilla ice cream turns out perfectly every time.
Why Choose a Homemade Vanilla Ice Cream Recipe?
The Advantages of Making Ice Cream at Home
Opting for a vanilla ice cream recipe for ice cream maker brings numerous benefits. Firstly, you gain full control over the ingredients, allowing you to use high-quality, natural ingredients without preservatives or artificial flavors. Furthermore, homemade ice cream can be customized to suit your taste preferences, whether you prefer it extra creamy, slightly less sweet, or enriched with your favorite mix-ins like chocolate chips or fruit.
Additionally, making ice cream at home can be a fun and engaging activity, perfect for family gatherings or a relaxing weekend project. The ability to experiment with different flavors and textures enhances the overall culinary experience, making your homemade treats both delicious and memorable.
Achieving the Perfect Texture and Flavor
Using an ice cream maker with a well-crafted vanilla ice cream recipe for ice cream maker ensures a smooth and creamy texture that’s hard to achieve with store-bought ice creams. The constant churning process in the ice cream maker incorporates air into the mixture, resulting in a light and fluffy consistency. Moreover, an ice cream maker efficiently freezes the ice cream, preventing the formation of large ice crystals and enhancing the overall mouthfeel.
Essential Ingredients for a Creamy Vanilla Ice Cream
Quality Dairy Products
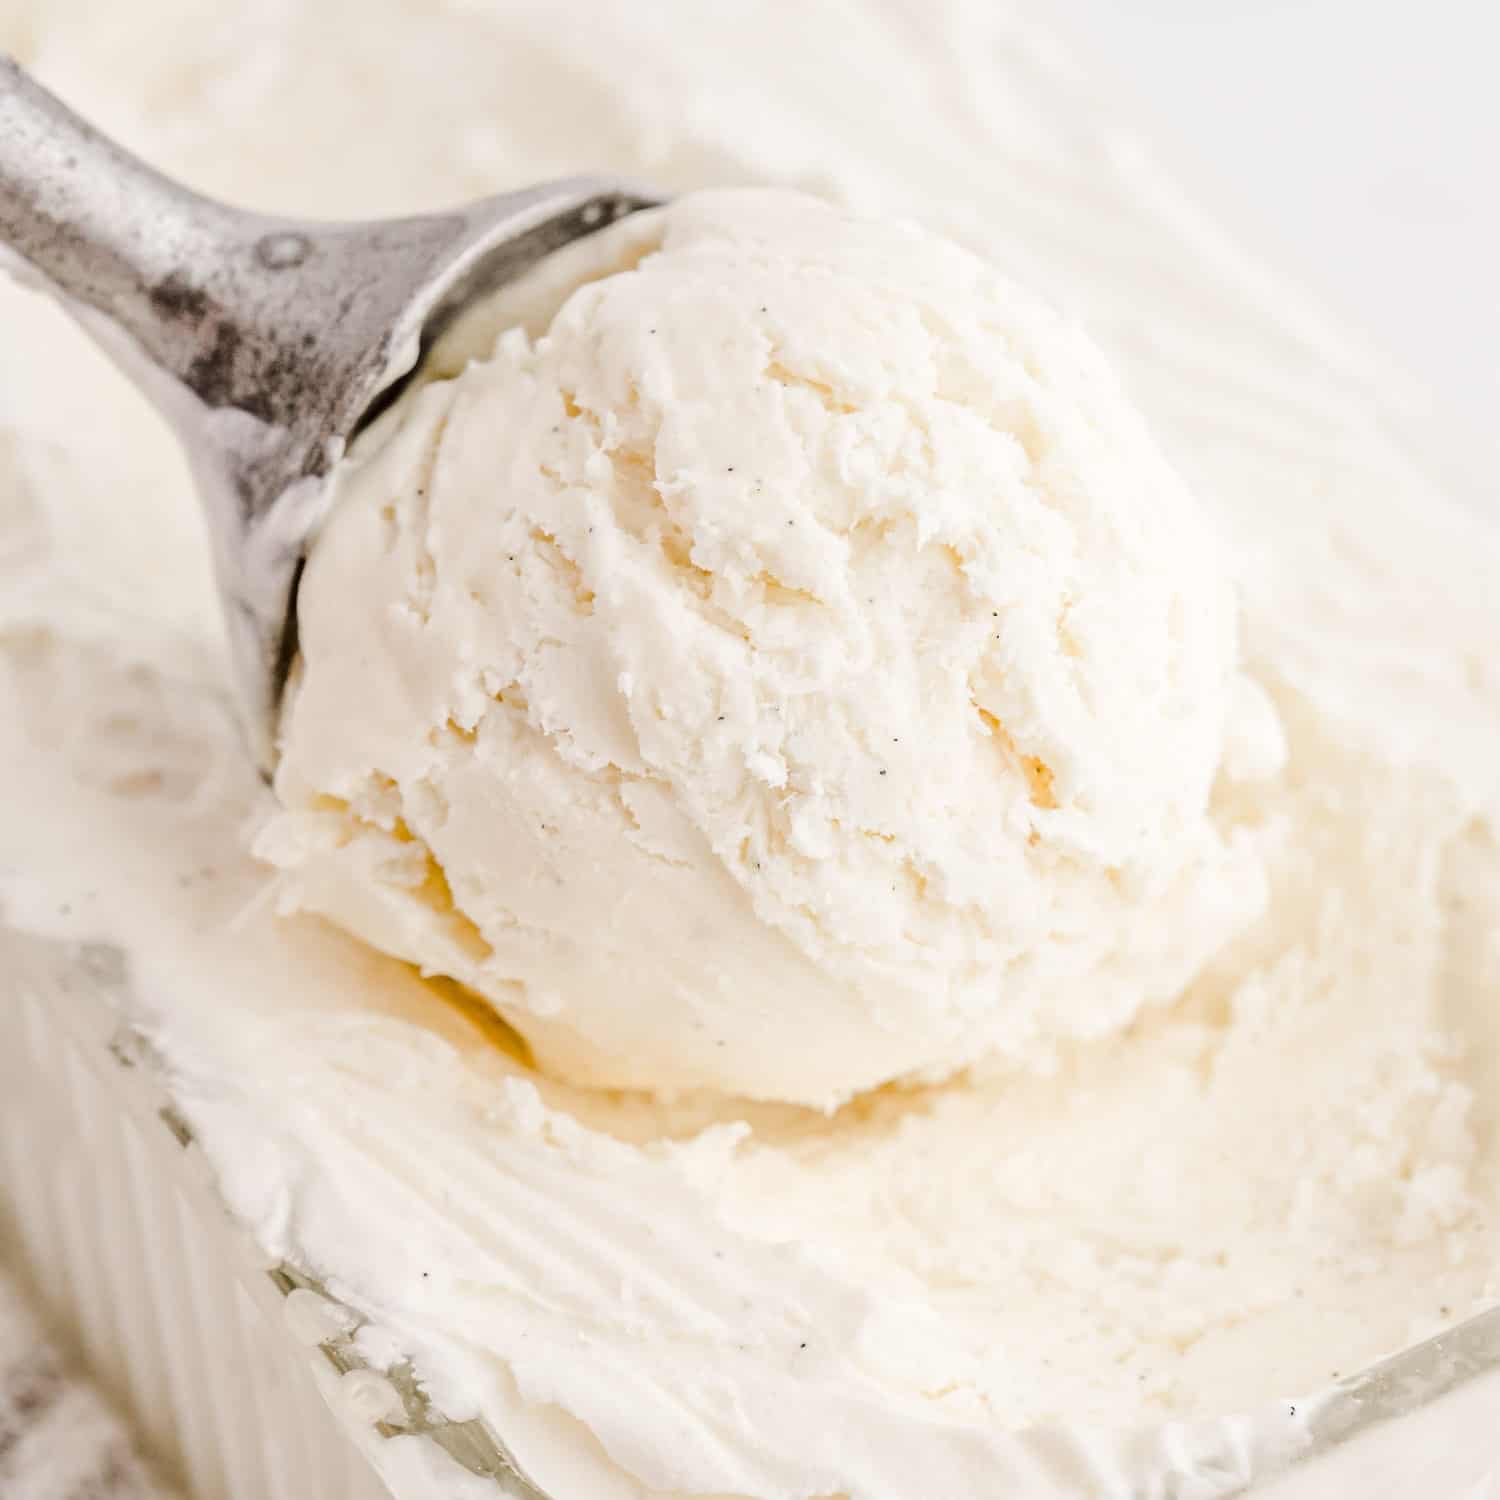
To craft the vanilla ice cream recipe for ice cream maker successfully, it’s crucial to use high-quality dairy products. Heavy cream and whole milk provide the rich, creamy base essential for luxurious ice cream. The high fat content in these ingredients contributes to the smooth texture and prevents the ice cream from becoming icy or grainy.
Sweeteners and Flavor Enhancers
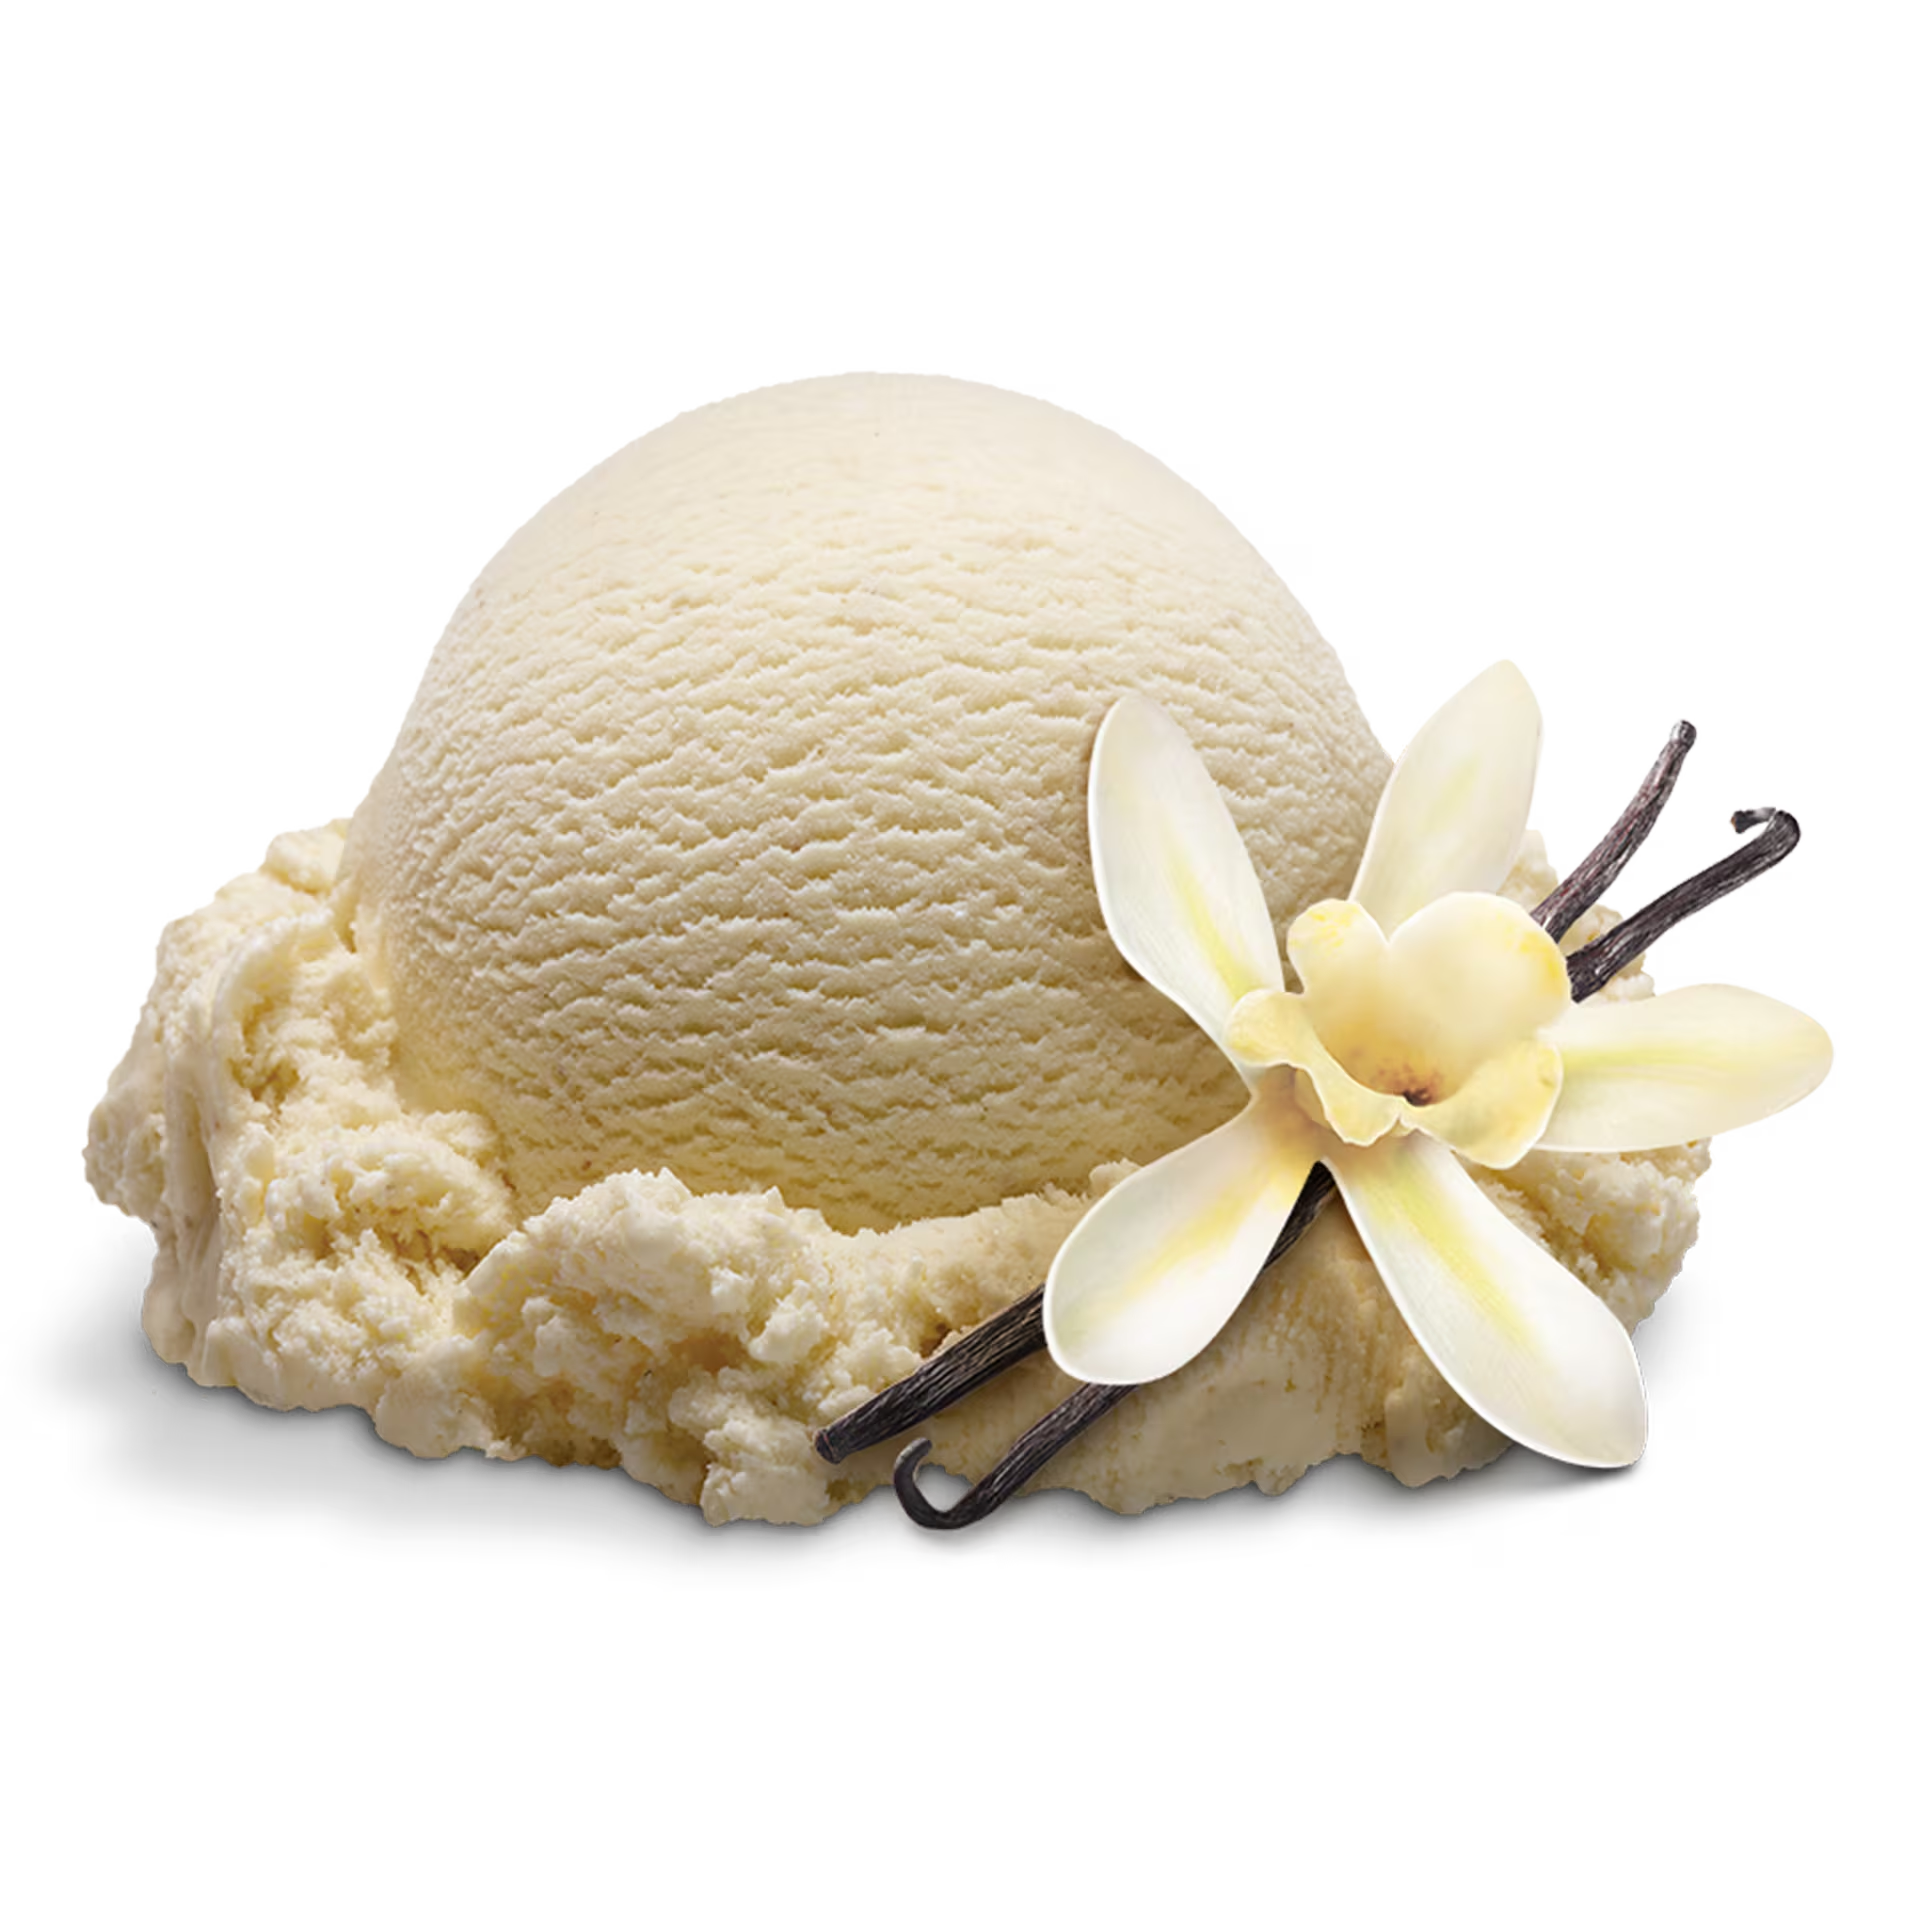
Granulated sugar is a staple in ice cream recipes, offering sweetness and improving the texture by lowering the freezing point. Additionally, using pure vanilla extract instead of artificial vanilla enhances the natural flavor, giving your ice cream an authentic taste. For an extra depth of flavor, you can also incorporate vanilla bean paste or scrape fresh vanilla beans into the mixture.
Stabilizers (Optional)
While optional, adding a small amount of cornstarch or gelatin can help stabilize the ice cream, preventing ice crystal formation and ensuring a consistently creamy texture. These ingredients work by binding with the water molecules, maintaining the smoothness of the ice cream over time.
Step-by-Step Vanilla Ice Cream Recipe
Ingredients:
- 2 cups heavy cream
- 1 cup whole milk
- 3/4 cup granulated sugar
- 1 tablespoon pure vanilla extract
- Optional: 1 teaspoon vanilla bean paste or 1 vanilla bean, split and scraped
Instructions:
1. Combine the Dairy and Sugar
Start by pouring the heavy cream and whole milk into a medium saucepan. Gradually add the granulated sugar, stirring continuously over medium heat until the sugar completely dissolves. This process ensures a smooth base without any granules.
2. Infuse with Vanilla
Once the sugar has dissolved, remove the saucepan from the heat. Stir in the pure vanilla extract. For an even richer flavor, consider adding vanilla bean paste or infusing the mixture with a split vanilla bean. To do this, place the split bean into the mixture and let it steep for a few minutes before removing it.
3. Chill the Mixture
Transfer the mixture into a bowl and let it cool to room temperature. To speed up the process, place the bowl in the refrigerator for at least 2 hours or until it is thoroughly chilled. Ensuring the mixture is cold before churning is essential for preventing the formation of large ice crystals and achieving a smooth texture.
4. Pour into the Ice Cream Maker
Once the mixture is chilled, pour it into your ice cream maker. Follow the manufacturer’s instructions for your specific model, as churning times and settings may vary. Generally, the mixture will need to churn for about 20-25 minutes until it reaches a soft-serve consistency.
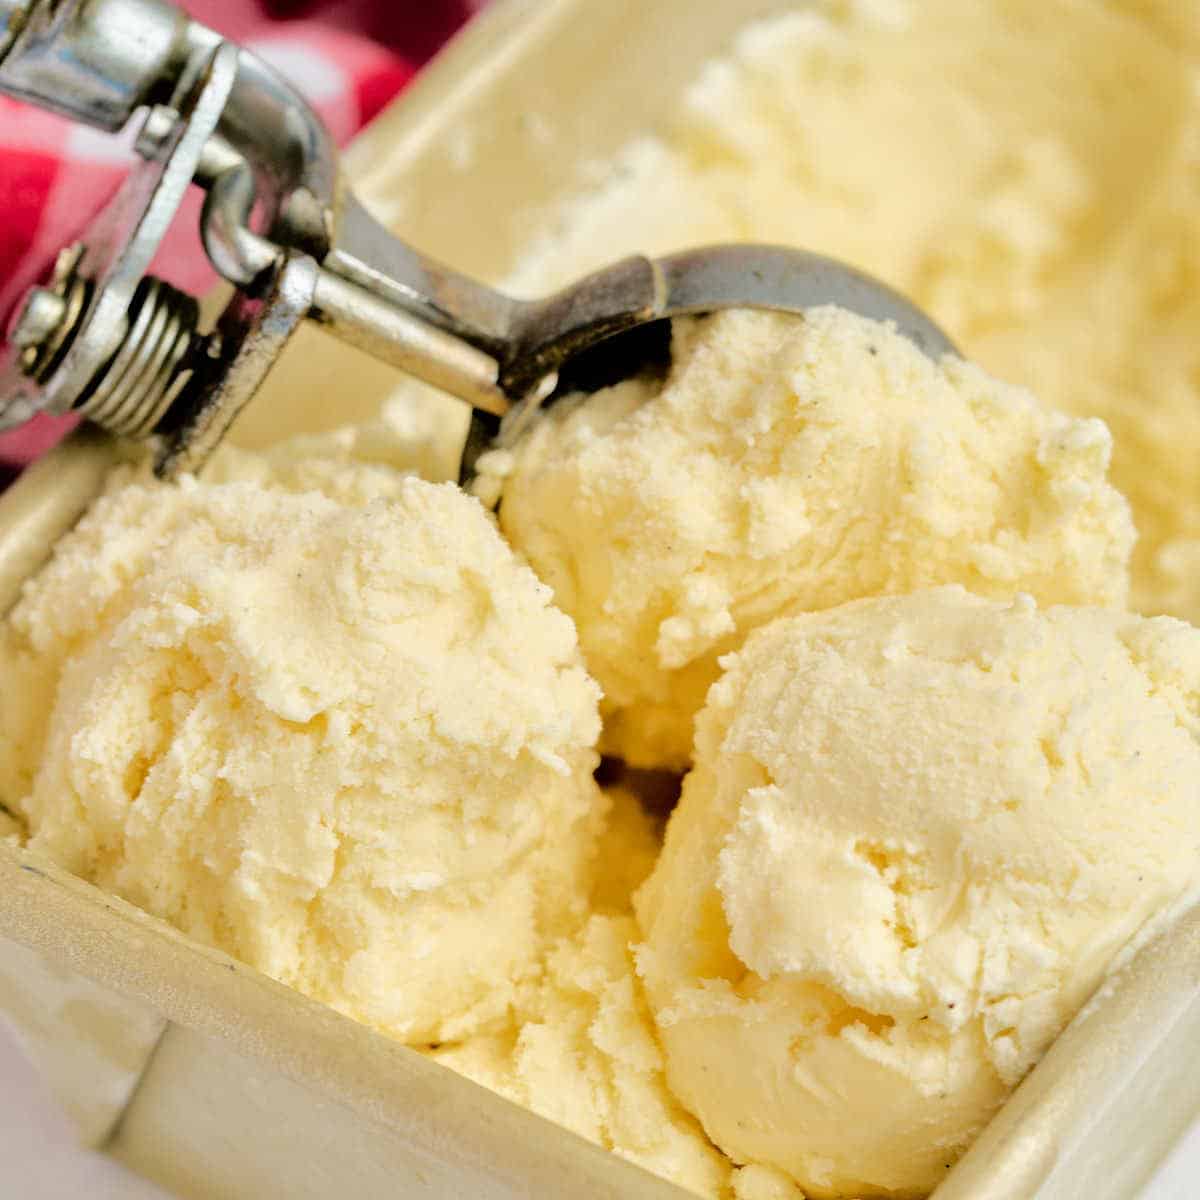
5. Freeze to Firm Up
After churning, transfer the soft ice cream into an airtight container. Smooth the top with a spatula, cover, and place it in the freezer for at least 2-4 hours to firm up. This additional freezing step solidifies the ice cream, making it perfect for scooping and serving.
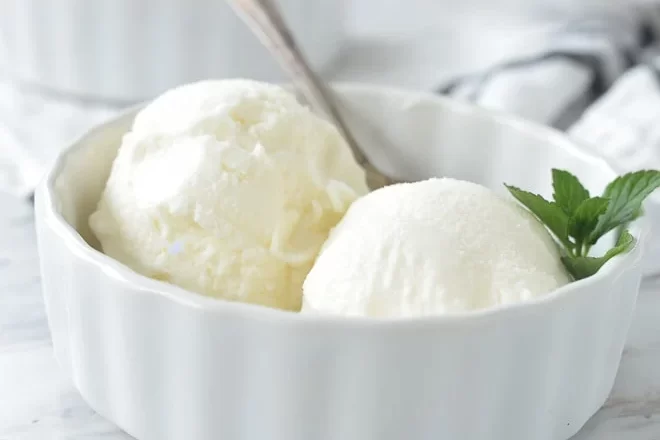
6. Serve and Enjoy
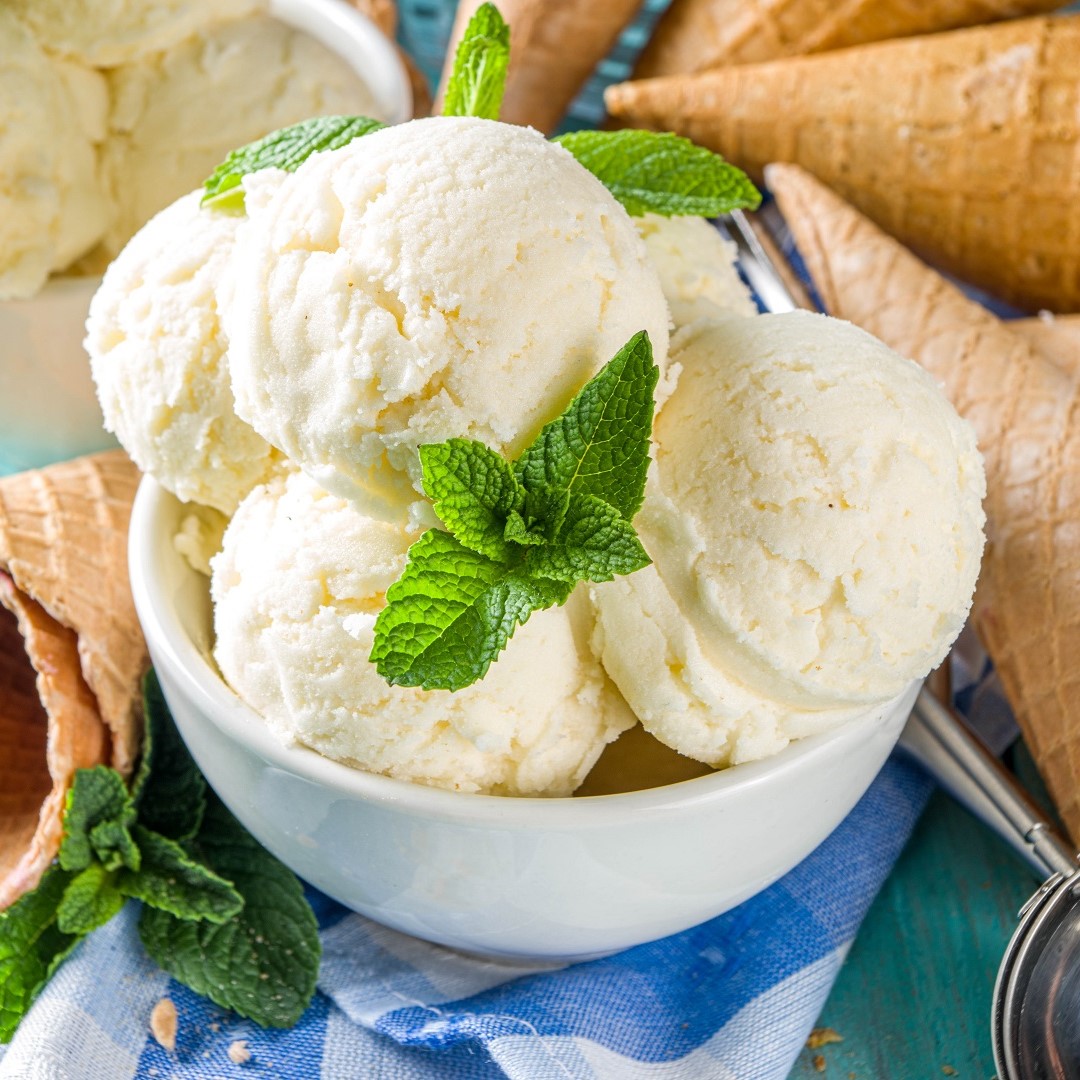
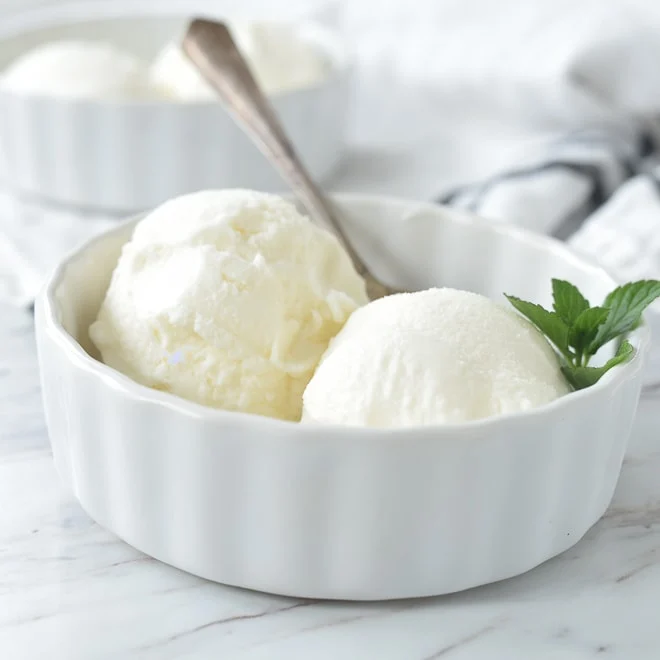
Once the ice cream has firmed up, scoop it into bowls or cones and enjoy your homemade vanilla ice cream. For an extra touch, garnish with toppings such as fresh berries, chocolate syrup, or a sprinkle of nuts.
Tips for Perfecting Your Vanilla Ice Cream
Use Fresh Ingredients
The foundation of excellent ice cream lies in the quality of your ingredients. Always use fresh, high-quality dairy products and pure vanilla extract to ensure the best flavor and texture. Avoid using artificial flavorings, as they can detract from the authentic taste of your homemade ice cream.
Chill Ingredients Thoroughly
Chilling the ice cream mixture before churning is a crucial step in preventing over-crystallization. If the mixture is not adequately chilled, it will require more time to churn, resulting in a harder ice cream. Ensure your dairy mixture is cold before pouring it into the ice cream maker for the best results.
Avoid Over-Churning
While it might be tempting to churn the ice cream longer for a firmer texture, over-churning can lead to a buttery consistency. Follow the recommended churning times provided by your ice cream maker’s manufacturer, and monitor the ice cream as it approaches the desired texture to prevent over-processing.
Incorporate Mix-Ins Carefully
If you decide to add mix-ins like chocolate chips, fruit pieces, or caramel swirls, do so towards the end of the churning process. This ensures they are evenly distributed without sinking to the bottom or clumping together. Adding mix-ins too early can disrupt the churning process and affect the overall texture of the ice cream.
Let it Firm Up
Allowing the ice cream to freeze for a few hours after churning is essential for achieving the perfect scoopable consistency. Skipping or shortening this step can result in ice cream that is too soft and melts quickly. Patience during this freezing phase will reward you with a firm, smooth ice cream ready to enjoy.
Creative Variations: Customizing Your Vanilla Ice Cream
Chocolate Chip Vanilla Ice Cream
For a delightful twist on the classic vanilla, add 1/2 cup of chocolate chips during the last 5 minutes of churning. The chocolate chips provide a rich, chocolatey crunch that complements the creamy vanilla base.
Berry Vanilla Swirl Ice Cream
Incorporate a berry swirl by folding in 1/2 cup of mixed berry puree after churning. Swirl the puree in systematically to create a marbled effect. This addition not only enhances the flavor but also adds a vibrant color to your ice cream.
Caramel Vanilla Ice Cream
Enhance your vanilla ice cream with a caramel swirl. Drizzle 1/4 cup of caramel sauce into the ice cream before the final freezing step. Use a knife or spoon to gently swirl the caramel, creating a luscious and sweet flavor combination.
Nutty Vanilla Ice Cream
Add texture and flavor by incorporating 1/2 cup of chopped nuts, such as almonds or pecans, during the last few minutes of churning. The nuts add a satisfying crunch and a nutty undertone that pairs beautifully with the vanilla base.
Troubleshooting Common Ice Cream Making Issues
Ice Cream Too Hard
If your ice cream turns out too hard, it might have been over-churned or over-frozen. To fix this, allow the ice cream to soften at room temperature for a few minutes before scooping. Next time, try reducing the churning time slightly and ensuring it doesn’t freeze too long.
Ice Cream Too Soft
Conversely, if your ice cream is too soft, it may need more time in the freezer to firm up. Ensure you have covered and stored it properly to prevent freezer burn, which can affect texture and flavor. Additionally, make sure the mixture was adequately chilled before churning.
Grainy Texture
A grainy texture typically results from large ice crystals forming during the freezing process. To avoid this, thoroughly chill your mixture before churning and continuously stir or agitate if you’re using a method that requires manual intervention. Using an ice cream maker helps maintain a smooth consistency by continuously churning the mixture.
Lack of Flavor
If your ice cream lacks flavor, it might be due to insufficient vanilla extract or a short infusion period. Try increasing the amount of vanilla extract slightly or allowing the mixture to steep with a split vanilla bean for a more intense flavor.
Healthier Homemade Vanilla Ice Cream Options
Low-Sugar Vanilla Ice Cream
For those watching their sugar intake, reduce the amount of granulated sugar by half and add a natural sweetener like honey or maple syrup. Alternatively, use a sugar substitute that measures like sugar to maintain the sweetness without the extra calories.
Dairy-Free Vanilla Ice Cream
Creamy ice cream doesn’t have to contain dairy. Substitute heavy cream and whole milk with coconut milk or almond milk to create a delicious dairy-free version. Incorporate a thickener like cornstarch to achieve the desired creamy texture.
Protein-Enhanced Vanilla Ice Cream
Boost the nutritional value by adding a scoop of your favorite protein powder to the mixture. This addition makes your ice cream a satisfying post-workout treat while maintaining its creamy texture and rich flavor.
Serving and Storing Your Homemade Ice Cream
Serving Suggestions
When serving your homemade vanilla ice cream, consider pairing it with complementary toppings and desserts. Fresh fruit slices, chocolate ganache, caramel drizzle, or a sprinkle of nuts can elevate the flavor profile. Additionally, use it as a base for creating rich ice cream sandwiches with freshly baked cookies or brownies.
Proper Storage Techniques
To maintain the quality and texture of your ice cream, store it in an airtight container to prevent it from absorbing freezer odors and to minimize ice crystal formation. Place a piece of parchment paper or plastic wrap directly on the surface of the ice cream before sealing the container. This technique helps prevent moisture from entering and keeps the ice cream smooth and creamy.
Freezing for Long-Term Storage
Homemade ice cream can be stored in the freezer for up to two weeks. For the best taste and texture, consume it within this timeframe. If you plan to store it for longer, ensure that the container remains airtight and check periodically for any signs of freezer burn, such as ice crystals or discoloration.
Frequently Asked Questions (FAQs)
Can I Make Ice Cream Without an Ice Cream Maker?
Certainly! There are several methods to make ice cream without ice cream maker, including the freezer bag technique, no-churn recipes, using a blender or food processor, and utilizing a plastic container or cast-iron pan. Each method offers a different approach, allowing you to choose based on the tools and ingredients you have available.
How Long Should the Ice Cream Mixture Be Chilled Before Churning?
Chilling the mixture thoroughly is essential for a smooth texture. Ideally, allow the mixture to cool in the refrigerator for at least 2 hours, or until it is completely chilled. This step prevents the ice cream from taking too long to freeze and helps achieve a creamy consistency.
Can I Add Mix-Ins to My Vanilla Ice Cream?
Absolutely! Adding mix-ins such as chocolate chips, nuts, fruit pieces, or caramel swirls is a great way to customize your vanilla ice cream recipe for ice cream maker. Incorporate these additions towards the end of the churning process to ensure even distribution without disrupting the overall texture.
Is Homemade Ice Cream Healthier Than Store-Bought?
Homemade ice cream can be healthier as you control the ingredients, allowing you to reduce sugar, avoid artificial additives, and use high-quality dairy products. However, it’s still important to enjoy it in moderation as it can be rich and calorie-dense.
How Do I Prevent My Ice Cream from Becoming Icy?
Preventing iciness involves ensuring the ice cream mixture is well-chilled before churning and being consistent with your stirring or churning process. Using ingredients like heavy cream and sweetened condensed milk helps maintain a smooth texture, as they add richness and reduce the likelihood of large ice crystals forming.
 Conclusion
The vanilla ice cream recipe for ice cream maker is your gateway to artisanal desserts. By balancing fat, sugar, and air incorporation, you’ll craft scoops that outshine grocery freezers. Remember: Chill thoroughly, churn patiently, and customize boldly. Whether you’re gifting jars of vanilla bean speckled cream or hosting a sundae bar, this recipe guarantees smiles. In 2024, vanilla isn’t plain—it’s a blank canvas for creativity.