
Making homemade ice cream has never been easier or more enjoyable, especially with the right ice cream maker recipe. Whether you’re a seasoned dessert enthusiast or just beginning your culinary adventures, crafting your own frozen delights can be both fun and rewarding. In this comprehensive guide, we will explore a variety of ice cream maker recipes, providing you with everything you need to create rich, creamy, and flavorful ice creams right in your kitchen. From classic vanilla to exotic flavors like mango chili, these recipes cater to all taste preferences and skill levels.
 The Basics of Ice Cream Making
Before diving into specific recipes, it’s essential to understand the fundamentals of ice cream making. Knowing the core principles will help you tweak recipes to your liking and ensure consistent, delicious results every time.
Understanding Ingredients
Firstly, the primary ingredients in most ice cream recipes include:
- Milk and Cream: These dairy products form the base, providing the creamy texture and rich flavor.
- Sugar: Adds sweetness and helps achieve the right texture by preventing ice crystals from forming.
- Egg Yolks (in custard-based recipes): Incorporate richness and smoothness.
- Flavorings: Extracts, purees, or mix-ins that give ice cream its unique taste.
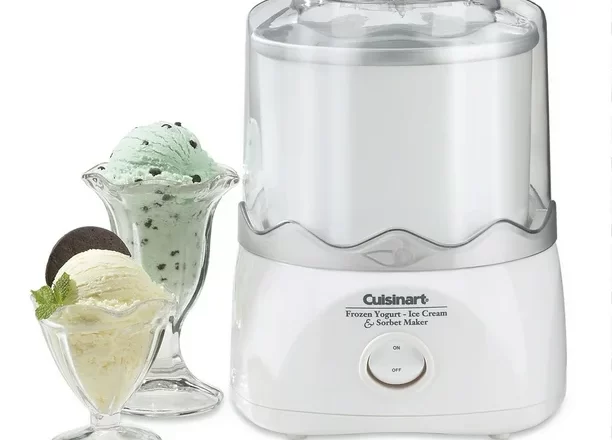
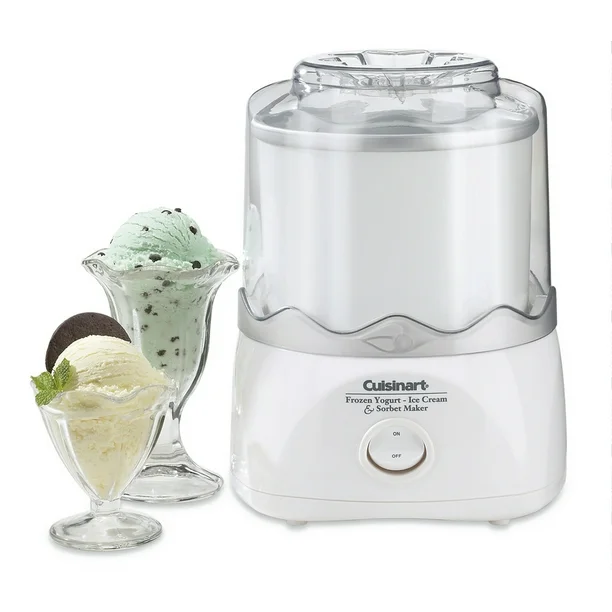
The Role of an Ice Cream Maker
An ice cream maker is a crucial tool in the ice cream-making process. It churns the mixture while it freezes, incorporating air and preventing large ice crystals from forming. This results in a smooth and creamy texture. There are various types of ice cream makers, including:
- Manual Ice Cream Makers: Require hand-cranking and are more labor-intensive.
- Electric Ice Cream Makers: Automated and often faster, making the process more convenient.
- Compressor Ice Cream Makers: Have built-in freezers and can make multiple batches without needing to pre-freeze bowls.
Tips for Perfect Ice Cream
To achieve the best results with your ice cream maker, consider the following tips:
- Pre-Chill the Mixing Bowl: If your ice cream maker requires pre-freezing, ensure the bowl is thoroughly chilled before use.
- Avoid Overfilling: Leave enough space for the mixture to expand as it freezes.
- Churn Properly: Follow the manufacturer’s instructions for optimal churning times.
- Freeze Immediately: Transfer the ice cream to an airtight container as soon as it’s done churning to prevent it from becoming too hard.
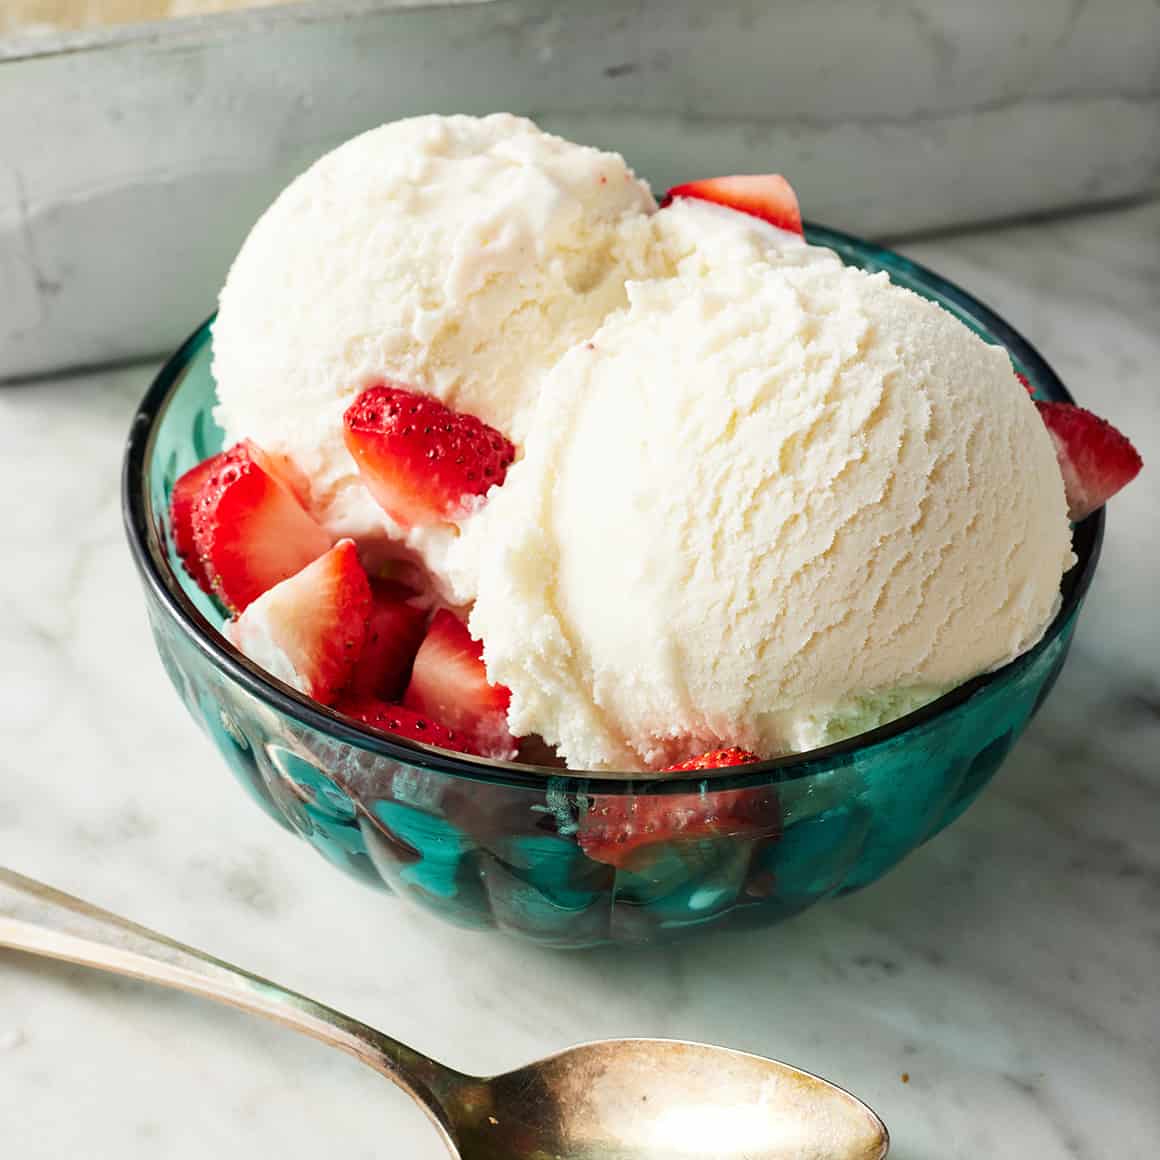
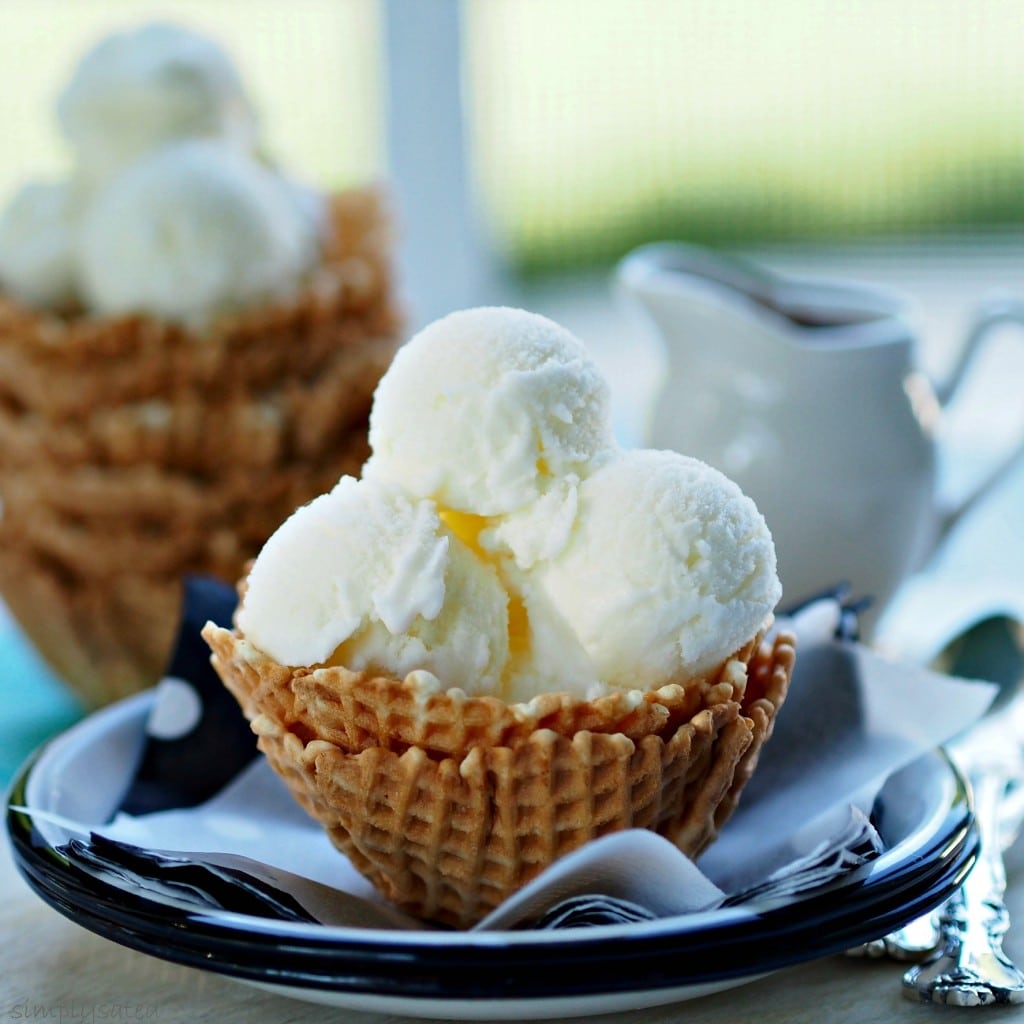
Classic Vanilla Ice Cream Recipe
Starting with a classic vanilla ice cream recipe is an excellent way to familiarize yourself with the ice cream-making process. Its simplicity allows you to appreciate the creamy texture and rich flavor that quality ingredients can create.
Instructions
- Mix Ingredients: In a large bowl, whisk together the milk, sugar, and salt until the sugar is completely dissolved.
- Add Cream and Vanilla: Stir in the heavy cream and vanilla extract.
- Chill the Mixture: Cover the bowl and refrigerate the mixture for at least 2 hours, preferably overnight. Chilling ensures a smoother texture.
- Churn: Pour the chilled mixture into your ice cream maker. Churn according to the manufacturer’s instructions, usually around 20-30 minutes, until it reaches a soft-serve consistency.
- Freeze: Transfer the ice cream to an airtight container and freeze for at least 4 hours to firm up.
- Serve: Scoop and enjoy your homemade vanilla ice cream!
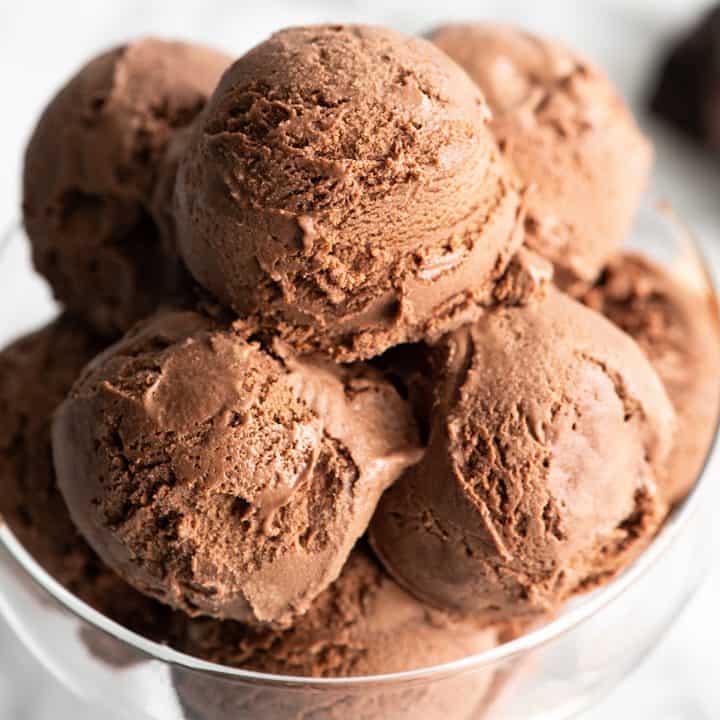
 Chocolate Fudge Swirl Ice Cream
For chocolate lovers, this chocolate fudge swirl ice cream recipe combines rich chocolate ice cream with decadent fudge ribbons, creating a delightful treat that’s perfect for any occasion.
Instructions
- Prepare Chocolate Base: In a medium saucepan, whisk together the milk, sugar, cocoa powder, and salt. Heat over medium heat, stirring constantly, until the mixture is smooth and begins to steam.
- Add Cream and Vanilla: Remove from heat and stir in the heavy cream and vanilla extract.
- Chill the Mixture: Allow the mixture to cool to room temperature, then cover and refrigerate for at least 2 hours.
- Churn: Pour the chilled mixture into your ice cream maker and churn until it reaches a soft-serve consistency, about 20-30 minutes.
- Add Fudge Swirl: During the last few minutes of churning, drizzle in the fudge sauce to create ribbons throughout the ice cream.
- Freeze: Transfer the ice cream to an airtight container and freeze for at least 4 hours to fully set.
- Serve: Scoop and enjoy the rich, chocolatey goodness with fudge swirls.
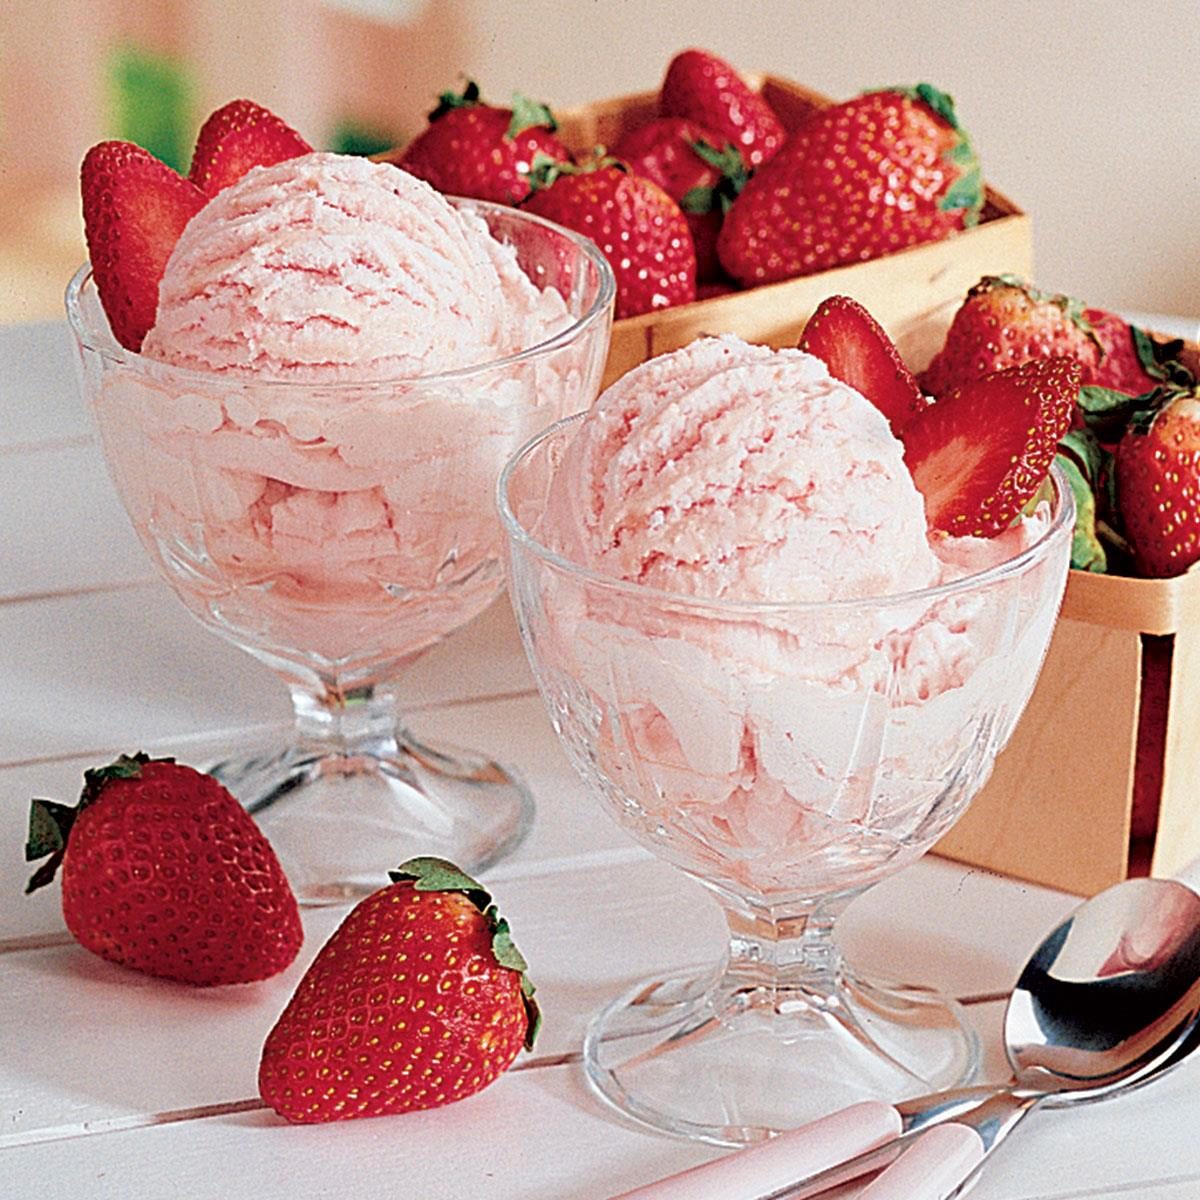
Strawberry Cheesecake Ice Cream
Combining the tangy flavor of cheesecake with the sweet essence of strawberries, this strawberry cheesecake ice cream recipe is a perfect blend of creamy and fruity flavors.
Instructions
- Blend Cream Cheese: In a blender, combine the cream cheese and pureed strawberries until smooth.
- Mix Ingredients: In a large bowl, whisk together the milk, sugar, salt, and vanilla extract until the sugar is dissolved.
- Add Cream and Strawberry Mixture: Stir in the heavy cream and the strawberry-cream cheese mixture.
- Chill the Mixture: Cover and refrigerate the mixture for at least 2 hours, preferably overnight.
- Churn: Pour the chilled mixture into your ice cream maker and churn until it reaches a soft-serve consistency, about 20-30 minutes.
- Add Graham Crackers: Gently fold in the crushed graham crackers to create cheesecake bits throughout the ice cream.
- Freeze: Transfer the ice cream to an airtight container and freeze for at least 4 hours.
- Serve: Scoop and savor the delightful combination of cheesecake and strawberries.
Mango Coconut Sorbet
For those who prefer a dairy-free option, this mango coconut sorbet recipe is a refreshing and tropical treat that’s perfect for hot summer days or anytime you crave something light and fruity.
Instructions
- Puree Mango: In a blender or food processor, puree the mango until smooth.
- Mix Ingredients: In a large bowl, combine the mango puree, coconut milk, sugar, lime juice, and salt. Stir until the sugar is fully dissolved.
- Chill the Mixture: Cover and refrigerate the mixture for at least 2 hours.
- Churn: Pour the chilled mixture into your ice cream maker and churn until it reaches a sorbet consistency, typically about 20-30 minutes.
- Freeze: Transfer the sorbet to an airtight container and freeze for an additional 2-3 hours to firm up.
- Serve: Scoop and enjoy the tropical flavors of mango and coconut.
 Salted Caramel Ice Cream
If you love the sweet and salty combination, this salted caramel ice cream recipe is a must-try. Rich and buttery caramel swirls balanced with a hint of salt create a sophisticated and indulgent frozen dessert.
Instructions
- Make Caramel Sauce: In a medium saucepan, melt the butter over medium heat. Stir in the brown sugar and cook until the mixture is bubbly and thickened, about 5 minutes. Remove from heat and stir in 1 teaspoon of sea salt and the vanilla extract. Allow the caramel sauce to cool slightly.
- Mix Ingredients: In a large bowl, whisk together the milk, remaining sea salt, and 1/4 teaspoon of salt until well combined.
- Add Cream and Caramel: Stir in the heavy cream and the slightly cooled caramel sauce until fully incorporated.
- Chill the Mixture: Cover and refrigerate the mixture for at least 2 hours, or overnight, to allow the flavors to meld.
- Churn: Pour the chilled mixture into your ice cream maker and churn until it reaches a soft-serve consistency, about 20-30 minutes.
- Add Caramel Swirls: During the last few minutes of churning, drizzle in additional caramel sauce to create swirls throughout the ice cream.
- Freeze: Transfer the ice cream to an airtight container and freeze for at least 4 hours to firm up.
- Serve: Scoop and relish the sweet and salty delight of salted caramel ice cream.
Vegan Chocolate Avocado Ice Cream
For those following a vegan diet, this chocolate avocado ice cream recipe provides a creamy and indulgent dessert without any dairy or animal products. Avocados add a rich texture and healthy fats, making this ice cream both delicious and nutritious.
Instructions
- Blend Avocados: In a blender or food processor, combine the avocados, coconut milk, sugar or maple syrup, cocoa powder, vanilla extract, and salt. Blend until smooth and creamy, ensuring there are no lumps.
- Taste and Adjust: Taste the mixture and adjust the sweetness or cocoa levels according to your preference. Blend again if necessary.
- Chill the Mixture: Transfer the mixture to a bowl, cover, and refrigerate for at least 2 hours to allow the flavors to develop and the mixture to chill thoroughly.
- Churn: Pour the chilled mixture into your ice cream maker and churn until it reaches a soft-serve consistency, about 20-30 minutes.
- Freeze: Transfer the ice cream to an airtight container and freeze for at least 4 hours to firm up.
- Serve: Scoop and enjoy the rich, creamy, and vegan-friendly chocolate avocado ice cream.
Lemon Blueberry Ice Cream
Combining the bright, tangy flavor of lemons with the sweet burst of blueberries, this lemon blueberry ice cream recipe offers a refreshing and fruity dessert that’s perfect for spring and summer.
Instructions
- Infuse Lemon Zest: In a medium saucepan, combine the milk, sugar, and lemon zest. Heat over medium heat until the sugar is dissolved and the mixture is warm, but not boiling. Remove from heat and let it steep for about 15 minutes to infuse the lemon flavor.
- Mash Blueberries: While the mixture is steeping, gently mash the blueberries to release their juices. You can leave some chunks for texture.
- Strain Mixture: After infusing, strain the mixture to remove the lemon zest. Stir in the heavy cream, lemon juice, and a pinch of salt.
- Chill the Mixture: Cover and refrigerate the mixture for at least 2 hours to chill thoroughly.
- Churn: Pour the chilled mixture into your ice cream maker and churn until it reaches a soft-serve consistency, about 20-30 minutes.
- Add Blueberries: During the last few minutes of churning, add the mashed blueberries to incorporate them evenly throughout the ice cream.
- Freeze: Transfer the ice cream to an airtight container and freeze for at least 4 hours.
- Serve: Scoop and enjoy the vibrant flavors of lemon and blueberry in every bite.
 Peanut Butter Chocolate Chip Ice Cream
For peanut butter enthusiasts, this peanut butter chocolate chip ice cream recipe offers a perfect blend of creamy peanut butter and crunchy chocolate chips, creating a delightful and indulgent frozen treat.
Instructions
- Mix Peanut Butter and Sugar: In a large bowl, whisk together the milk, peanut butter, and sugar until the mixture is smooth and the sugar is dissolved.
- Add Cream, Vanilla, and Salt: Stir in the heavy cream, vanilla extract, and salt until fully combined.
- Chill the Mixture: Cover and refrigerate the mixture for at least 2 hours to ensure it is thoroughly chilled.
- Churn: Pour the chilled mixture into your ice cream maker and churn until it reaches a soft-serve consistency, approximately 20-30 minutes.
- Add Chocolate Chips: During the last few minutes of churning, add the chocolate chips to incorporate them into the ice cream.
- Freeze: Transfer the ice cream to an airtight container and freeze for at least 4 hours to firm up.
- Serve: Scoop and savor the creamy peanut butter ice cream with delightful chocolate chunks.
Mint Chocolate Chip Ice Cream
A timeless favorite, mint chocolate chip ice cream combines the refreshing taste of mint with rich chocolate chips, creating a perfect balance of flavors that’s loved by many.
Instructions
- Mix Ingredients: In a large bowl, whisk together the milk, sugar, salt, peppermint extract, and vanilla extract until the sugar is dissolved.
- Add Cream and Color: Stir in the heavy cream and a few drops of green food coloring if you desire a vibrant mint color.
- Chill the Mixture: Cover and refrigerate the mixture for at least 2 hours, or overnight, to ensure it is thoroughly chilled.
- Churn: Pour the chilled mixture into your ice cream maker and churn until it reaches a soft-serve consistency, about 20-30 minutes.
- Add Chocolate Chips: During the last few minutes of churning, add the chocolate chips or chunks to distribute them evenly throughout the ice cream.
- Freeze: Transfer the ice cream to an airtight container and freeze for at least 4 hours to firm up.
- Serve: Scoop and enjoy the refreshing mint ice cream with generous chocolate pieces.
Coffee Mocha Ice Cream
For coffee lovers, this coffee mocha ice cream recipe marries the bold flavor of coffee with the rich taste of chocolate, creating a luxurious and energizing dessert.
Instructions
- Dissolve Coffee and Sugar: In a medium saucepan, combine the milk, sugar, and instant coffee granules. Heat over medium heat, stirring constantly, until the mixture is warm and the coffee is fully dissolved.
- Add Cream and Chocolate: Remove from heat and stir in the heavy cream, chocolate chips, vanilla extract, and a pinch of salt. Continue stirring until the chocolate is completely melted and the mixture is smooth.
- Chill the Mixture: Allow the mixture to cool to room temperature, then cover and refrigerate for at least 2 hours, preferably overnight.
- Churn: Pour the chilled mixture into your ice cream maker and churn until it reaches a soft-serve consistency, about 20-30 minutes.
- Freeze: Transfer the ice cream to an airtight container and freeze for at least 4 hours to firm up.
- Serve: Scoop and enjoy the rich and creamy coffee mocha ice cream, perfect for coffee aficionados.
Customizing Your Ice Cream Maker Recipes
One of the joys of making ice cream at home is the ability to customize recipes to suit your taste preferences. Here are some ideas for personalizing your ice cream maker recipe creations:
Adding Mix-Ins
Enhance your ice cream by adding mix-ins such as:
- Nuts: Chopped almonds, pecans, or walnuts add a delightful crunch.
- Fruit: Fresh berries, mango chunks, or banana slices can infuse fruity flavors.
- Candy: Pieces of chocolate, gummy bears, or caramel bits add sweetness and texture.
- Swirls: Incorporate sauces like caramel, fudge, or raspberry for added richness.
Experimenting with Flavors
Don’t be afraid to experiment with different flavor combinations. Some unique ideas include:
- Matcha Green Tea: Combine matcha powder with a creamy base for a refreshing and trendy flavor.
- Pumpkin Spice: Perfect for the fall season, mix pumpkin puree with spices like cinnamon and nutmeg.
- Lavender Honey: Infuse lavender flowers into your base and sweeten with honey for a floral and sweet treat.
Gluten-Free and Allergen-Friendly Options
For those with dietary restrictions, there are ways to make your ice cream recipes gluten-free and allergen-friendly:
- Dairy-Free: Use coconut milk, almond milk, or other plant-based milks instead of dairy.
- Vegan: Substitute honey and other animal-derived ingredients with plant-based alternatives.
- Gluten-Free: Ensure all add-ins and mix-ins are gluten-free, such as using gluten-free chocolate chips or nuts.
Serving Suggestions
Present your homemade ice cream in creative ways to elevate your dessert experience:
- Ice Cream Sandwiches: Pair your ice cream with your favorite cookies or brownies.
- Toppings: Add whipped cream, sprinkles, or a drizzle of sauce for extra indulgence.
- Affogato: Serve a scoop of ice cream with a shot of hot espresso poured over it for a coffee dessert fusion.
 Storing and Serving Your Homemade Ice Cream
Proper storage and serving techniques ensure that your homemade ice cream remains fresh and delicious.
Storing Your Ice Cream
After churning, transfer your ice cream to an airtight container. Press a piece of parchment paper or plastic wrap directly onto the surface of the ice cream to prevent ice crystals from forming. Seal the container tightly and store it in the coldest part of your freezer. Homemade ice cream is best enjoyed within one to two weeks for optimal flavor and texture.
Serving Tips
When ready to serve, let the ice cream sit at room temperature for about 5-10 minutes to soften slightly for easier scooping. Use a warm ice cream scoop for smoother scooping action. For an extra touch, garnish with your favorite toppings or mix-ins.
Conclusion
Crafting delectable frozen treats with an ice cream maker recipe opens up a world of delicious possibilities right in your kitchen. From classic vanilla to innovative flavors like mango coconut sorbet and peanut butter chocolate chip, there’s an ice cream recipe to suit every palate. By understanding the basics of ice cream making, selecting the right ingredients, and following our top recipes, you can consistently create smooth, creamy, and flavorful ice creams that rival those from any ice cream parlor.
Moreover, the ability to customize and experiment with different flavors, mix-ins, and dietary preferences ensures that your homemade ice cream is always tailored to your unique taste and lifestyle needs. Embrace the joy of ice cream making and indulge in the sweet satisfaction of enjoying homemade frozen desserts that are not only delicious but also crafted with care and creativity.
Whether you’re looking to impress guests with your ice cream-making prowess, seeking healthier dessert alternatives, or simply craving a sweet treat, investing time in mastering the ice cream maker recipe is a decision that promises delicious rewards. So gather your ingredients, fire up your ice cream maker, and embark on a delightful journey to create the perfect scoop of homemade ice cream.