

Crafting delicious ice cream at home can be a delightful and rewarding experience, even if you don’t own an ice cream maker. Exploring ways to create ice cream without ice cream maker opens up a world of culinary creativity and ensures you can enjoy your favorite frozen treats anytime. This guide will delve into various methods, tips, and recipes to help you achieve creamy, flavorful ice cream without the need for specialized equipment.
 The Art of Making Ice Cream Without an Ice Cream Maker
Understanding the Basics
Making ice cream without ice cream maker involves using simple household tools and ingredients to replicate the freezing and churning process. Although it might seem challenging at first, several techniques can yield smooth and creamy results with minimal effort. The key lies in effectively incorporating air into the mixture and preventing large ice crystals from forming during the freezing process.
Essential Ingredients
Before diving into the methods, it’s important to gather the necessary ingredients:
- Base Ingredients: Heavy cream, whole milk, and sweeteners like sugar or honey.
- Flavorings: Vanilla extract, cocoa powder, fruit purees, or any other desired flavorings.
- Optional Add-ins: Chocolate chips, nuts, fruits, or swirls like caramel or fudge.
Popular Methods for Making Ice Cream Without an Ice Cream Maker
The Plastic Bag Method
How It Works
The plastic bag method is not only a simple but also a fun way to make ice cream without an ice cream maker. Specifically, this technique utilizes two plastic bags—one smaller and one larger—along with ice mixed with salt to lower the freezing point. As a result, this combination creates the perfect environment for ice cream formation.
Step-by-Step Guide
Prepare the Ice Cream Mixture: Firstly, in a small resealable plastic bag, combine 1 cup of heavy cream, 1/2 cup of whole milk, 1/2 cup of sugar, and your chosen flavorings. After mixing, be sure to seal the bag tightly, ensuring there are no leaks.
Prepare the Ice Bath: Then, fill the larger plastic bag halfway with ice and add 1/2 cup of rock salt. The salt disrupts the ice crystals, which lowers the temperature and creates an optimal environment for the mixture to freeze.
Seal and Shake: Then, place the small bag containing the ice cream mixture into the larger bag filled with ice and salt. Seal the larger bag securely. Now, shake the bags vigorously for about 5-10 minutes to ensure that the mixture inside the small bag freezes evenly.
Check and Enjoy: Finally, after shaking, carefully remove the small bag from the ice bath. Be sure to wipe off any salt before opening it. You can now scoop out your homemade ice cream and enjoy it immediately, or you can transfer it to a container for later use.
Tips for Success
- Use Rock Salt: Rock salt is more effective than table salt in lowering the melting point of ice.
- Ensure Seals are Tight: Prevent ice crystals from seeping into the ice cream mix by ensuring both bags are sealed tightly.
- Shake Thoroughly: Consistent shaking is essential for achieving a smooth texture.
The Freeze and Stir Method
How It Works
The freeze and stir method, on the other hand, involves periodically stirring the ice cream mixture as it freezes. By doing so, you break up ice crystals and incorporate air, which ultimately results in a creamy texture.
Step-by-Step Guide
- Prepare the Mixture: In a mixing bowl, combine 2 cups of heavy cream, 1 cup of whole milk, 3/4 cup of sugar, and 1 tablespoon of vanilla extract. Whisk until the sugar is fully dissolved.
- Initial Freezing: Pour the mixture into a shallow, freezer-safe dish and place it in the freezer.
- Stir Regularly: Every 30 minutes, remove the dish from the freezer and vigorously stir the mixture with a fork or whisk. Scrape the sides to incorporate any ice crystals into the mixture.
- Repeat Process: Continue this process for about 2-3 hours until the ice cream reaches your desired consistency.
- Serve or Store: Scoop the ice cream into bowls or transfer it to an airtight container. For a firmer texture, allow it to freeze for an additional hour.
Tips for Success
- Consistency is Key: Regular stirring prevents large ice crystals, ensuring a smooth ice cream texture.
- Avoid Over-Folding: While incorporating air, be gentle to maintain the mixture’s creaminess.
- Flavor Enhancements: Add mix-ins like chocolate chips or fruit pieces during the final stirring sessions.
The No-Churn Method
How It Works
The no-churn method is a popular technique that relies on whipping cream to incorporate air into the mixture, eliminating the need for an ice cream maker.
Step-by-Step Guide
- Whip the Cream: In a large mixing bowl, whip 2 cups of heavy cream until stiff peaks form.
- Prepare the Base: In another bowl, combine 1 can (14 ounces) of sweetened condensed milk with 1 teaspoon of vanilla extract.
- Fold Together: Gently fold the whipped cream into the sweetened condensed milk mixture until well combined and smooth.
- Add Flavorings: Incorporate any additional flavorings or mix-ins, such as fruit puree, chocolate chunks, or nuts.
- Freeze: Pour the mixture into a loaf pan or airtight container and freeze for at least 6 hours or until firm.
- Serve: Scoop the no-churn ice cream and enjoy a creamy, homemade treat.
Tips for Success
- Whip Cream Firmly: Ensure the cream is whipped to stiff peaks to maintain the incorporated air.
- Flavor Balance: Sweetened condensed milk provides sweetness and creaminess, so adjust additional sweeteners accordingly.
- Mix-In Timing: Add mix-ins during the folding process to ensure even distribution.
Blender or Food Processor Method
How It Works
Using a blender or food processor, you can create a smooth ice cream base by leveraging controlled blending and freezing techniques.
Step-by-Step Guide
- Blend the Ingredients: In a blender, combine 2 cups of frozen fruit (such as bananas or berries), 1/2 cup of heavy cream, 1/4 cup of milk, and sweeteners to taste. Blend until smooth and creamy.
- Adjust Texture: For a softer ice cream, you can increase the amount of milk. For a thicker consistency, add more frozen fruit or reduce the milk.
- Freeze or Serve: Transfer the blended mixture to a container and freeze for 1-2 hours for a firmer texture, or serve immediately for a soft-serve consistency.
- Optional Add-Ins: Stir in additional ingredients like chocolate chips, nuts, or caramel sauce before serving.
Tips for Success
- Use Frozen Fruits: Frozen fruits help achieve a creamy texture without the need for an ice cream maker.
- Monitor Blending Time: Over-blending can make the mixture too thin. Stop blending once it reaches the desired consistency.
- Experiment with Flavors: This method is particularly versatile for fruit-based ice creams, but you can also experiment with savory flavors.
 Creative Recipes for Ice Cream Without an Ice Cream Maker
Classic Vanilla Ice Cream
Ingredients
- 2 cups heavy cream
- 1 cup whole milk
- 3/4 cup sugar
- 1 tablespoon vanilla extract
Instructions
- Combine Ingredients: In a mixing bowl, whisk together heavy cream, whole milk, sugar, and vanilla extract until the sugar dissolves.
- Use Your Preferred Method: Choose any of the methods discussed—plastic bag, freeze and stir, no-churn, or blender method—to churn and freeze the mixture.
- Freeze Until Firm: Pour the mixture into a container and freeze for several hours until it reaches the desired consistency.
- Serve: Scoop and enjoy a creamy, homemade vanilla ice cream.
Chocolate Fudge Ice Cream
Ingredients
- 2 cups heavy cream
- 1 cup whole milk
- 3/4 cup sugar
- 1/2 cup cocoa powder
- 1 teaspoon vanilla extract
- 1/2 cup chocolate chips or chunks
Instructions
- Mix Ingredients: In a saucepan, combine milk, sugar, and cocoa powder. Heat gently, stirring until the sugar and cocoa dissolve.
- Cool the Mixture: Remove from heat and let it cool completely. Stir in heavy cream and vanilla extract.
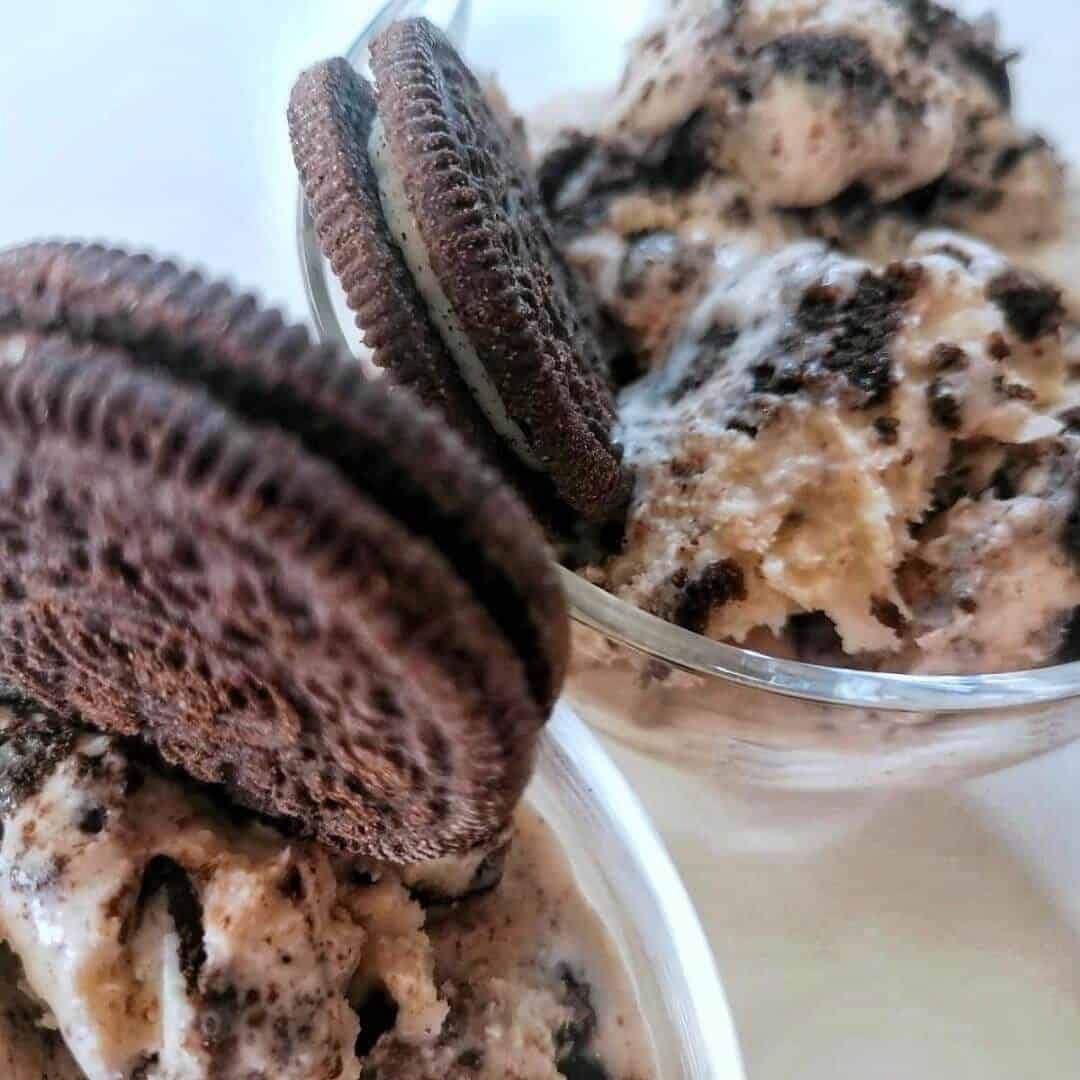
- Churn and Fold: Use the no-churn method by whipping the heavy cream separately and folding it into the cooled mixture. Add chocolate chips.
- Freeze: Transfer to a container and freeze until firm.
- Enjoy: Scoop and savor the rich chocolate flavor.
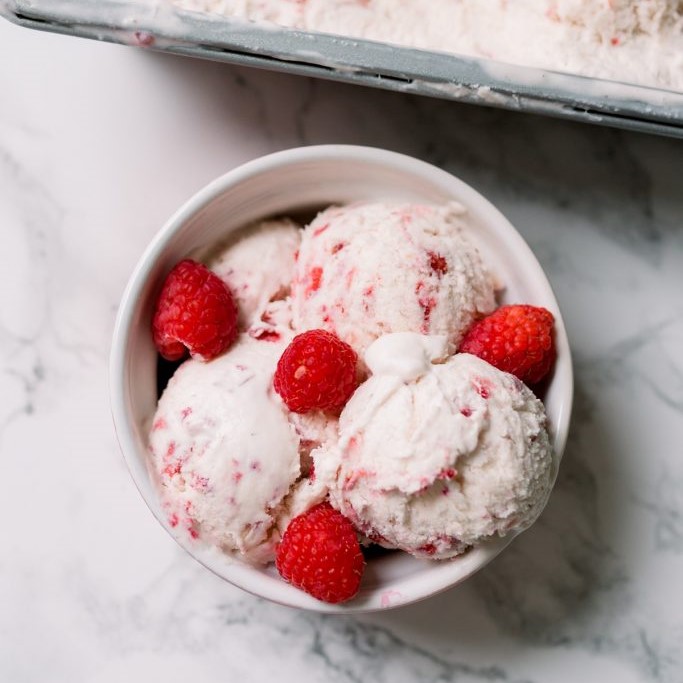
Strawberry Banana Swirl Ice Cream
Ingredients
- 2 ripe bananas, sliced and frozen
- 1 cup strawberries, hulled and frozen
- 1/2 cup heavy cream
- 1/4 cup milk
- 1/4 cup honey or maple syrup
- 1 teaspoon vanilla extract
Instructions
- Blend the Fruits: In a blender, combine frozen bananas and strawberries until smooth.
- Add Cream and Sweetener: Add heavy cream, milk, honey, and vanilla extract. Blend until creamy.
- Swirl and Freeze: Pour half of the mixture into a container, add a layer of additional sliced strawberries, and then pour the remaining mixture on top. Swirl gently with a fork.
- Freeze: Allow to freeze for several hours until firm.
- Serve: Scoop and enjoy the fruity swirls.
Mint Chocolate Chip Ice Cream
Ingredients
- 2 cups heavy cream
- 1 cup whole milk
- 3/4 cup sugar
- 1 teaspoon peppermint extract
- 1/2 cup chocolate chips
- Green food coloring (optional)
Instructions
- Prepare the Base: In a mixing bowl, whisk together heavy cream, whole milk, sugar, peppermint extract, and a few drops of green food coloring if desired.
- Chill the Mixture: Refrigerate the mixture until it’s thoroughly chilled.
- Fold in Chocolate Chips: Use the no-churn method to whip the heavy cream and then fold it into the chilled mixture. Add chocolate chips.
- Freeze: Pour into a container and freeze until solid.
- Enjoy: Scoop and relish the refreshing mint flavor with chocolate crunches.
 Tips for Perfecting Your Homemade Ice Cream
Use High-Quality Ingredients
The quality of your ingredients directly affects the flavor and texture of your ice cream. Opt for fresh, high-fat dairy products and natural flavorings to enhance the overall taste.
Chill Your Mixture Thoroughly
Starting with a completely cold mixture accelerates the freezing process and helps achieve a smoother texture. Allow your ice cream base to chill in the refrigerator for several hours before freezing.
Control the Freezing Environment
To prevent the formation of large ice crystals, ensure a consistent freezing temperature. Avoid frequent temperature fluctuations by keeping your freezer at a steady temperature.
Incorporate Mix-Ins Wisely
Add-ins such as chocolate chips, nuts, or fruit pieces should be added towards the end of the mixing process to prevent them from sinking or clumping. Ensure they are evenly distributed for consistent flavor in every scoop.
Experiment with Flavors
Don’t hesitate to experiment with different flavor combinations. From exotic fruits to rich chocolates and creamy caramel, the possibilities are endless. Personalizing your ice cream allows you to cater to your unique taste preferences.
Healthier Alternatives for Ice Cream Without an Ice Cream Maker
Banana-Based Ice Cream
Why Choose Bananas?
Bananas provide a creamy base packed with natural sweetness and nutrients. They eliminate the need for heavy cream, making your ice cream healthier while still maintaining a rich texture.
Simple Recipe
- Freeze Bananas: Slice ripe bananas and freeze them until solid.
- Blend: In a blender, combine the frozen banana slices with a splash of milk or a milk alternative until smooth.
- Flavor: Add vanilla extract or cocoa powder for additional flavor.
- Serve: Enjoy immediately as soft-serve or freeze for a firmer texture.
Greek Yogurt Ice Cream
Benefits of Greek Yogurt
Greek yogurt offers a protein-rich alternative to traditional ice cream bases. It provides a tangy flavor and creamy texture while reducing calories and fat content.
Simple Recipe
- Mix Ingredients: In a bowl, combine 2 cups of Greek yogurt, 1/2 cup of honey or maple syrup, and 1 teaspoon of vanilla extract.
- Add Flavors: Incorporate any desired mix-ins like fresh berries, nuts, or dark chocolate pieces.
- Freeze: Transfer the mixture to a container and freeze until firm, stirring occasionally to maintain smoothness.
- Enjoy: Scoop and savor your healthier homemade ice cream.
Coconut Milk Ice Cream
Why Choose Coconut Milk?
Coconut milk is a dairy-free alternative that adds a rich, tropical flavor to your ice cream. It is also suitable for those with lactose intolerance or following a vegan diet.
Simple Recipe
- Combine Ingredients: In a blender, mix 2 cans of full-fat coconut milk with 1/2 cup of sweetener and 1 teaspoon of vanilla extract.
- Blend Smooth: Ensure the mixture is well-blended until creamy.
- Add Flavors: Integrate flavors such as mango puree, chocolate chips, or shredded coconut.
- Freeze: Pour into a container and freeze until solid, stirring occasionally if needed.
- Serve: Scoop and enjoy a creamy, dairy-free frozen treat.
 Troubleshooting Common Issues When Making Ice Cream Without an Ice Cream Maker
Ice Cream is Too Hard
Causes
- Over-freezing can make ice cream too hard and difficult to scoop.
- Not incorporating enough air during the freezing process.
Solutions
- Allow the ice cream to soften at room temperature for a few minutes before serving.
- Stir more frequently during the freezing process to incorporate additional air.
Ice Cream is Grainy or Icy
Causes
- Formation of large ice crystals due to inconsistent freezing.
- Insufficient stirring or churning.
Solutions
- Ensure the mixture is thoroughly chilled before freezing.
- Stir the ice cream regularly to break up ice crystals and promote a smooth texture.
Flavor is Not Intense Enough
Causes
- Dilution of flavors or insufficient flavoring ingredients.
Solutions
- Increase the amount of flavoring extracts or add concentrated flavorings like fruit purees or cocoa powder.
- Allow the ice cream to chill longer to let the flavors meld.
Mix-Ins Sink to the Bottom
Causes
- Mix-ins are too heavy or not evenly distributed.
Solutions
- Cut mix-ins into smaller pieces for even distribution.
- Add mix-ins during the final stages of the mixing process to ensure they are well incorporated.
Enhancing Your Ice Cream Without an Ice Cream Maker Experience
Presentation Matters
Serving Suggestions
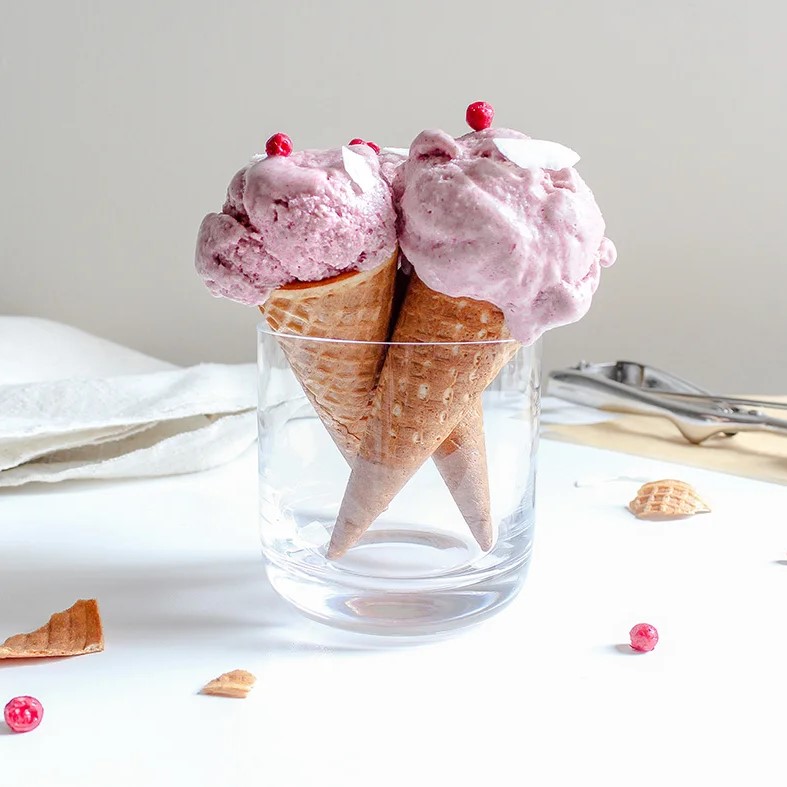
To enhance the visual appeal of your homemade ice cream, consider serving it in stylish bowls or cones. Additionally, adding toppings such as fresh fruit, chocolate sauce, or sprinkles can make each serving even more special.
Garnishing Tips
Moreover, you can garnish your ice cream with mint leaves, shaved chocolate, or a drizzle of caramel to create an elegant touch that elevates the overall presentation.
Pairing with Desserts
Complementary Treats
In addition to creative garnishing, pairing your homemade ice cream with desserts like warm brownies, apple pie, or waffles provides a delightful contrast between warm and cold elements, resulting in a satisfying combination.
Creating Ice Cream Sandwiches
Furthermore, using cookies, brownies, or slices of cake to make ice cream sandwiches offers a fun and customizable dessert option. This not only adds variety but also makes your ice cream experience more interactive.
Hosting Ice Cream Parties
Fun Activities
If you want to enhance your ice cream experience, you should consider hosting an ice cream party where guests can customize their own frozen treats. By providing a variety of mix-ins and toppings, you not only create a delightful environment but also foster a creative and enjoyable atmosphere for everyone involved.
Recipe Sharing
Lastly, encourage guests to share their favorite ice cream recipes and methods, which fosters a collaborative and engaging atmosphere that everyone will enjoy.
 Conclusion
In conclusion, making ice cream without ice cream maker opens up a realm of possibilities for creating delicious and customized frozen treats at home. With various methods like the plastic bag technique, freeze and stir, no-churn, and blender-based approaches, you can enjoy creamy, flavorful ice cream without the need for specialized equipment. By understanding the techniques, experimenting with recipes, and incorporating healthy alternatives, you can master the art of homemade ice cream and delight in the satisfaction of crafting your own sweet creations. Whether you seek classic vanilla, rich chocolate, or inventive fruit blends, making ice cream at home ensures that you can enjoy your favorite frozen desserts anytime, tailored precisely to your taste.