
Creating the perfect scoop of vanilla ice cream at home has never been easier, thanks to the vanilla ice cream recipe with ice cream maker. This delightful treat is a staple in many households, beloved for its creamy texture and versatile flavor. However, achieving a truly strong vanilla flavor can sometimes be challenging. In this comprehensive guide, we’ll explore the essential steps and tips to enhance the vanilla essence in your homemade ice cream, ensuring every bite is bursting with rich, authentic flavor.
 Selecting the Right Vanilla Ingredients
The foundation of any exceptional vanilla ice cream lies in the quality of its vanilla ingredients. To maximize the vanilla flavor in your vanilla ice cream recipe with ice cream maker, consider the following components:
Choosing High-Quality Vanilla Beans
Vanilla beans are the gold standard for infusing genuine flavor into your ice cream. Opt for Grade A vanilla beans, which are plump, moist, and bursting with flavor. These beans provide a deep, rich vanilla taste that surpasses synthetic alternatives.
- Split and Scrape: Carefully split the vanilla beans lengthwise and scrape out the seeds. Incorporate both the seeds and the pod into your ice cream mixture to extract maximum flavor.
- Infusion Time: Allow the vanilla pods to steep in the milk mixture during the heating process. This extended infusion time ensures a more intense vanilla aroma and taste.
Using Pure Vanilla Extract
If vanilla beans are unavailable, pure vanilla extract serves as an excellent substitute. Ensure you use pure extract rather than imitation varieties, as the latter can contain additives that diminish the quality of the flavor.
- Quantity Matters: Adjust the amount of vanilla extract based on the strength you desire. Typically, 1 to 2 teaspoons of pure vanilla extract per quart of ice cream will yield a robust flavor.
- Complementary Flavors: Enhance the vanilla taste by pairing it with complementary ingredients such as a touch of almond extract or a splash of bourbon, which can deepen the overall flavor profile.
Perfecting the Ice Cream Base
A well-crafted ice cream base is crucial for achieving a smooth, creamy texture that showcases the strong vanilla flavor. Follow these steps to create the ideal foundation for your vanilla ice cream recipe with ice cream maker:
Balancing Fat and Sweetness
The balance between fat and sweetness in your ice cream base plays a significant role in flavor development.
- Heavy Cream and Whole Milk: Use a combination of heavy cream and whole milk to provide the necessary richness and creaminess. A typical ratio is 2 cups of heavy cream to 1 cup of whole milk.
- Sugar Selection: Opt for superfine sugar or regular granulated sugar. Superfine sugar dissolves more easily, ensuring a smoother texture without any gritty remnants.
- Infusion Process: Gently heat the milk and cream mixture with sugar to fully dissolve the sugar, creating a seamless, sweet base that complements the strong vanilla notes.
Incorporating Egg Yolks for Creaminess
For a custard-based ice cream, incorporating egg yolks adds depth and richness to the vanilla flavor.
- Creating a Custard: Whisk together egg yolks and sugar until pale and creamy. Gradually add the heated milk and cream mixture to temper the eggs, then return everything to the saucepan.
- Thickening the Base: Cook the mixture over low heat, stirring constantly until it thickens enough to coat the back of a spoon. This process enhances the creaminess and ensures a velvety texture in your final ice cream.
- Straining for Smoothness: Strain the custard through a fine-mesh sieve to remove any cooked egg bits, resulting in a silky smooth base that highlights the strong vanilla flavor.
 Optimal Ice Cream Making Techniques
Using an ice cream maker effectively is essential for maximizing the vanilla flavor in your ice cream. Here are some techniques to ensure your vanilla ice cream recipe with ice cream maker yields delicious, flavorful results:
Churning at the Right Temperature
Maintaining the correct temperature during churning is crucial for achieving the perfect texture and flavor.
- Pre-Chilling the Mixture: Ensure your ice cream base is thoroughly chilled before pouring it into the ice cream maker. Ideally, chill the mixture in the refrigerator for at least 4 hours or overnight.
- Frozen Bowl: If your ice cream maker has a removable frozen bowl, make sure it has been in the freezer for the recommended time—usually 24 hours—for optimal freezing performance.
Consistent Churning Duration
The duration of churning affects both the texture and the flavor concentration in your ice cream.
- Follow Manufacturer’s Instructions: Adhere to the specific churning times recommended by your ice cream maker’s manufacturer to prevent over or under-churning.
- Monitor the Texture: Stop the machine when the ice cream reaches a soft-serve consistency. For a denser texture, transfer the ice cream to a freezer-safe container and let it firm up in the freezer for a few hours.
Enhancing Flavor During Churning
Incorporate additional flavor-enhancing techniques during the churning process to amplify the vanilla taste.
- Adding Vanilla at the End: After the ice cream has churned, you can stir in extra vanilla extract or vanilla bean paste to intensify the flavor without risking dilution through the freezing process.
- Incorporating Mix-Ins: To further emphasize the vanilla, consider adding subtle mix-ins like toasted almonds, chocolate chips, or swirls of caramel that complement the primary flavor without overpowering it.
Innovative Vanilla Ice Cream Recipes with Ice Cream Maker
Elevate your vanilla ice cream experience by exploring innovative recipes that incorporate unique ingredients while maintaining a strong vanilla flavor. Here are a few creative variations to try with your mascara maker:
Creamy Vanilla Bean and Honey Ice Cream
Enhance the natural sweetness of your vanilla ice cream with the addition of honey for a sophisticated twist.
Ingredients:
- 2 cups heavy cream
- 1 cup whole milk
- 3/4 cup granulated sugar
- 1 vanilla bean, split and scraped
- 3 large egg yolks
- 3 tablespoons honey
Instructions:
- Prepare the Base: In a saucepan, combine the heavy cream, whole milk, sugar, and vanilla bean seeds and pod. Heat gently until the sugar dissolves.
- Create the Custard: In a separate bowl, whisk the egg yolks. Slowly pour the hot cream mixture into the eggs, whisking constantly. Return the mixture to the saucepan and cook until it thickens.
- Add Honey: Remove from heat and stir in the honey. Strain the custard, then chill thoroughly.
- Churn and Freeze: Pour the chilled mixture into your ice cream maker and churn according to the manufacturer’s instructions. Transfer to a container and freeze until firm.
Vanilla Espresso Ice Cream
Infuse your vanilla ice cream with a hint of espresso for a delightful coffee-flavored dessert.
Ingredients:
- 2 cups heavy cream
- 1 cup whole milk
- 3/4 cup granulated sugar
- 1 tablespoon instant espresso powder
- 1 teaspoon vanilla extract
- 3 large egg yolks
Instructions:
- Combine Milk and Espresso: In a saucepan, mix the whole milk with instant espresso powder and sugar. Heat until the sugar dissolves completely.
- Whisk Egg Yolks: In a separate bowl, whisk the egg yolks until smooth. Gradually add the hot milk mixture, stirring constantly to prevent curdling.
- Thicken the Custard: Return the mixture to the saucepan and cook over low heat until it thickens.
- Add Vanilla and Chill: Remove from heat, stir in vanilla extract, and strain the mixture. Chill thoroughly before churning.
- Churn and Serve: Use your ice cream maker to churn the mixture, then freeze until solid.
Vegan Vanilla Ice Cream Recipe with Ice Cream Maker
For those adhering to a vegan diet, this plant-based vanilla ice cream recipe ensures a rich and creamy texture without dairy.
Ingredients:
- 2 cans full-fat coconut milk
- 3/4 cup organic cane sugar
- 2 tablespoons cornstarch
- 1 vanilla bean, split and scraped
- 1 teaspoon pure vanilla extract
Instructions:
- Mix Ingredients: In a saucepan, combine the coconut milk, sugar, cornstarch, and vanilla bean seeds and pod. Whisk until smooth.
- Heat the Mixture: Cook over medium heat, stirring constantly until the mixture thickens.
- Remove Vanilla Pod and Add Extract: Take the saucepan off the heat, remove the vanilla pod, and stir in the vanilla extract.
- Chill the Mixture: Allow the mixture to cool to room temperature, then refrigerate until thoroughly chilled.
- Churn and Freeze: Pour into your ice cream maker and churn according to instructions. Transfer to a container and freeze until firm.
 Tips for Achieving the Strongest Vanilla Flavor
To ensure your vanilla ice cream recipe with ice cream maker boasts a robust vanilla flavor, consider these expert tips:
Use Fresh Vanilla Beans
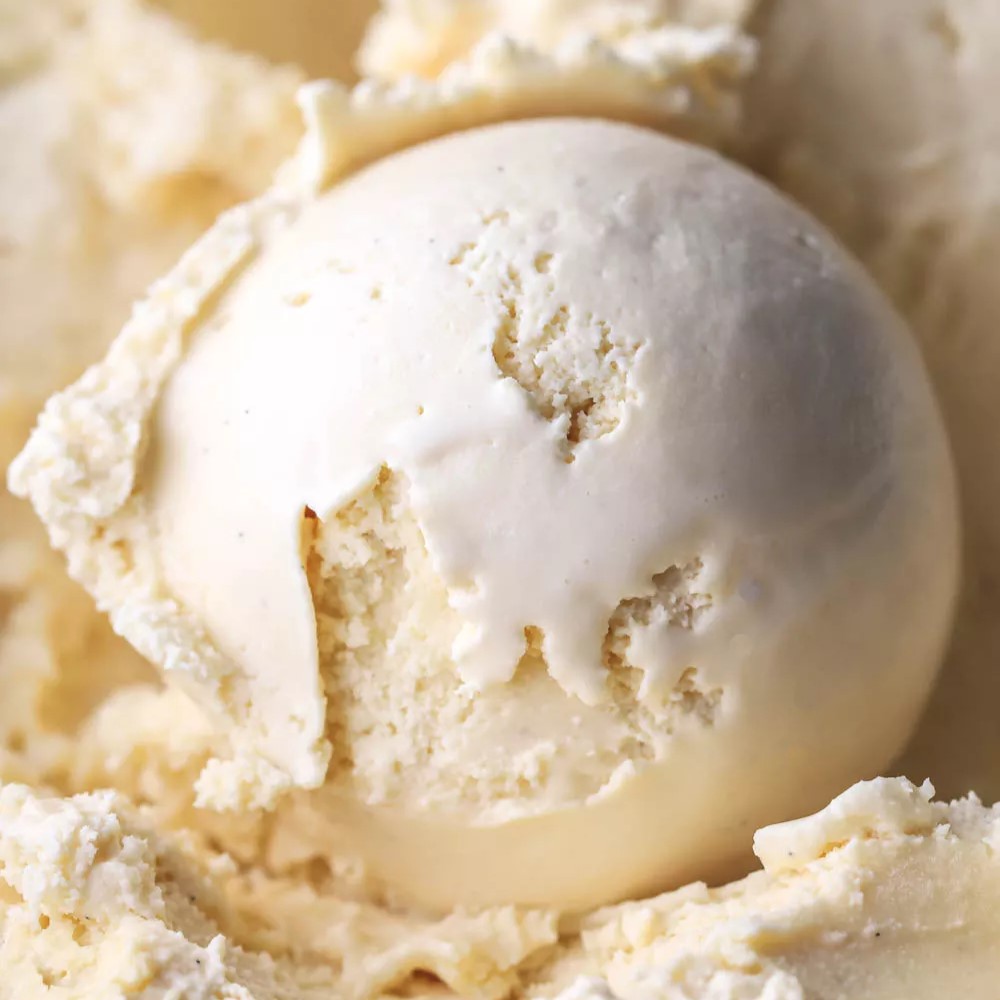
Fresh, high-quality vanilla beans provide a superior flavor compared to extracts. The natural oils and seeds from a real vanilla bean infuse your ice cream with a deep, authentic taste that cannot be replicated with synthetic alternatives.
Extend Vanilla Infusion
Allowing the vanilla beans to infuse in the milk or cream mixture for a longer period enhances the flavor intensity. You can even simmer the beans for an extended time to extract more vanilla essence.
Incorporate Vanilla Paste
Vanilla paste is a concentrated form of vanilla that contains both seeds and extract, offering a richer flavor. Adding a tablespoon of vanilla paste to your recipe can significantly boost the vanilla profile of your ice cream.
Layer Vanilla Flavor
For an extra punch of vanilla, consider layering flavors by adding a swirl of vanilla bean paste or custard mix into the ice cream during the last few minutes of churning. This technique ensures that the vanilla flavor is evenly distributed throughout the ice cream.
Balance Sweetness Carefully
Maintaining the right balance of sweetness allows the vanilla flavor to shine without being overshadowed. Taste your ice cream base before churning and adjust the sugar levels if necessary to complement the natural sweetness of the vanilla.
Storing and Serving Your Homemade Vanilla Ice Cream
Proper storage and serving techniques are essential for preserving the rich vanilla flavor and creamy texture of your homemade ice cream.
Freezing Techniques
- Airtight Containers: Transfer the churned ice cream to airtight containers to prevent ice crystals from forming and to maintain freshness.
- Layer with Plastic Wrap: Place a layer of plastic wrap directly on the surface of the ice cream before sealing the container. This helps prevent freezer burn and preserves the integrity of the vanilla flavor.
- Optimal Freezing Temperature: Store the ice cream at a consistent freezing temperature of 0°F (-18°C) to ensure it remains firm and creamy.
Serving Suggestions
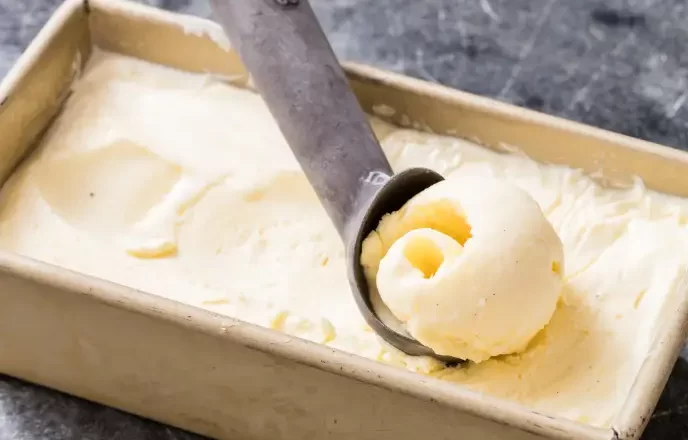
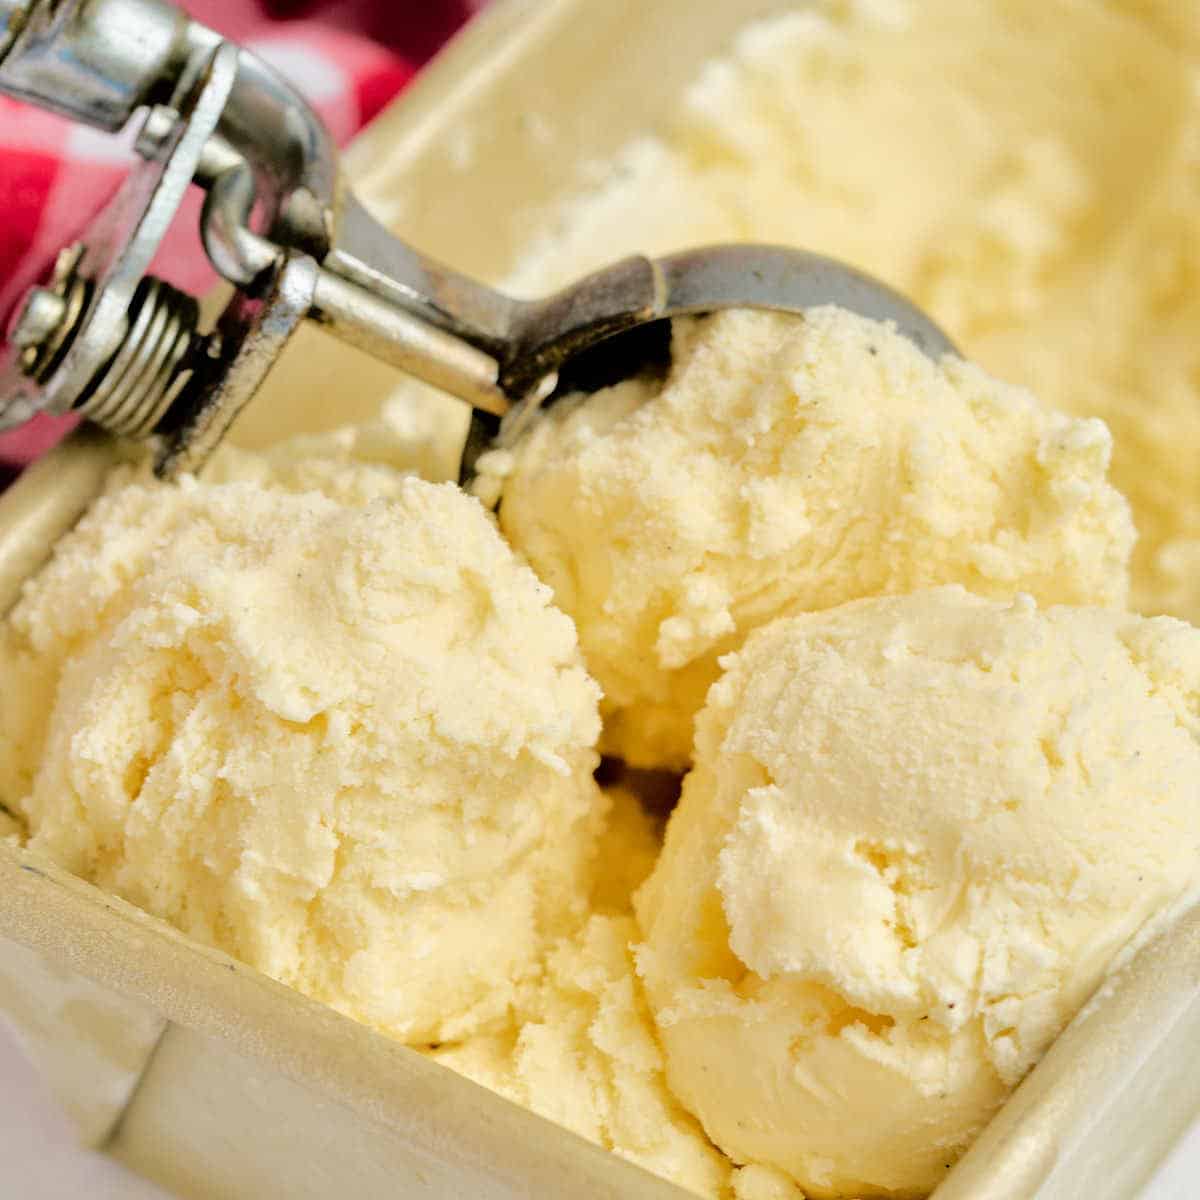
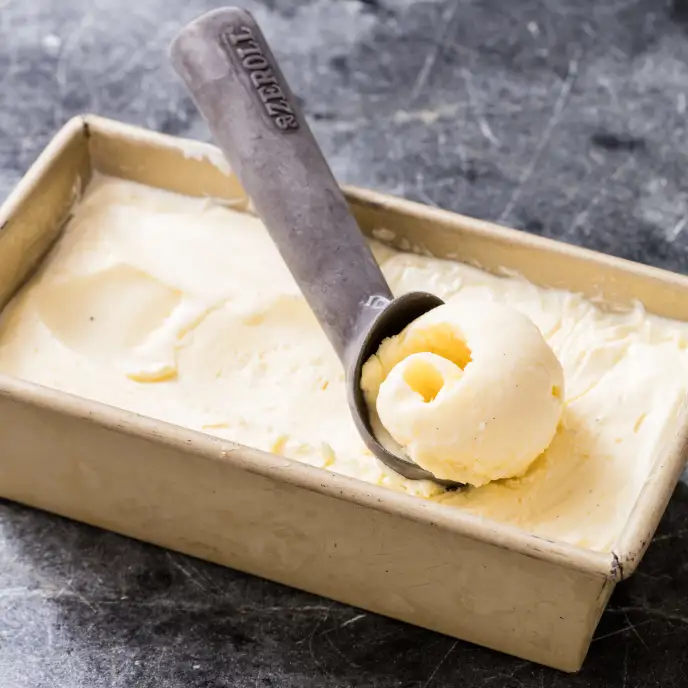
- Proper Scooping: Allow the ice cream to sit at room temperature for a few minutes before scooping. This makes it easier to serve without melting or crumbling.
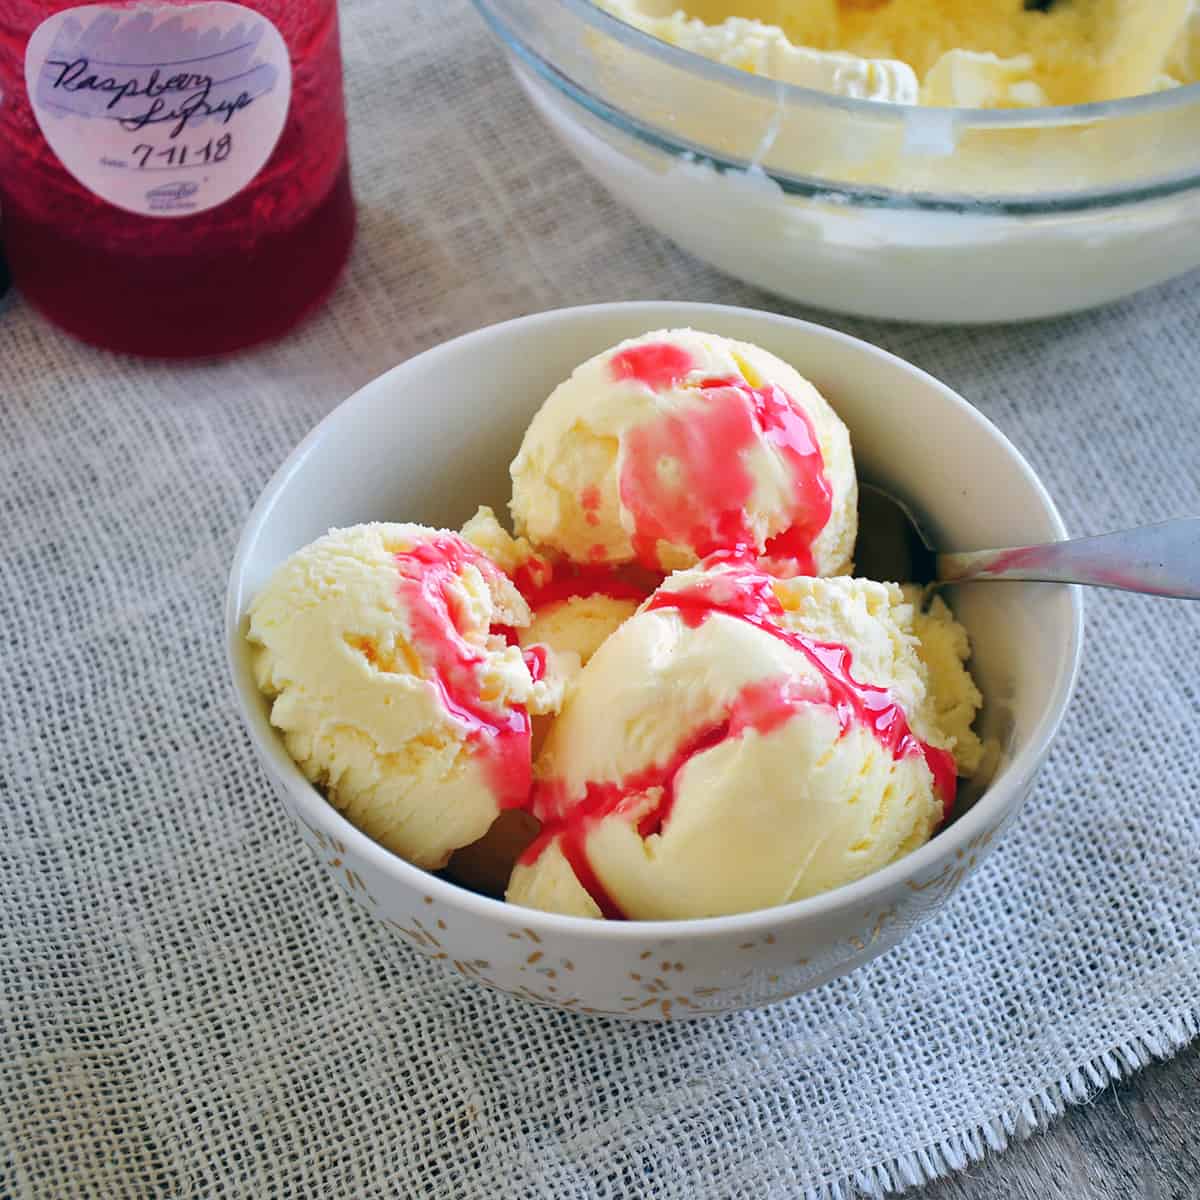
- Presentation Matters: Serve your vanilla ice cream in chilled bowls or cones, garnished with fresh fruits, chocolate chips, or a drizzle of your favorite syrup for an elevated presentation.
- Pairing with Desserts: Vanilla ice cream pairs wonderfully with a variety of desserts, such as warm apple pie, brownies, or a slice of cake, enhancing the overall dessert experience with its rich flavor.
 Frequently Asked Questions
How Long Does It Take to Make Vanilla Ice Cream with an Ice Cream Maker?
Making vanilla ice cream with an ice cream maker typically takes about 30 to 40 minutes of active churning time. However, the initial preparation and cooling of the ice cream base can add a few additional hours, especially if you chill the mixture overnight for optimal results.
Can I Substitute Ingredients in a Vanilla Ice Cream Recipe with Ice Cream Maker?
Yes, you can substitute certain ingredients in your vanilla ice cream recipe based on dietary preferences or ingredient availability. For example, you can use almond milk or oat milk instead of whole milk for a dairy-free version. Additionally, you can replace granulated sugar with alternative sweeteners like honey or agave syrup, adjusting the quantities to taste.
What Are Common Mistakes to Avoid When Making Vanilla Ice Cream with an Ice Cream Maker?
- Not Chilling the Base Properly: Ensure your ice cream base is thoroughly chilled before churning to achieve a smooth texture.
- Overfilling the Ice Cream Maker: Follow the manufacturer’s guidelines for maximum capacity to prevent spillage and ensure even churning.
- Using Low-Quality Vanilla: Invest in high-quality vanilla beans or extract to maximize flavor.
- Neglecting to Stir During Heating: When making a custard base, stir constantly to prevent the eggs from scrambling and ensure a smooth texture.
Can I Make Vanilla Ice Cream Without an Ice Cream Maker?
While an ice cream maker simplifies the process, you can make vanilla ice cream without one by using the freeze-and-stir method. Pour the chilled ice cream base into a shallow container, freeze it for about an hour, and then stir vigorously with a whisk or fork to break up ice crystals. Repeat this process every 30 minutes until the ice cream reaches the desired consistency. However, using an ice cream maker yields a smoother and creamier texture compared to this manual method.
How Can I Ensure My Vanilla Ice Cream Stays Creamy After Freezing?
To maintain a creamy texture, incorporate air into the ice cream during the churning process using an ice cream maker. Additionally, adding a small amount of alcohol, such as vodka or liqueur, can help lower the freezing point, preventing ice crystals from forming. Using a higher fat content, such as heavy cream, also contributes to a creamier consistency by inhibiting ice crystal development.
 Conclusion
Crafting a rich and flavorful vanilla ice cream recipe with ice cream maker is an achievable and rewarding endeavor. By selecting high-quality ingredients, perfecting your ice cream base, and leveraging the advanced features of your ice cream maker, you can create an exquisite homemade vanilla ice cream that rivals any store-bought version. Embrace the meticulous techniques and expert tips outlined in this guide to enhance the vanilla flavor, ensuring every scoop is a testament to your culinary prowess. Whether for a family treat, a special occasion, or simply to indulge your sweet tooth, mastering this recipe will undoubtedly elevate your dessert repertoire and delight your taste buds with its sumptuous, robust vanilla essence.