
Creating delicious, creamy ice cream at home has never been more accessible, thanks to the innovative home made ice cream maker. Whether you’re a seasoned dessert enthusiast or a beginner eager to explore the world of homemade treats, understanding what you need to make homemade ice cream is crucial for achieving the perfect consistency and flavor. In this comprehensive guide, we will explore the essential tools and ingredients required to use a home made ice cream maker effectively, ensuring that your ice cream adventures are both enjoyable and successful.
 Understanding the Basics of Homemade Ice Cream
Before diving into the specifics of using a home made ice cream maker, it’s important to grasp the fundamentals of homemade ice cream. Making ice cream at home allows you to customize flavors, control ingredients, and create a dessert that perfectly suits your taste preferences. Additionally, homemade ice cream can be a fun and rewarding activity for families and friends.
The Science Behind Ice Cream
Ice cream is a delicate balance of air, fat, and sugar, which together create its smooth and creamy texture. The process of churning ice cream incorporates air into the mixture, preventing ice crystals from forming and ensuring a velvety consistency. Understanding this science helps in selecting the right ingredients and using your home made ice cream maker effectively.
Benefits of Making Ice Cream at Home
There are numerous advantages to making ice cream at home. Firstly, you have complete control over the ingredients, allowing you to create healthier versions by reducing sugar or using natural sweeteners. Secondly, homemade ice cream can be tailored to accommodate dietary restrictions, such as lactose intolerance or vegan preferences. Lastly, the satisfaction of creating a delicious dessert from scratch is unparalleled.
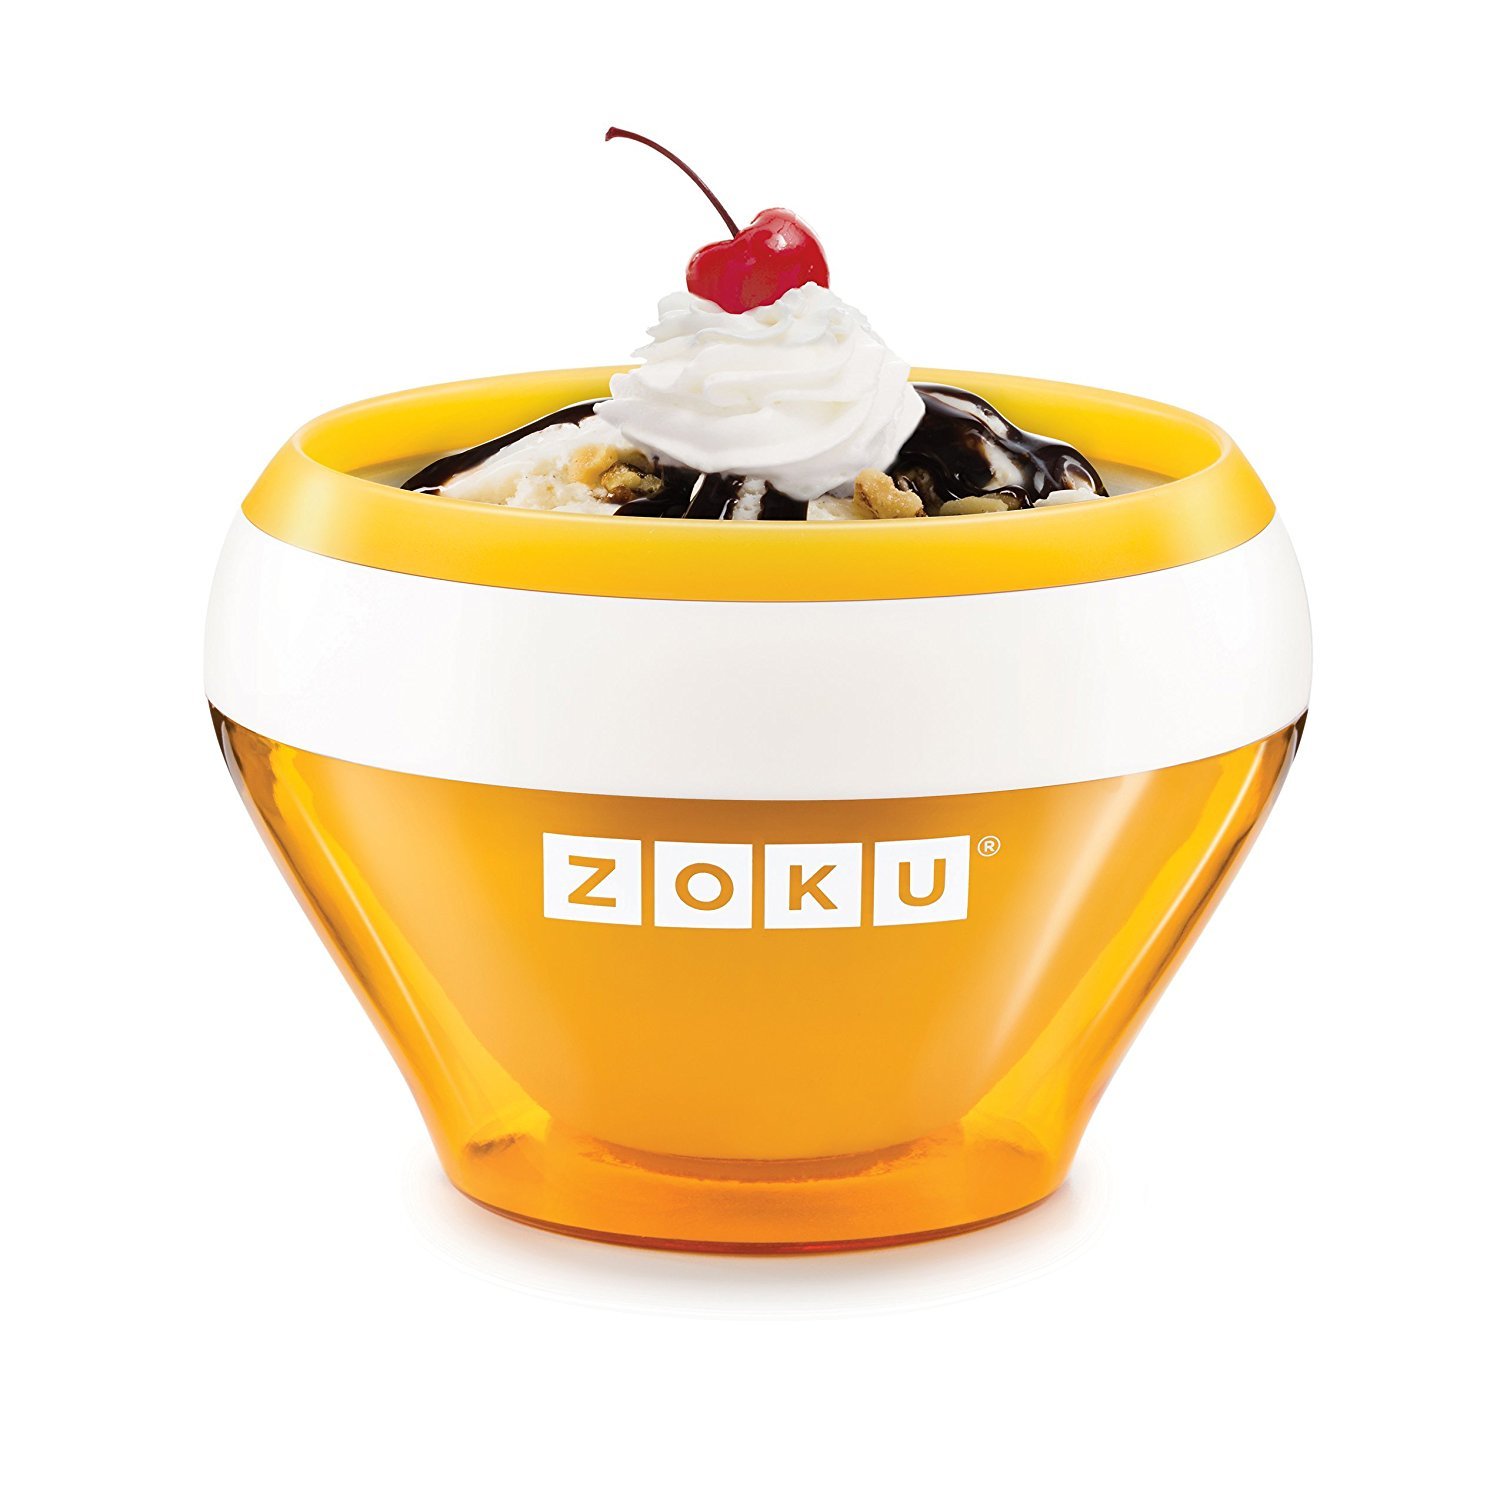
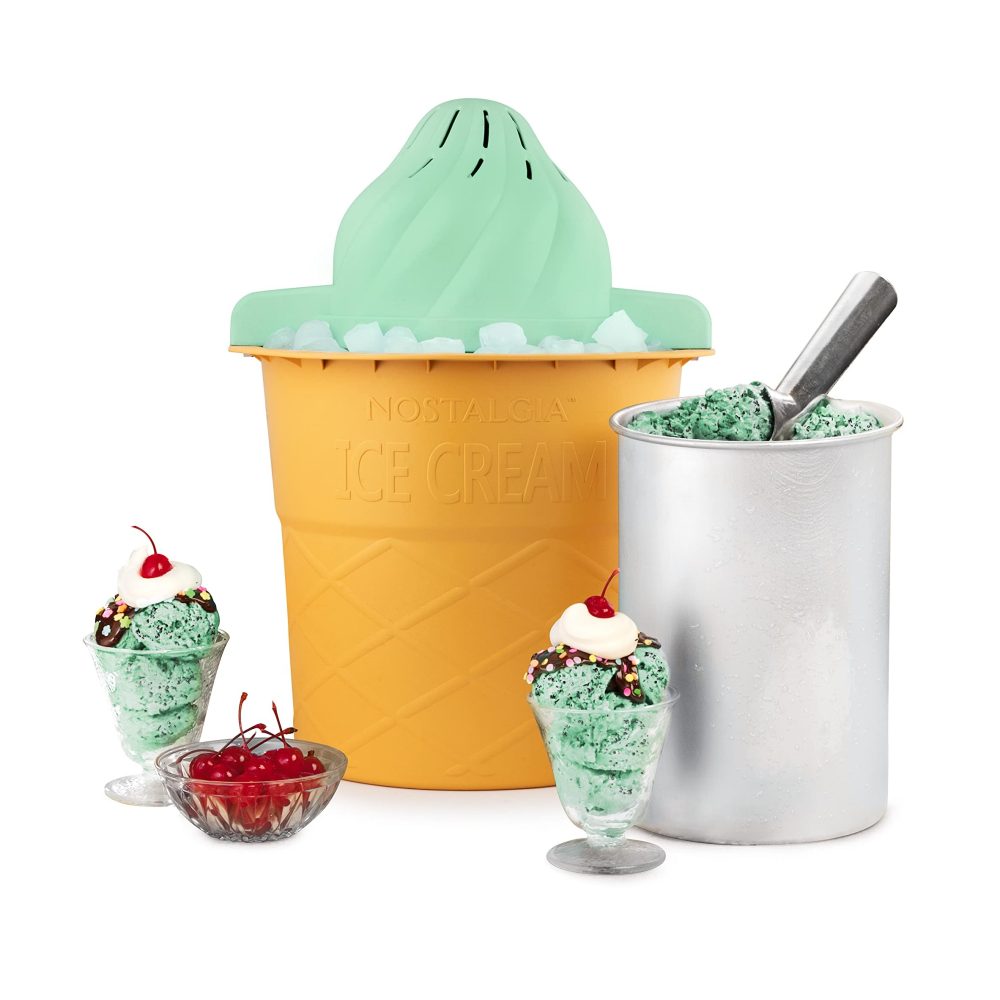
Essential Equipment for a HomeMade Ice Cream Maker
To embark on your homemade ice cream journey, you need the right equipment. A home made ice cream maker is the cornerstone of this process, but there are other tools and accessories that enhance your ice cream-making experience.
Choosing the Right Home Made Ice Cream Maker
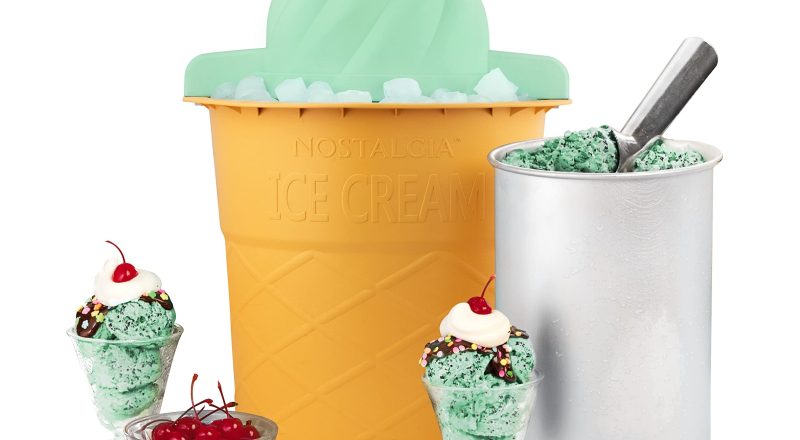
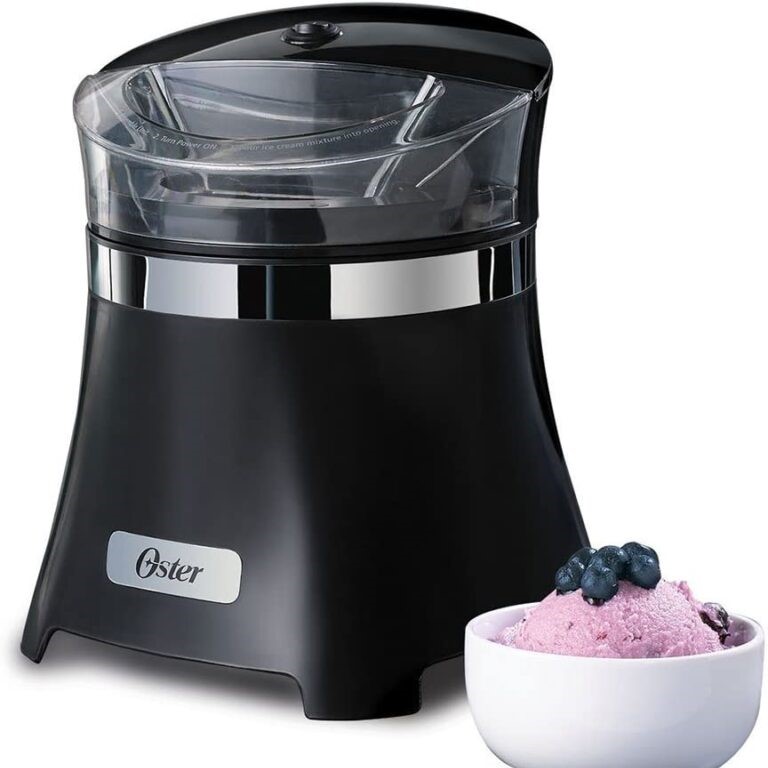
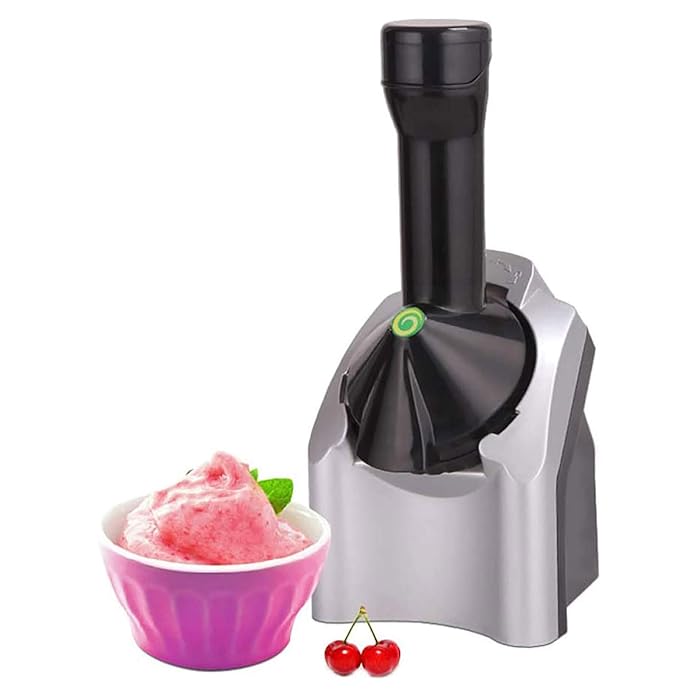
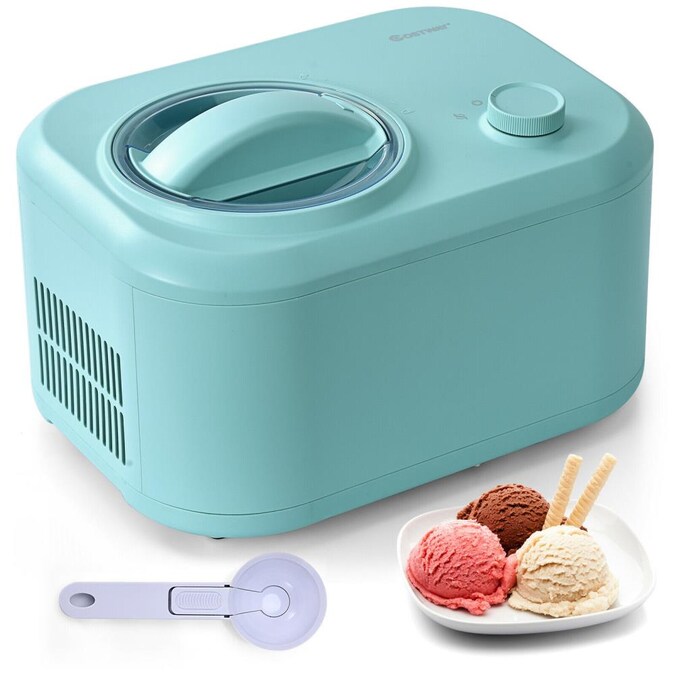
Selecting a suitable home made ice cream maker is the first step towards successful ice cream making. There are various types available, each with its unique features:
Manual Ice Cream Makers: These require you to churn the mixture by hand, offering a more hands-on approach. Consequently, this method allows you to control the texture of your ice cream, giving you a sense of satisfaction as you create your dessert.
Electric Ice Cream Makers: In contrast, these machines automate the churning process, ensuring consistent results with minimal effort. Moreover, they often come with different settings for various types of frozen desserts, making them versatile options for all your ice cream needs.
Compressor Ice Cream Makers: On the other hand, these high-end models feature built-in refrigeration systems. As a result, you can make multiple batches of ice cream without the need to pre-freeze the bowl, providing convenience for larger gatherings or frequent treats.
When choosing a home made ice cream maker, consider factors such as budget, ease of use, capacity, and desired features to find the perfect match for your needs.
Additional Tools and Accessories
Apart from the ice cream maker, several other tools can enhance your ice cream-making process:
- Mixing Bowls: Essential for preparing and combining your ingredients.
- Measuring Cups and Spoons: Accurate measurements are crucial for consistent results.
- Whisks and Spatulas: These tools help in mixing and scraping the ice cream mixture effectively.
- Storage Containers: Airtight containers are necessary for storing your homemade ice cream, keeping it fresh and preventing ice crystals from forming.
- Ice Cream Scoops: For serving your ice cream with ease and precision.
 Key Ingredients for Homemade Ice Cream
Creating delicious ice cream starts with using high-quality ingredients. Understanding the role of each component ensures that your ice cream turns out as creamy and flavorful as possible.
Base Ingredients
The foundation of any ice cream recipe lies in its base ingredients:
- Milk and Cream: These provide the necessary fat content for a rich and creamy texture. Whole milk and heavy cream are commonly used, but you can experiment with different types of dairy or non-dairy alternatives based on your preferences.
- Sugar: Sugar not only sweetens the ice cream but also affects its texture by lowering the freezing point. Granulated sugar is standard, but alternatives like honey or maple syrup can be used for unique flavors.
- Egg Yolks: In custard-based ice creams, egg yolks act as emulsifiers, creating a smooth and stable mixture. However, some no-egg recipes achieve similar results using alternative thickeners like cornstarch or gelatin.
Flavorings and Mix-Ins
The sky’s the limit when it comes to flavoring your homemade ice cream. From classic vanilla to exotic combinations, the choice is yours:
- Vanilla Extract: A staple in ice cream making, vanilla extract adds depth and aroma.
- Chocolate, Coffee, and Fruit Purees: These ingredients provide robust flavors and can be adjusted to your taste.
- Add-Ins: Nuts, chocolate chips, fruit pieces, and swirls of caramel or fudge add texture and additional flavor dimensions to your ice cream.
Stabilizers and Emulsifiers
For an ultra-smooth texture, incorporating stabilizers and emulsifiers can be beneficial:
- Glycerin or Corn Syrup: These help to prevent ice crystals from forming, maintaining a creamy consistency.
- Guar Gum or Xanthan Gum: These natural thickeners enhance the texture without altering the flavor.
Step-by-Step Guide to Using a HomeMade Ice Cream Maker
Now that you have the necessary equipment and ingredients, let’s walk through the process of making ice cream with your home made ice cream maker.
Preparing the Ice Cream Base
Start by selecting your favorite recipe or creating your own. Typically, you’ll combine milk, cream, sugar, and egg yolks (if using) in a mixing bowl. Whisk the ingredients thoroughly until the sugar is completely dissolved. If your recipe requires heating, do so gently on the stovetop, stirring constantly to prevent curdling.
Chilling the Mixture
Once the base is prepared, it’s crucial to chill it thoroughly. Refrigerate the mixture for at least 2 hours or overnight. This step ensures that the mixture is cold enough for the ice cream maker to work its magic, resulting in a smoother texture.
Setting Up Your Ice Cream Maker
While the mixture chills, set up your home made ice cream maker according to the manufacturer’s instructions. If you’re using a machine with a pre-freezing bowl, ensure that the bowl has been frozen solid, typically for 24 hours. For compressor models, ensure the machine is plugged in and ready to go.
Churning the Ice Cream
Pour the chilled mixture into the ice cream maker. Start the machine and allow it to churn, following the recommended time based on your specific model. During this process, the machine will incorporate air into the mixture, transforming it into a creamy ice cream.
Adding Mix-Ins
As the ice cream begins to thicken, add your desired mix-ins. This could include chocolate chips, nuts, fruit pieces, or swirls of caramel. Pause the machine as required by your model to incorporate these additions evenly throughout the ice cream.
Freezing the Ice Cream
Once the churning process is complete, transfer the soft ice cream to an airtight container. For a firmer consistency, place the container in the freezer for several hours or overnight. This step helps the ice cream set to a scoopable texture.
 Tips for Perfect Homemade Ice Cream Every Time
Achieving the perfect homemade ice cream requires attention to detail and a few insider tips. Here are some strategies to ensure consistent and delicious results with your home made ice cream maker.
Use High-Quality Ingredients
The quality of your ingredients directly impacts the flavor and texture of your ice cream. Opt for fresh, high-quality dairy products and pure extracts. Fresh ingredients result in a superior-tasting dessert that’s worth the effort.
Chill Your Mixture Thoroughly
A well-chilled mixture is essential for the ice cream maker to work efficiently. Rushing this step can lead to larger ice crystals, resulting in a grainy texture. Patience at this stage pays off with smoother ice cream.
Avoid Overfilling the Ice Cream Maker
Ensure you do not exceed the maximum capacity of your home made ice cream maker. Overfilling can impede proper churning and freezing, leading to uneven textures and flavors.
Experiment with Flavors
Don’t be afraid to get creative with your ice cream flavors. Experimenting with different extracts, spices, and mix-ins can lead to unique and exciting desserts tailored to your personal tastes.
Clean Your Ice Cream Maker Properly
Maintaining your ice cream maker in good condition is crucial for its longevity and performance. Follow the manufacturer’s cleaning instructions meticulously, ensuring all parts are thoroughly dried before storage.
Adjust Sweetness and Texture
Taste your ice cream base before churning. If you prefer a sweeter or creamier ice cream, adjust the sugar and cream quantities accordingly. Customizing these elements ensures the final product meets your exact preferences.
Common Mistakes to Avoid When Using a HomeMade Ice Cream Maker
Even with the best intentions, certain mistakes can hinder your ice cream-making efforts. Here are some common pitfalls to watch out for when using a home made ice cream maker.
Over-Churning or Under-Churning
Over-churning can lead to a buttery texture, while under-churning may leave the ice cream too soft. Follow your ice cream maker’s guidelines closely to achieve the desired consistency.
Using Iced Ingredients
If your base ingredients are too cold, they can shock the ice cream maker, making it harder for the machine to churn effectively. Ensure your ingredients are chilled but not frozen before adding them to the machine.
Ignoring the Freezing Time
Neglecting to allow the ice cream to set in the freezer for the recommended time can result in ice cream that is too soft to scoop. Always follow through with the final freezing step to achieve the perfect texture.
Overloading with Mix-Ins
While mix-ins add flavor and texture, overloading your ice cream can disrupt the churning process. Add mix-ins sparingly to maintain a smooth and consistent texture.
 Enhancing Your Homemade Ice Cream with Creative Additions
To elevate your homemade ice cream experience, consider incorporating creative additions that add depth and variety to your desserts.
Swirls and Ripples
Adding swirls of chocolate, caramel, or fruit preserves can enhance the flavor profile of your ice cream. Pour the sauce into the ice cream during the last few minutes of churning for an even distribution.
Layering Flavors
Layering different flavors within the ice cream can create a more complex taste. For example, you can alternate layers of vanilla and chocolate ice cream in your storage container before the final freeze.
Incorporating Alcohol
A small amount of alcohol can enhance the flavor and texture of ice cream by preventing it from becoming too hard. Consider adding a splash of liqueur or flavored alcohol that complements your ice cream flavor.
Using Exotic Ingredients
Experiment with exotic ingredients like matcha, lavender, or chili flakes to create unique and adventurous ice cream flavors that stand out from the traditional options.
Storing and Serving Your Homemade Ice Cream
Proper storage and serving techniques ensure that your homemade ice cream remains fresh and delicious for as long as possible.
Optimal Storage Conditions
Store your ice cream in airtight containers to prevent it from absorbing other odors in the freezer. Ideally, place a layer of plastic wrap directly on the surface of the ice cream before sealing the container to minimize ice crystal formation.
Serving Tips
For the best scooping experience, allow the ice cream to sit at room temperature for a few minutes before serving. This slight softening makes it easier to scoop without melting too quickly.
Reviving Slightly Icy Ice Cream
If your ice cream becomes icy, briefly dipping your ice cream scoop in warm water before scooping can help achieve a smoother texture. Additionally, pounding the ice cream slightly with a fork can break up ice crystals.
Exploring Advanced Techniques with Your HomeMade Ice Cream Maker
Once you’re comfortable with the basics, you can explore advanced techniques to further enhance your homemade ice cream.
Making Sorbet and Gelato
Your home made ice cream maker isn’t limited to traditional ice cream. Experiment with making sorbet for a dairy-free option or gelato for a denser, richer texture. Adjusting the ingredients and churning time allows you to diversify your frozen dessert repertoire.
Adding Eggs for Custard-Based Ice Cream
Incorporating egg yolks into your ice cream base creates a custard, resulting in a richer and creamier texture. While this requires an additional step of heating the mixture, the payoff is a luxurious homemade ice cream.
Infusing Flavors
Infuse your ice cream base with herbs, spices, or teas by steeping them in the milk or cream before combining with other ingredients. This technique adds subtle and sophisticated flavors to your ice cream.
Creating Vegan Ice Cream
For those who prefer plant-based options, making vegan ice cream with coconut milk, almond milk, or cashew milk opens up a world of creamy possibilities. Use natural sweeteners and plant-based stabilizers to achieve a satisfying texture.
Frequently Asked Questions About HomeMade Ice Cream Makers
How Long Does it Take to Make Ice Cream with a Home Made Ice Cream Maker?
The entire process, including preparation, chilling, churning, and freezing, typically takes around 4-6 hours. However, this can vary based on the specific ice cream maker model and the recipe used.
Can I Make Ice Cream Without an Ice Cream Maker?
While a home made ice cream maker simplifies the process, it is possible to make ice cream without one by using a freezer and regularly stirring the mixture to break up ice crystals. However, this method requires more effort and may not achieve the same creamy texture.
How Do I Prevent Ice Crystals in My Homemade Ice Cream?
To minimize ice crystals, ensure your ice cream base is thoroughly chilled before churning and avoid overfilling the ice cream maker. Additionally, using stabilizers like gelatin or cornstarch can help maintain a smooth texture.
Can I Store Homemade Ice Cream in the Freezer for Later Use?
Yes, homemade ice cream can be stored in the freezer for up to two weeks. Ensure it is kept in an airtight container to preserve its flavor and texture.
 Conclusion
In conclusion, a home made ice cream maker is an invaluable tool for anyone passionate about creating delicious, personalized ice cream at home. By understanding what you need to make homemade ice cream, including the right equipment, high-quality ingredients, and proper techniques, you can craft a variety of frozen desserts that delight your taste buds and impress your guests.
Remember, the key to perfect homemade ice cream lies in patience, experimentation, and a commitment to quality. Invest in a reliable home made ice cream maker, gather your favorite ingredients, and embark on a sweet journey of culinary creation. Whether you prefer classic flavors or innovative combinations, making ice cream at home allows you to explore endless possibilities and enjoy the delightful rewards of your efforts.
Start your homemade ice cream adventure today, and discover the joy of crafting your own creamy, flavorful desserts right in your kitchen. With the right tools and knowledge, your home made ice cream maker will become a cherished appliance, bringing endless sweetness to your life and the lives of those you share it with.