
Introduction:
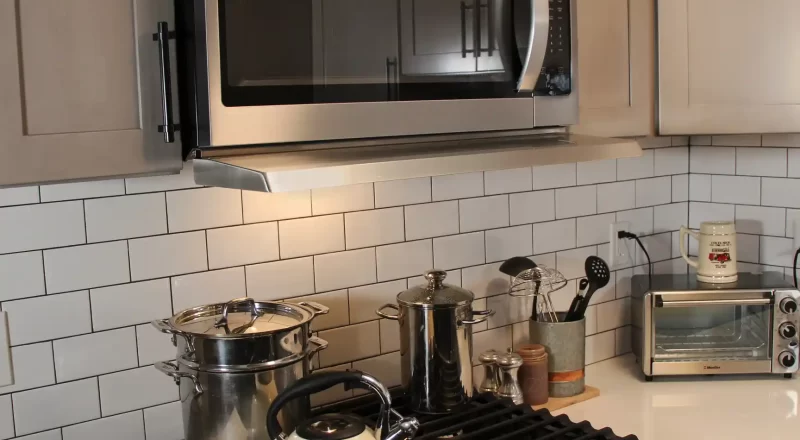
Installing an over-the-range microwave provides dual functionality by combining microwave cooking and ventilation for your stove. This comprehensive guide walks you through each step of the installation process, including safety tips, necessary tools, and step-by-step instructions. By following these guidelines, you can ensure a secure and efficient installation, transforming your kitchen setup smoothly and effectively.
How to Install an Over-the-Range Microwave:
What Are the Steps and Necessary Precautions?
Pre-Installation Preparation:
What Should You Do Before Starting the Installation?
Proper preparation is key to a successful installation. Ensuring you have all the tools and know the requirements helps avoid common pitfalls.
Gathering Tools and Materials:
Necessary Tools:
Basic Tools: Collect essential tools such as a tape measure, level, pencil, stud finder, drill, drill bits, screwdrivers, and a utility knife. Having these tools on hand speeds up the installation process.
Specific Requirements: Refer to the microwave’s installation manual for any specific tools or materials needed, such as wall anchors or toggle bolts.
Safety Equipment:
Prioritize Safety:
Gloves and Goggles: Wearing safety gloves and goggles protects your hands and eyes from sharp edges and debris during drilling and handling.
Ladder or Step Stool: A sturdy ladder or step stool gives you safe and stable access to the installation area, particularly when drilling or mounting the microwave.
Measuring and Planning:
Accurate Measurements:
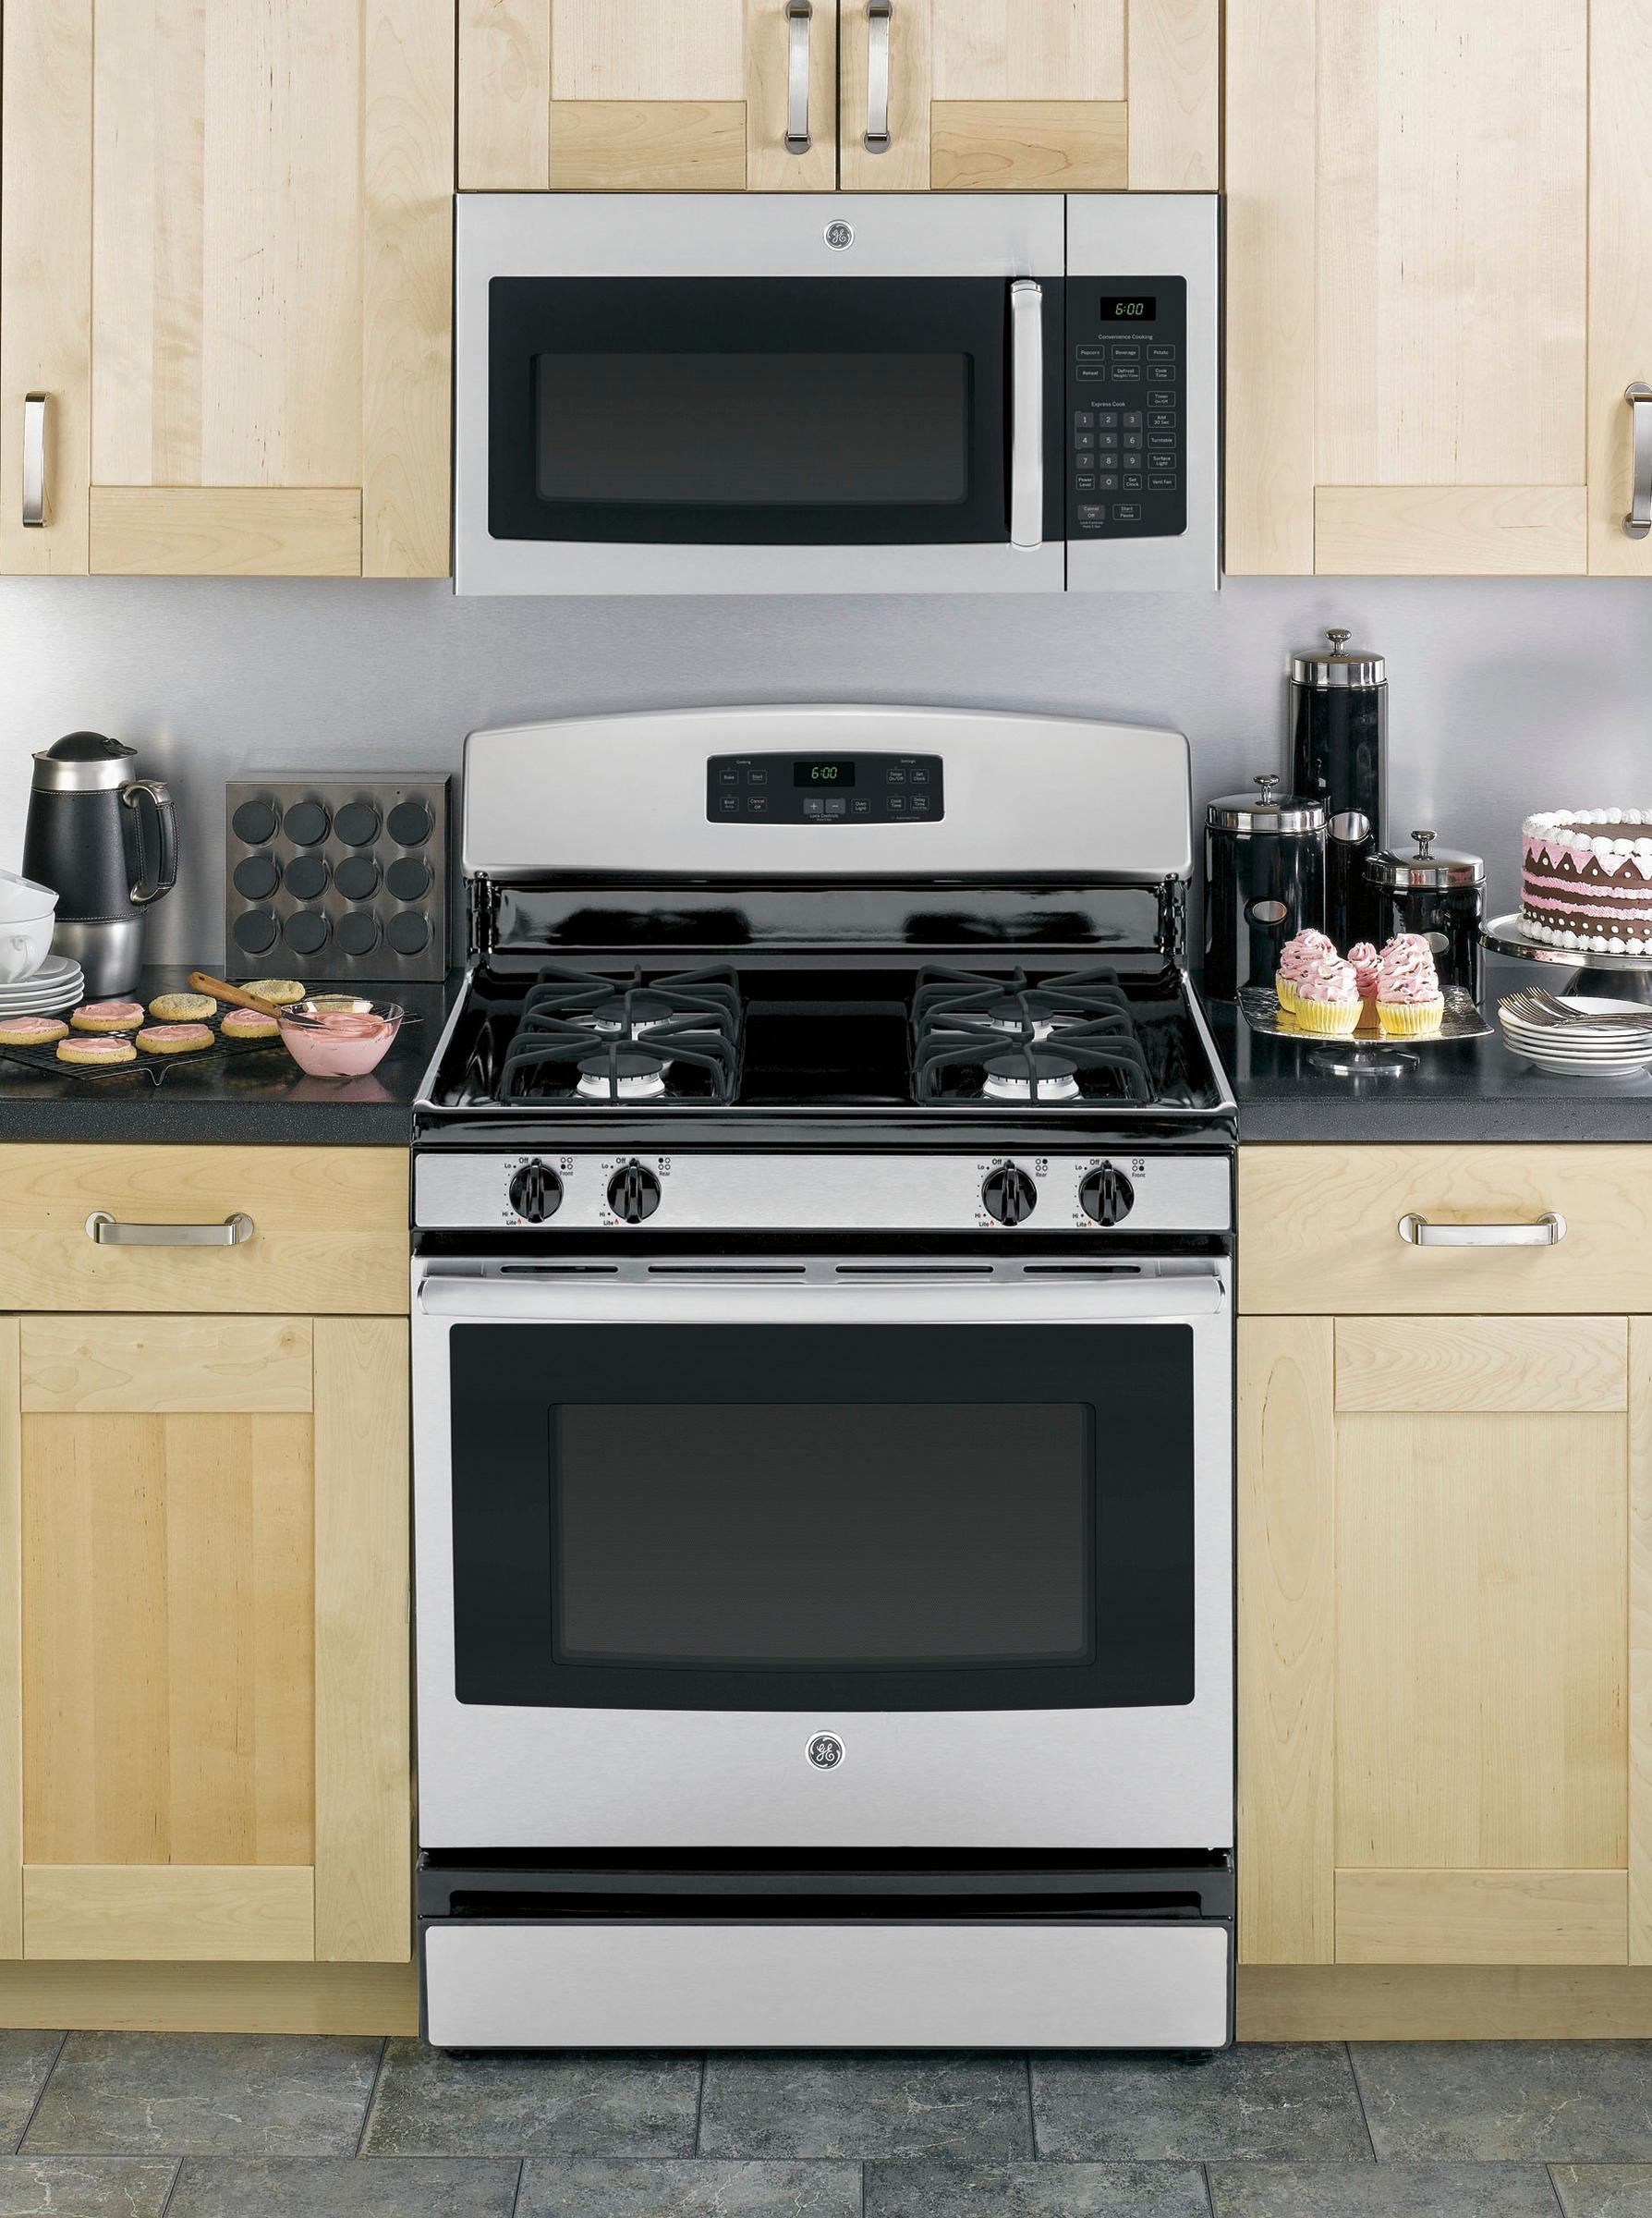
Height Requirements: Measure the distance from the stovetop to the bottom of the cabinet. The recommended clearance is usually between 30 to 36 inches, ensuring adequate space for cooking and ventilation.
Width and Depth: Measure the width and depth of the space where the microwave will be installed. The measurements should match the dimensions of your new microwave for a proper fit.
Checking Electrical and Ventilation Needs:
Power Source:
Electrical Outlet: Ensure there is an accessible electrical outlet within close proximity to where the microwave will be installed. The outlet should be grounded and meet the wattage requirements of the microwave.
Ventilation:
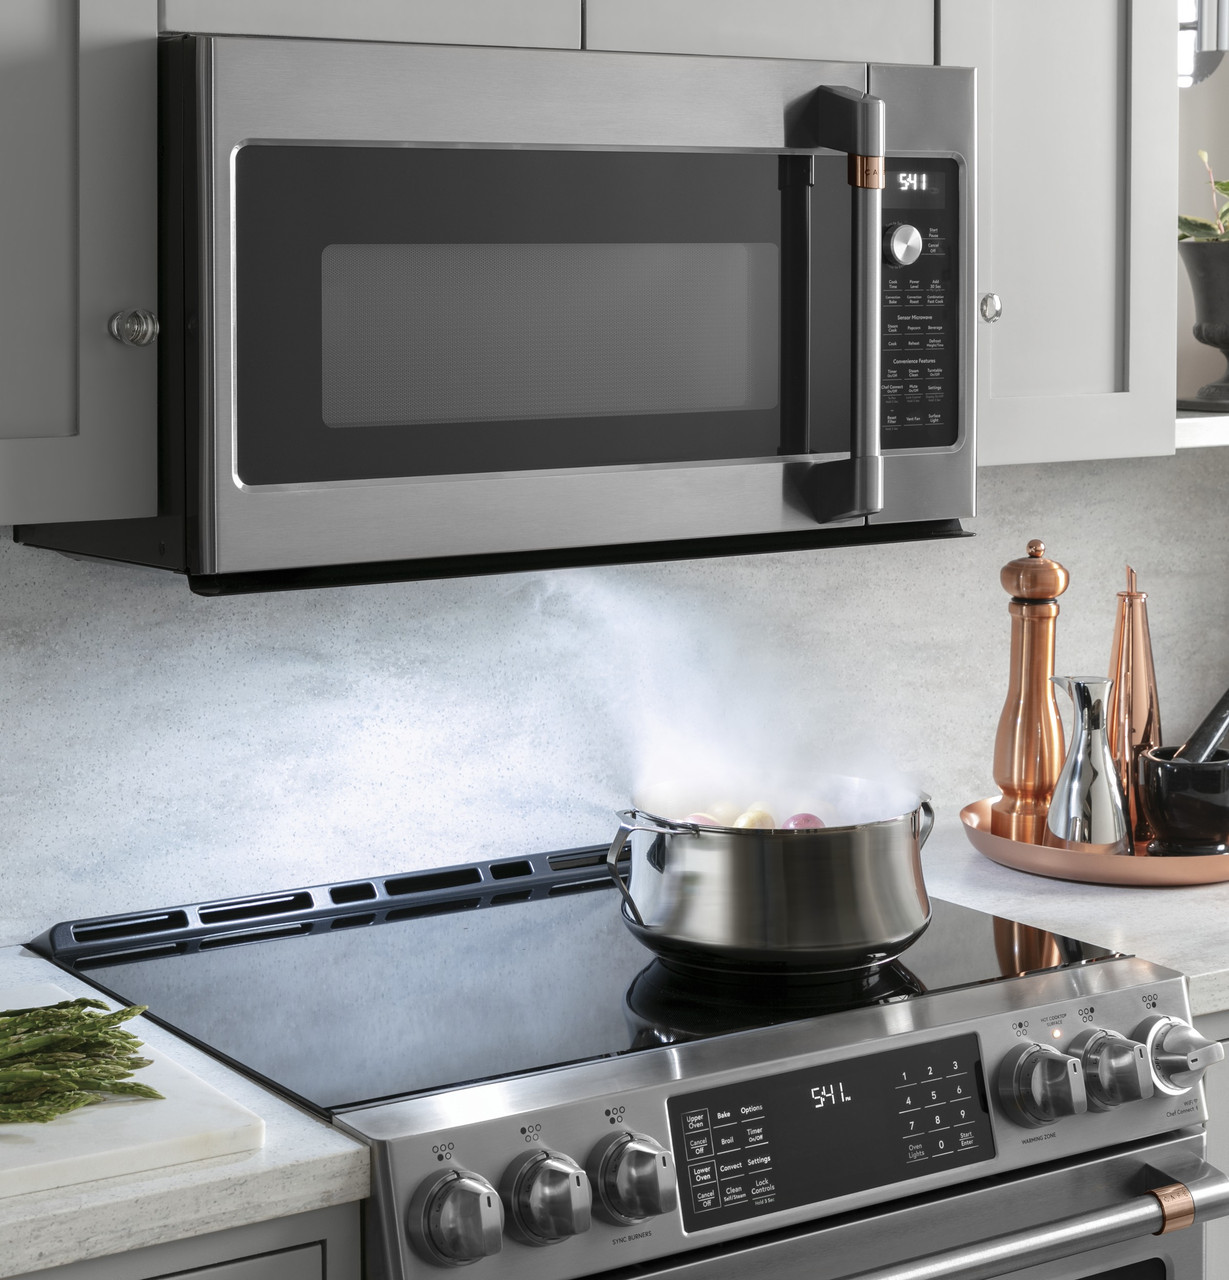
Ducted or Recirculating: Determine whether your kitchen setup will use ducted or recirculating ventilation. Ducted systems expel air outside, while recirculating systems filter and return the air into the kitchen. Your microwave should be compatible with your setup.
Installing the Wall Mounting Plate:
How Do You Secure the Microwave Mounting Plate to the Wall?
The mounting plate provides the main support for the microwave, so securing it properly is crucial.
Locating Studs:
Wall Support:
Finding Studs: Use a stud finder to locate the wall studs behind the installation area. Mark the stud locations lightly with a pencil to guide your drilling.
Centering the Plate: Position the mounting plate according to the manufacturer’s instructions, ensuring it is centered over the stovetop and aligned with the studs you marked.
Drilling and Mounting:
Securing the Plate:
Marking Drill Holes: Hold the mounting plate against the wall and mark the locations for the screws. Use a level to ensure the plate is straight.
Pre-Drilling Holes: Drill pilot holes at the marked locations to make it easier to insert the screws. Use the appropriate drill bit size as specified by the installation manual.
Attaching the Plate: Secure the mounting plate to the wall using screws and wall anchors if needed. Ensure the screws are tightened securely to hold the weight of the microwave.
 Installing the Microwave:
How Do You Mount the Microwave to the Wall Plate and Cabinets?
Mounting the microwave involves attaching it to the wall plate and securing it to the upper cabinets for stability.
Preparing the Microwave:
Assembly Steps:
Removing Components: Remove any loose components or packing materials from the microwave. This typically includes the turntable, glass tray, and any accessories.
Attaching Template: Attach the paper template provided by the manufacturer to the bottom of the upper cabinet. This template shows where to drill holes for the mounting bolts and power cord.
Drilling Cabinet Holes:
Proper Alignment:
Marking Drill Points: Use the template as a guide to mark the locations for the mounting bolts and power cord hole on the bottom of the upper cabinet.
Drilling Holes: Drill holes at the marked points. Use the appropriate drill bits to ensure the holes are the correct size for the bolts and power cord.
Mounting the Microwave:
Securing in Place:
Lifting and Positioning: With the help of another person, lift the microwave and hook it onto the mounting plate. Align the back brackets with the slots on the mounting plate.
Threading Bolts: From the inside of the upper cabinet, insert the mounting bolts through the pre-drilled holes and into the corresponding holes on the top of the microwave. Tighten the bolts securely using a screwdriver.
Connecting Power and Ventilation:
How Do You Finalize the Installation?
Properly connecting the power and ventilation ensures the microwave operates safely and effectively.
Electrical Connections:
Plug and Test:
Power Cord: Feed the power cord through the pre-drilled hole in the upper cabinet and plug it into the electrical outlet.
Testing: Before sealing everything up, power on the microwave to ensure it is operating correctly. Test each function to verify that the installation is successful.
Ventilation Setup:
Proper Venting:
Ducted Ventilation: If using ducted ventilation, connect the microwave’s vent to the ductwork using the appropriate venting materials supplied. Seal any gaps with foil tape to ensure airtight connections.
Recirculating Ventilation: For a recirculating system, install the charcoal filters as instructed by the manufacturer. These filters help purify the air before it is recirculated into the kitchen.
 Final Adjustments and Finishing:
Securing and Tidying Up:
Checking Stability: Ensure the microwave is securely mounted and doesn’t wobble. Tighten any loose screws or bolts for added stability.
Replace Components: Reinsert any removed components, such as the turntable and glass tray, back into the microwave.
Cleaning: Wipe down the microwave’s exterior and surrounding area. Ensure no debris or dust is left from the installation.
Safety and Maintenance:
What Precautions and Care Should You Follow Post-Installation?
Following safety guidelines and regular maintenance keeps your microwave functioning efficiently and safely.
Regular Inspection:
Ensuring Longevity:
Check Mountings: Regularly inspect the mounting plate, bolts, and screws for any signs of loosening. Tighten if necessary to ensure the microwave remains securely in place.
Ventilation Maintenance: Clean the grease filters regularly to ensure efficient ventilation. For ducted systems, inspect the exterior vent to ensure it is clear of obstructions.
 Safe Operation:
Using the Microwave:
Avoid Overloading: Do not overload the microwave with heavy items that could strain the mounting brackets or cause the unit to become unstable.
Proper Use: Follow the manufacturer’s guidelines for safe operation, including using microwave-safe containers and covering food to prevent spills and splatters.
Troubleshooting Tips:
Addressing Common Issues:
Power Problems: If the microwave isn’t powering on, check the electrical connection and ensure the outlet is functioning correctly. Reset the circuit breaker if necessary.
Ventilation Issues: If you notice poor ventilation or excessive noise, inspect the venting setup for blockages or loose connections. Clean or replace filters as needed.
Professional Assistance:
When to Seek Help:
Complex Issues: For complex electrical or ventilation setups, consider hiring a licensed professional to ensure the installation complies with all safety codes and regulations.
Reinstallation: If you need to uninstall and reinstall the microwave, follow the manufacturer’s guidelines carefully or seek professional help to avoid damaging the unit or the surrounding cabinetry.
Conclusion
Installing an over-the-range microwave involves careful planning, proper tools, and adherence to safety guidelines. Preparing by gathering necessary tools, measuring the installation area, and ensuring electrical and ventilation compatibility sets the stage for a smooth installation. Securing the wall mounting plate with precise measurements and drilling provides a stable support foundation. Mounting the microwave, connecting power, and setting up ventilation are crucial steps that ensure functionality and efficiency. Regular inspection, safe operation practices, and timely maintenance extend the microwave’s lifespan and maintain performance. By following these detailed steps and safety precautions, you can successfully install an over-the-range microwave, enhancing your kitchen’s functionality and convenience.