Hot Pocket Microwave Basics
When microwaving Hot Pockets, the simple steps for success begin with proper preparation. It’s this attention to detail that ensures a snack that’s both delicious and enjoyable, whether you’re looking for a quick lunch or a late-night bite. Let’s dive into the basics with a focus on unwrapping and preparation before microwaving, as well as the importance of rest time post-cooking.

Unwrapping and Preparing Hot Pockets for Microwaving
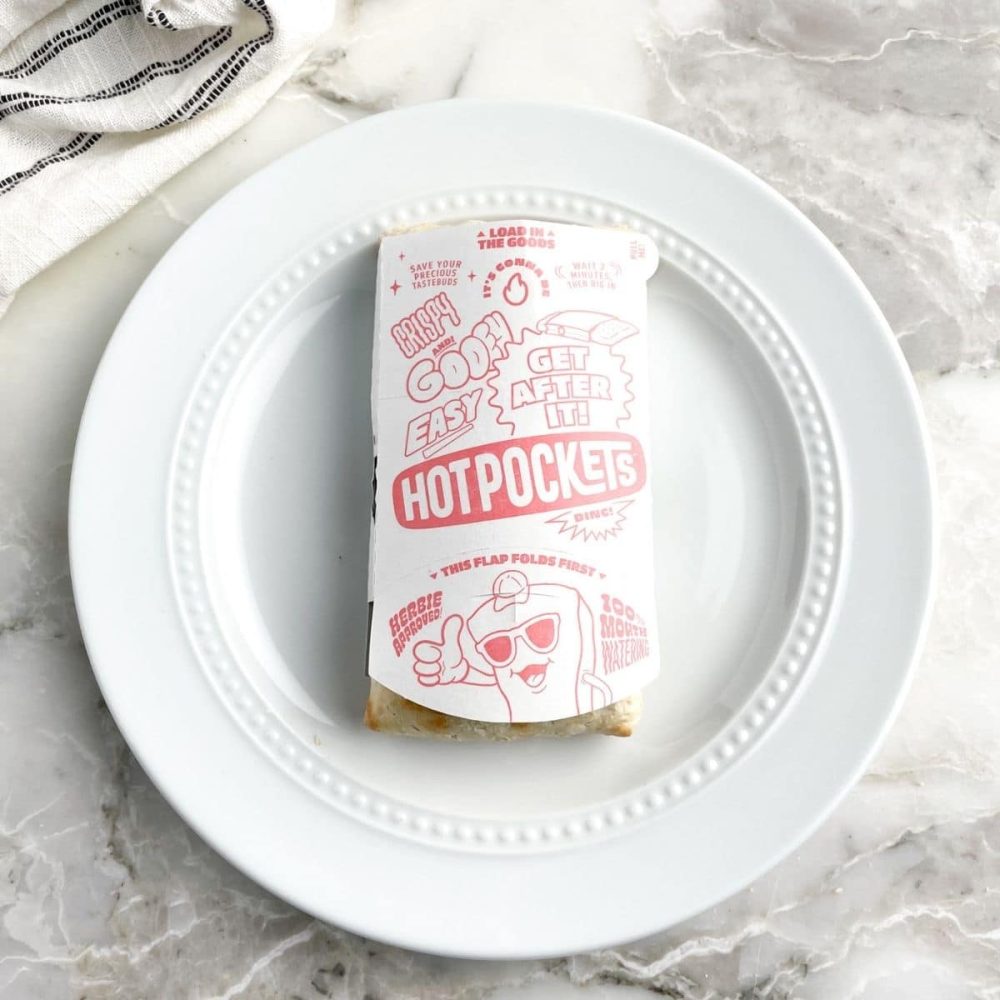
Start by removing the Hot Pocket from its packaging. Discard the plastic wrap and place the sandwich into the crisping sleeve if provided. Set it on a microwave-safe plate, centered to allow even heating. If you’re heating multiple Hot Pockets, ensure they’re not touching. Each Hot Pocket is designed with a microwave-friendly setup, promoting a crisp crust and hot filling.
Importance of Letting Hot Pockets Rest Post-Cooking
After microwaving, let your Hot Pocket sit for two minutes. This crucial step allows the heat to spread throughout the filling, preventing a too-hot center. Resting ensures a consistent temperature throughout, enhancing the pocket’s overall flavor and safety. Not only does this resting phase prevent scorched tongues, but it also gives the crust time to settle into its deliciously crisp texture.
Microwave Cooking Times
Mastering the microwave cooking times for Hot Pockets ensures every bite is bursting with warm, gooey goodness. Let’s explore the appropriate times needed for cooking both single Hot Pocket and multiple ones, considering microwave wattage for optimal results.
Single Hot Pocket Cooking Instructions
For a perfect single Hot Pocket, unwrap it and place it in the crisping sleeve, then on a microwave-safe plate. Set the microwave to high and cook for 2 minutes. After cooking, let it sit for 2 minutes; this lets it finish cooking and cool down just a bit.
Cooking Multiple Hot Pockets
When cooking two Hot Pockets, ensure they don’t touch on the plate. Cook them on high for 3 minutes and 30 seconds in an 1100-watt microwave. Afterward, allow them to rest like you would for a single pocket. This equals heat distribution and enough cooling time.
Wattage Considerations and Adjustments
Your microwave’s wattage can affect cooking times. An 1100-watt microwave cooks a Hot Pocket in 2 minutes, but a lower wattage microwave will need more time. If your microwave is less powerful, try cooking a single Hot Pocket for 3 minutes. Adjust timings to avoid undercooking or overdone edges.
Troubleshooting Common Issues
When indulging in a Hot Pocket, we may occasionally face some hitches. Here’s how to tackle the common pitfalls of microwaving these treats for a perfect snack every time.
Dealing with Soggy Crusts
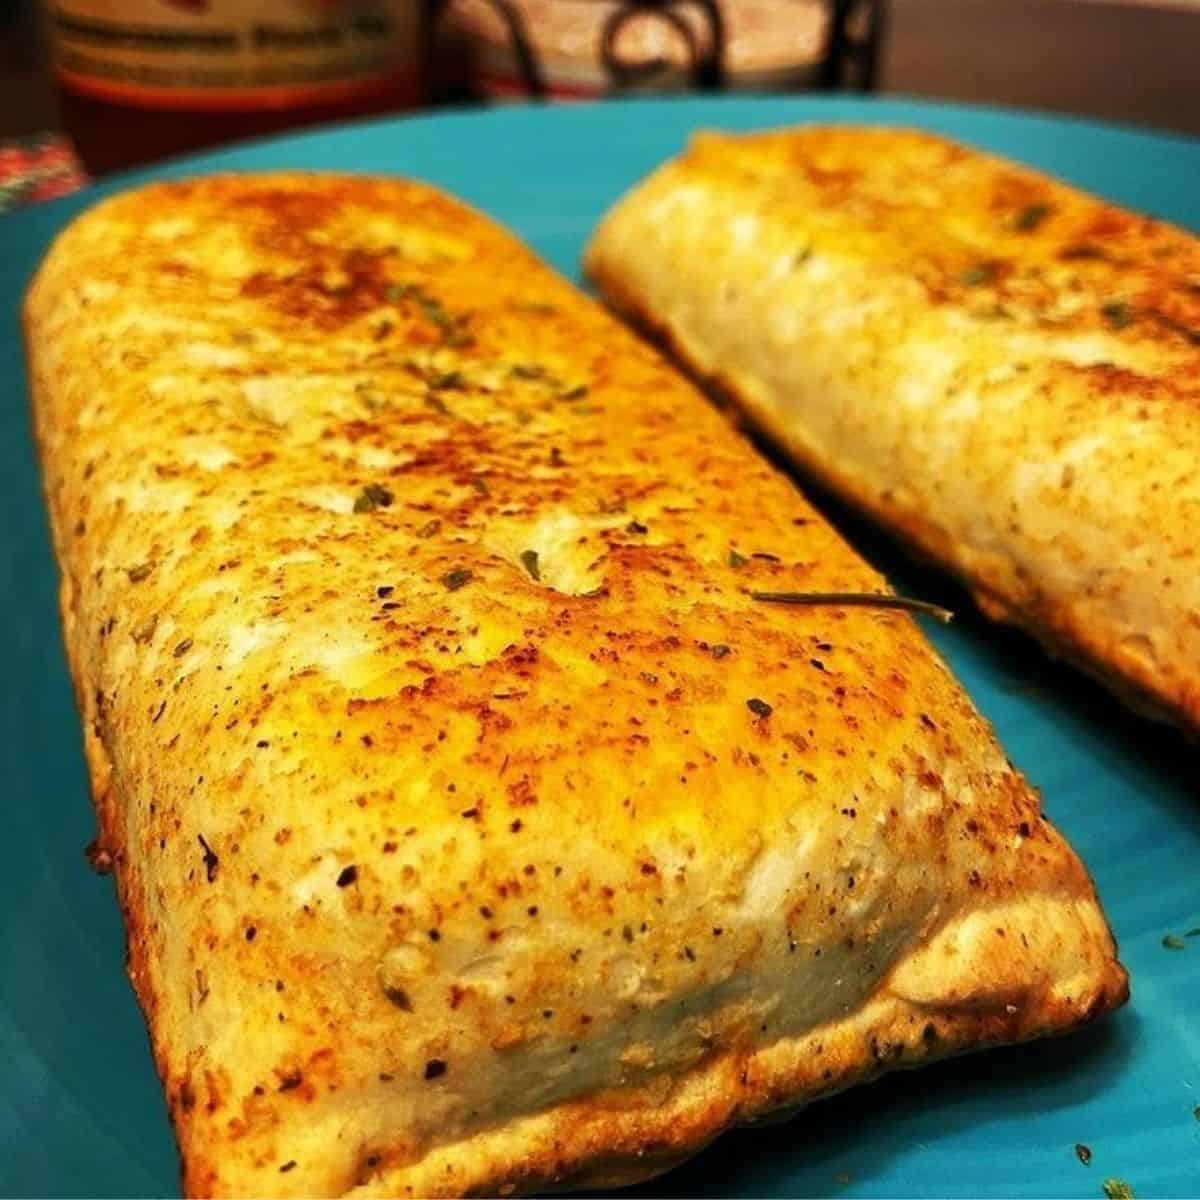
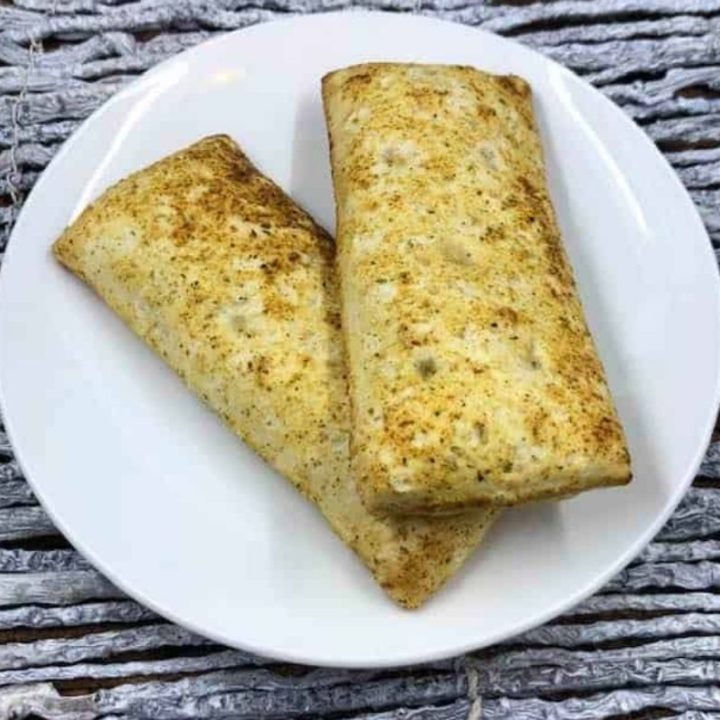
A soggy crust can dampen the Hot Pocket experience. If the crust isn’t crisp, try this: place the Hot Pocket on a microwave-safe crisping pan, or use the included crisping sleeve. Also, let it rest after microwaving; this helps the crust firm up. For extra crunch, consider a quick toast in a toaster oven.
What to Do If the Center Is Still Cold
No one likes a chilly bite of Hot Pocket. If the center is cold, microwave in additional 15-second bursts until it’s hot. Remember to let it stand for a moment, as the heat distributes through the middle. Check with a food thermometer that the center hits 165°F for safety.
Ensuring Even Cooking in Microwaves
To cook evenly, rotate your Hot Pocket halfway through the microwave time. Use microwave-safe plates and situate the Hot Pocket in the center. This ensures all parts receive equal heat. For unevenly heating microwaves, stopping and turning the plate once could be the secret to uniform warmth.
 Cooking Hot Pockets in Conventional, Toaster, and Air Fryer Ovens
Benefits of Oven Baking Over Microwaving
Oven baking Hot Pockets can lead to a superior taste and texture. The even heat distribution of an oven helps achieve a consistent, crispy crust and well-melted filling. Unlike microwaving, oven baking reduces the risk of ending up with a soggy or unevenly cooked Hot Pocket. Additionally, the radiant heat of an oven can enhance the flavors, giving you a snack that’s reminiscent of freshly baked goods.
Optimal Times and Temperatures for Different Ovens
For conventional ovens, preheat to 350°F and bake for around 28 minutes. Toaster ovens, heating up more quickly, might require a shorter baking time of about 22 to 28 minutes at the same temperature. Air fryers are quicker and should be set to 360°F. Cooking times in air fryers can vary but typically range from 15 to 18 minutes depending on the filling and whether you’re cooking one or two Hot Pockets.
Cooking Multiple Hot Pockets in Ovens
When baking multiple Hot Pockets in an oven, space them evenly on the tray to ensure proper air circulation. This will allow for even cooking and prevent any cold spots. It’s best not to overload the oven, as this might affect the overall cooking temperature and time. For those hosting a gathering, ovens are great because you can bake a larger quantity at once, which is trickier in a microwave or air fryer.
Hot Pocket Variations and Cooking Adjustments
Hot Pockets come in various flavors and sizes, each requiring specific cooking times to reach perfection. It’s essential to tailor your microwaving time to match the particular Hot Pocket you’re preparing.
Cooking Times for Different Hot Pocket Flavors and Sizes
Each Hot Pocket flavor and size needs a unique touch when it comes to microwaving. Classic flavors like Pepperoni Pizza or Ham & Cheese may take about 2 minutes in an 1100-watt microwave. However, larger or more filled pockets might need a bit more. It’s crucial to monitor them as they cook to avoid a cold center or overcooking.
Adjusting Times for ‘Big & Bold’ Variants
The ‘Big & Bold’ variants are heartier options, packed with more ingredients and flavors. These require longer cooking times due to their size and density. Aim for an additional 30 seconds to 1 minute in the microwave. Remember to let them rest after heating. This allows heat to distribute evenly and prevents burns when biting into these larger pockets.
 Additional Cooking Tips and Tricks
A perfect Hot Pocket is a delight, offering a crispy embrace to its gooey filling. Explore these tips and tricks to perfect your snack.
Achieving Desired Crispiness
To get that crave-worthy crispiness:
- Cook the Hot Pocket as usual and watch the time.
- If the crust needs more crunch, set your microwave’s power to 50% and add 20 seconds.
- Repeat until you reach the perfect level of crispiness.
Remember, every microwave is different so you may need to adjust.
Using Crisping Sleeves for Optimal Texture
Crisping sleeves are your friends, here’s why:
- They help steam escape, preventing a soggy crust.
- Use them every time for consistency.
- Make sure the Hot Pocket fits snugly for best results.
Crisping sleeves are the secret to a perfect microwave crust.
Post-Microwave Toasting for Extra Crunch
Want even more texture? Try this:
- After microwaving, pop the Hot Pocket into a toaster oven.
- Two to three minutes at a medium setting should do the trick.
- Watch closely to avoid over-toasting.
This extra step can make all the difference for that bakery-fresh feel.
Safety and Handling
Ensuring safe consumption of Hot Pockets is as important as cooking them perfectly. Understanding how to handle them after microwaving prevents discomfort and allows a more enjoyable experience.
Cooling Down Hot Pockets Before Consumption
Allow your Hot Pocket to cool for a few minutes post-microwave. This prevents burns from steam or molten filling. Handling it too soon could harm your mouth or hands. Place it on a plate, wait a bit, then enjoy.
Using Caution with Steaming Hot Fillings
Steaming fillings can cause burns if not careful. Open the Hot Pocket carefully and check the steam release. This lets hot air out safely, without burning your tongue. Bite into it slowly to avoid surprises from trapped heat.

