
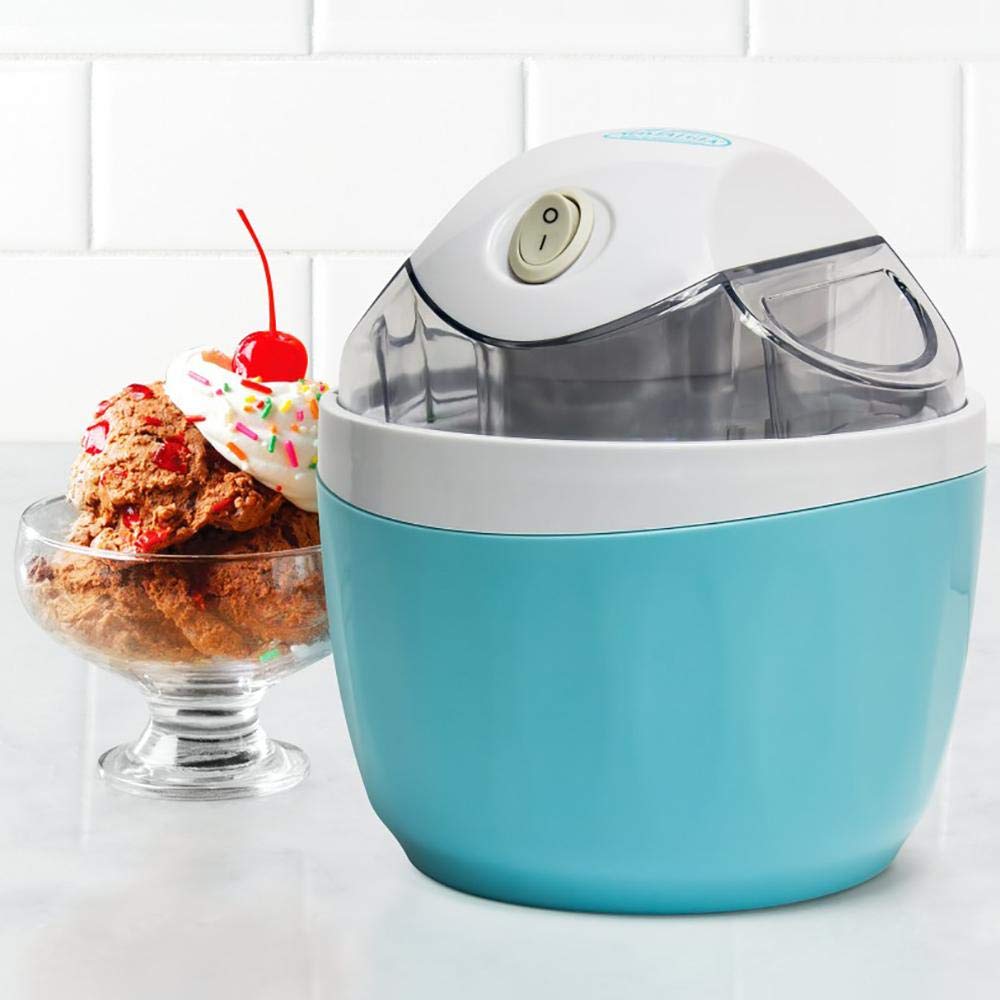
Ice cream is a beloved treat enjoyed by people of all ages around the world. With the advent of ice cream makers, creating your own ice cream recipes with ice cream maker has become easier and more versatile than ever. Whether you prefer classic flavors or adventurous combinations, an ice cream maker allows you to experiment and craft delectable desserts tailored to your taste. In this comprehensive guide, we will explore a variety of ice cream recipes that you can make using your ice cream maker, along with tips and tricks to achieve the perfect texture and flavor every time. Get ready to embark on a sweet journey of homemade ice cream that rivals your favorite store-bought brands.
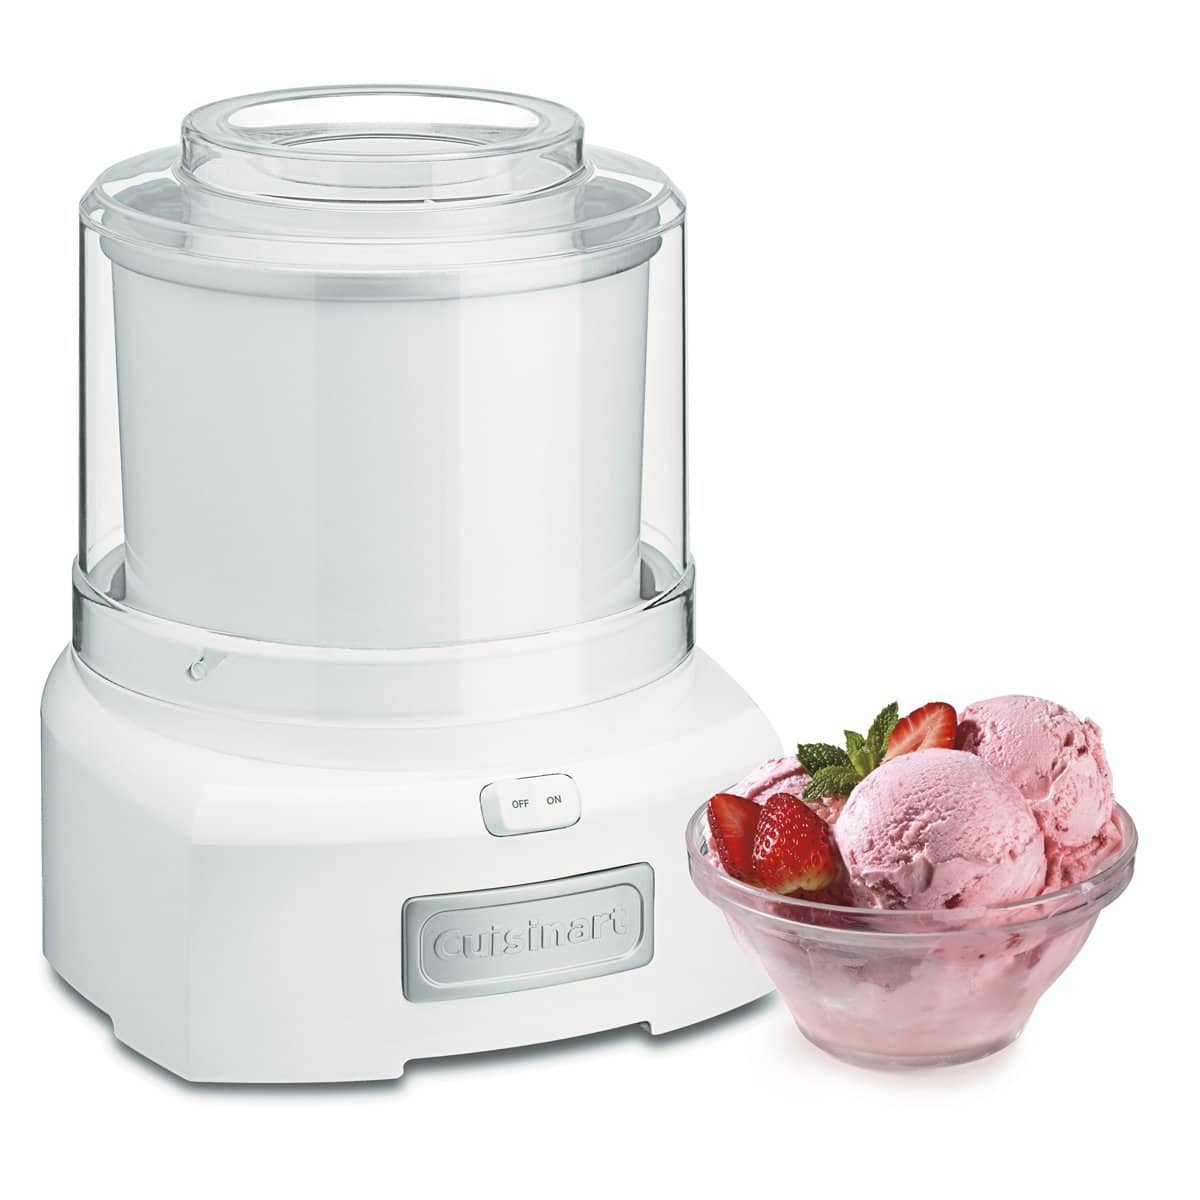
The Benefits of Using an Ice Cream Maker for Homemade Recipes
Creating ice cream at home offers numerous advantages over purchasing pre-made options. Not only can you control the ingredients and tailor flavors to your preferences, but you also ensure the use of fresh, high-quality components. Additionally, making ice cream with an ice cream maker can be a fun and rewarding activity, perfect for family gatherings or satisfying your dessert cravings.
Healthier and Customizable Ingredients
One of the primary benefits of using an ice cream maker is the ability to customize your ingredients. You can reduce the sugar content, use alternative sweeteners, or incorporate natural flavors without preservatives. For those with dietary restrictions, homemade ice cream allows for substitutions such as lactose-free milk or dairy alternatives like almond or coconut milk.
Cost-Effective and Eco-Friendly
Investing in an ice cream maker can save you money in the long run. Making your own ice cream is often more economical than buying premium brands, especially when considering the high cost of specialty flavors. Moreover, reducing packaging waste contributes to a more sustainable environment, making homemade ice cream an eco-friendly choice.
Exotic Mango Coconut Ice Cream Recipe with Ice Cream Maker
Transport your taste buds to a tropical paradise with this exotic mango coconut ice cream recipe. The combination of sweet mango and creamy coconut creates a refreshing and indulgent treat.
Ingredients
- 2 cups ripe mangoes, peeled and chopped
- 1 cup coconut milk
- 1 cup whole milk
- 3/4 cup granulated sugar
- 2 teaspoons fresh lime juice
- 1 teaspoon pure vanilla extract
- Pinch of salt
- 1/2 cup shredded coconut, toasted (optional)
Instructions
- Puree the Mangoes: In a blender or food processor, puree the chopped mangoes until smooth. For a slightly chunky texture, blend only part of the mangoes.
- Mix the Ice Cream Base: In a large bowl, whisk together the sugar, salt, and whole milk until the sugar is fully dissolved. Stir in the coconut milk, mango puree, lime juice, and vanilla extract until well combined.
- Chill the Mixture: Cover the bowl and refrigerate the mixture for at least 2 hours or overnight to ensure it is thoroughly chilled.
- Churn the Ice Cream: Pour the chilled mixture into your ice cream maker and churn according to the manufacturer’s instructions until it reaches a soft-serve consistency.
- Add Toasted Coconut: If desired, add the toasted shredded coconut during the last few minutes of churning to incorporate a crunchy texture.
- Freeze Until Firm: Transfer the churned ice cream to an airtight container and freeze for at least 4 hours or until firm.
- Serve and Enjoy: Scoop your homemade mango coconut ice cream into bowls or cones and savor the tropical flavors.
Tips for Mango Coconut Perfection
- Use Ripe Mangoes: Ensure your mangoes are fully ripe for maximum sweetness and flavor.
- Toast the Coconut: Toasting the shredded coconut enhances its flavor and adds a delightful crunch to your ice cream.
- Balance the Flavors: The addition of lime juice provides a subtle tang that complements the sweetness of the mango and coconut.
Creamy Coffee Ice Cream Recipe with Ice Cream Maker
Coffee lovers will relish this creamy and rich coffee ice cream recipe, perfect for a morning indulgence or an afternoon treat.
Ingredients
- 2 cups heavy cream
- 1 cup whole milk
- 3/4 cup granulated sugar
- 1/4 cup instant coffee granules
- 2 teaspoons pure vanilla extract
- Pinch of salt
Instructions
- Dissolve the Coffee: In a small bowl, dissolve the instant coffee granules in 1/4 cup of hot water. Stir until completely dissolved.
- Mix the Ice Cream Base: In a large bowl, whisk together the sugar and salt. Add the milk and stir until the sugar is fully dissolved. Stir in the heavy cream, dissolved coffee, and vanilla extract until well combined.
- Chill the Mixture: Cover the bowl and refrigerate the mixture for at least 2 hours or overnight to ensure it is thoroughly chilled.
- Churn the Ice Cream: Pour the chilled mixture into your ice cream maker and churn according to the manufacturer’s instructions until it reaches a soft-serve consistency.
- Freeze Until Firm: Transfer the churned ice cream to an airtight container and freeze for at least 4 hours or until firm.
- Serve and Enjoy: Scoop your homemade coffee ice cream into bowls or cones and enjoy the bold, creamy coffee flavor.
Tips for Rich Coffee Flavor
- Use High-Quality Coffee: The quality of coffee used will significantly impact the flavor of your ice cream. Opt for a robust, high-quality instant coffee for the best results.
- Adjust Sweetness: Depending on your coffee strength, you may want to adjust the sugar level to balance the bitterness.
- Enhance with Mix-Ins: Consider adding chocolate chips, caramel swirls, or a splash of liqueur for an extra layer of flavor.
Vegan Banana Ice Cream Recipe with Ice Cream Maker
This vegan banana ice cream recipe is perfect for those who follow a plant-based diet. It’s creamy, naturally sweet, and free from dairy or animal products.
Ingredients
- 4 ripe bananas, peeled and sliced
- 2 cups full-fat coconut milk
- 1/2 cup maple syrup or agave nectar
- 2 teaspoons pure vanilla extract
- Pinch of salt
- Optional: 1/2 cup chopped nuts or chocolate chips
Instructions
- Freeze the Bananas: Arrange the banana slices on a baking sheet lined with parchment paper and freeze until solid, usually about 2-3 hours.
- Blend the Bananas: In a high-powered blender or food processor, blend the frozen banana slices until they become smooth and creamy, resembling a soft-serve consistency.
- Mix the Ice Cream Base: In a large bowl, combine the coconut milk, maple syrup or agave nectar, vanilla extract, and a pinch of salt. Stir until well mixed.
- Combine with Bananas: Fold the blended bananas into the coconut milk mixture until fully incorporated.
- Chill the Mixture: Cover the bowl and refrigerate the mixture for at least 1 hour to ensure it is thoroughly chilled.
- Churn the Ice Cream: Pour the chilled mixture into your ice cream maker and churn according to the manufacturer’s instructions until it reaches a soft-serve consistency.
- Add Mix-Ins: If desired, add chopped nuts or chocolate chips during the last few minutes of churning.
- Freeze Until Firm: Transfer the churned ice cream to an airtight container and freeze for at least 4 hours or until firm.
- Serve and Enjoy: Scoop your homemade vegan banana ice cream into bowls or cones and enjoy the creamy, dairy-free delight.
Tips for Creamy Vegan Ice Cream
- Use Full-Fat Coconut Milk: Full-fat coconut milk provides the necessary creaminess and richness for a smooth ice cream texture.
- Sweeten Naturally: Ripe bananas add natural sweetness, reducing the need for additional sweeteners. Adjust the maple syrup or agave nectar based on your taste preference.
- Experiment with Flavors: Enhance your vegan ice cream by adding cocoa powder, berries, or spices like cinnamon for variety.
Unique Matcha Green Tea Ice Cream Recipe with Ice Cream Maker
Embrace the unique flavor of matcha green tea with this refreshing and vibrant ice cream recipe. Matcha adds a subtle bitterness and a beautiful green hue, creating an elegant dessert.
Ingredients
- 2 cups heavy cream
- 1 cup whole milk
- 3/4 cup granulated sugar
- 3 tablespoons matcha green tea powder
- 1 teaspoon pure vanilla extract
- Pinch of salt
Instructions
- Mix Matcha and Sugar: In a small bowl, whisk together the matcha green tea powder and 1/4 cup of sugar until a smooth paste forms. This step prevents clumping and ensures an even distribution of matcha flavor.
- Prepare the Ice Cream Base: In a large bowl, whisk together the remaining 1/2 cup sugar and salt. Add the whole milk and stir until the sugar is fully dissolved. Stir in the heavy cream, matcha paste, and vanilla extract until well combined.
- Chill the Mixture: Cover the bowl and refrigerate the mixture for at least 2 hours or overnight to ensure it is thoroughly chilled.
- Churn the Ice Cream: Pour the chilled mixture into your ice cream maker and churn according to the manufacturer’s instructions until it reaches a soft-serve consistency.
- Freeze Until Firm: Transfer the churned ice cream to an airtight container and freeze for at least 4 hours or until firm.
- Serve and Enjoy: Scoop your homemade matcha green tea ice cream into bowls or cones and enjoy the unique, earthy flavor.
Tips for Perfect Matcha Ice Cream
- Quality Matcha Powder: Use high-quality, culinary-grade matcha powder for the best flavor and color.
- Sift the Matcha: Sifting the matcha powder helps prevent lumps and ensures a smooth, even flavor throughout the ice cream.
- Adjust Sweetness: Matcha can be quite bitter, so adjust the sugar level to balance the flavors to your liking.
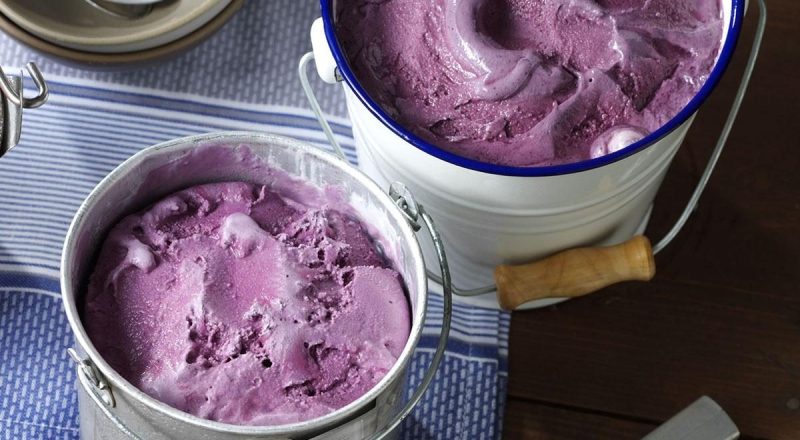
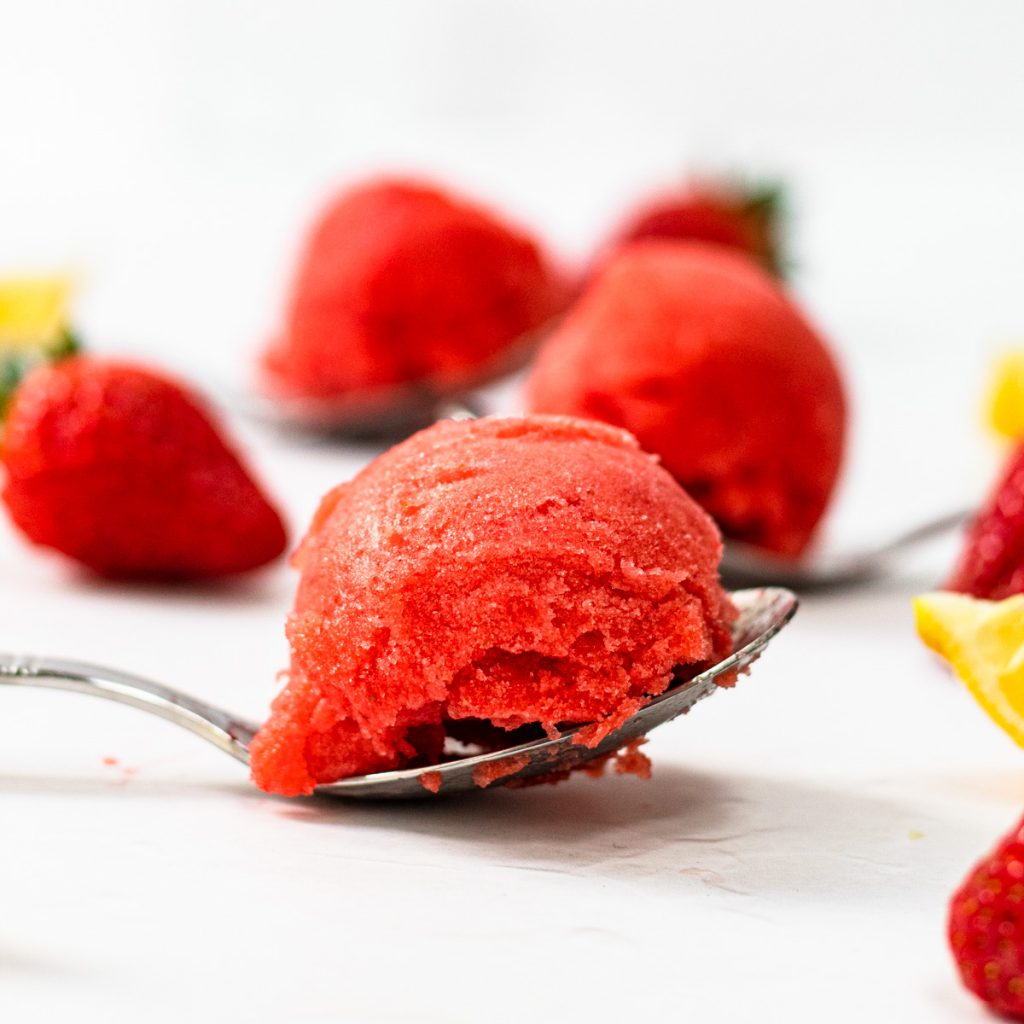
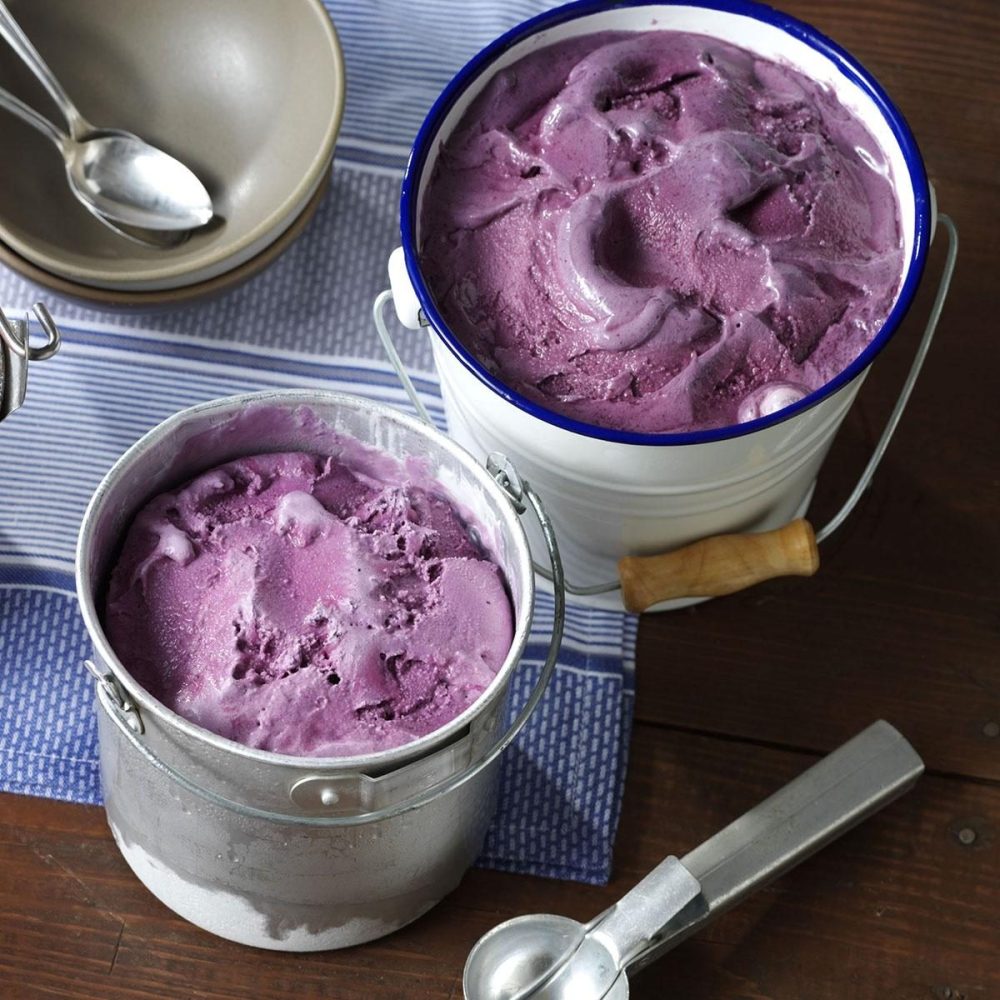
Berry Bliss Ice Cream Recipe with Ice Cream Maker
Celebrate the vibrant flavors of mixed berries with this delightful ice cream recipe. Bursting with the natural sweetness and tartness of berries, this ice cream is both refreshing and indulgent.
Ingredients
- 2 cups strawberries, hulled and sliced
- 1 cup blueberries
- 1 cup raspberries
- 1 cup blackberries
- 1 cup granulated sugar, divided
- 2 cups whole milk
- 2 cups heavy cream
- 2 teaspoons pure vanilla extract
- Pinch of salt
Instructions
- Prepare the Berries: In a large bowl, combine the strawberries, blueberries, raspberries, and blackberries. Sprinkle with 1/2 cup of sugar and let them macerate for about 30 minutes to release their juices.
- Blend the Berries: After maceration, use a blender or food processor to puree the berries until smooth. For a chunkier texture, blend only part of the mixture.
- Mix the Ice Cream Base: In a separate large bowl, whisk together the remaining 1/2 cup sugar and salt. Add the whole milk, heavy cream, and vanilla extract, stirring until the sugar is fully dissolved.
- Combine with Berry Puree: Stir the berry puree into the ice cream base until well combined.
- Chill the Mixture: Cover the bowl and refrigerate the mixture for at least 2 hours or overnight to ensure it is thoroughly chilled.
- Churn the Ice Cream: Pour the chilled mixture into your ice cream maker and churn according to the manufacturer’s instructions until it reaches a soft-serve consistency.
- Freeze Until Firm: Transfer the churned ice cream to an airtight container and freeze for at least 4 hours or until firm.
- Serve and Enjoy: Scoop your homemade berry bliss ice cream into bowls or cones and enjoy the fruity, creamy delight.
Tips for Berry Ice Cream Perfection
- Use Fresh or Frozen Berries: Fresh berries provide the best flavor, but frozen berries can be used when out of season. Ensure they are thawed and well-drained before use.
- Balance Sweetness and Tartness: Adjust the sugar level based on the sweetness of your berries to achieve a harmonious flavor balance.
- Add a Berry Compote: For an extra burst of berry flavor, swirl in a homemade berry compote during the last few minutes of churning.
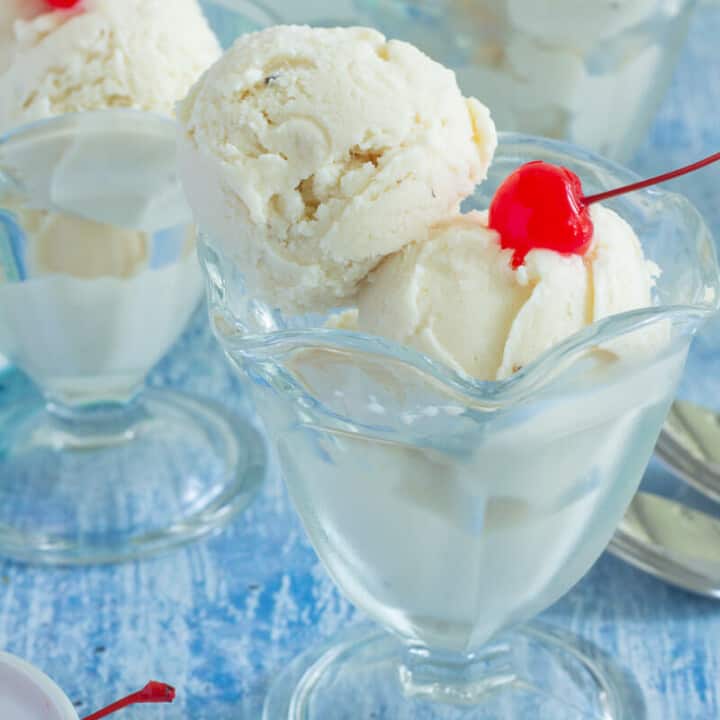
No-Churn Ice Cream Recipe with Ice Cream Maker
If you’re short on time or prefer a simpler method, this no-churn ice cream recipe is perfect. It requires minimal ingredients and is incredibly easy to make with your ice cream maker.
Ingredients
- 3 cups heavy cream
- 1 can (14 ounces) sweetened condensed milk
- 1 teaspoon pure vanilla extract
- 1/2 teaspoon almond extract (optional)
- Pinch of salt
- Optional mix-ins: chocolate chips, crushed cookies, fruit pieces
Instructions
- Whip the Cream: In a large mixing bowl, use an electric mixer to whip the heavy cream until stiff peaks form. This may take about 3-5 minutes.
- Combine Condensed Milk and Extracts: In a separate bowl, whisk together the sweetened condensed milk, vanilla extract, almond extract (if using), and a pinch of salt until well combined.
- Fold in the Whipped Cream: Gently fold the whipped cream into the condensed milk mixture, ensuring the mixture remains light and airy.
- Add Mix-Ins: If desired, fold in your choice of mix-ins, such as chocolate chips, crushed cookies, or fruit pieces, until evenly distributed.
- Transfer to Ice Cream Maker: Pour the mixture into your ice cream maker and churn according to the manufacturer’s instructions until it reaches a soft-serve consistency.
- Freeze Until Firm: Transfer the churned ice cream to an airtight container and freeze for at least 4 hours or until firm.
- Serve and Enjoy: Scoop your homemade no-churn ice cream into bowls or cones and enjoy the creamy, effortless dessert.
Tips for No-Churn Success
- Whip Cream to Stiff Peaks: Ensure the heavy cream is whipped to stiff peaks to maintain the light, airy texture of the ice cream.
- Gently Fold Ingredients: When combining the whipped cream with the condensed milk mixture, fold gently to preserve the whipped texture and prevent deflation.
- Customize with Mix-Ins: Get creative with your mix-ins to add texture and flavor variety to your no-churn ice cream.
Savory Ice Cream Recipes with Ice Cream Maker
While most ice cream recipes are sweet, savory ice creams offer a unique twist that can complement various dishes or serve as an intriguing standalone treat. Here are a couple of savory ice cream recipes to inspire your culinary creativity.
Parmesan Herb Ice Cream
A sophisticated and unexpected flavor combination, Parmesan herb ice cream pairs the sharpness of Parmesan cheese with fresh herbs for a delightful savory dessert.
Ingredients
- 2 cups heavy cream
- 1 cup whole milk
- 3/4 cup granulated sugar
- 1 cup grated Parmesan cheese
- 2 tablespoons fresh thyme leaves
- 1 teaspoon pure black pepper
- Pinch of salt
Instructions
- Heat the Base: In a medium saucepan, combine the sugar, salt, and milk. Heat over medium heat, stirring until the sugar is dissolved.
- Add Cream and Cheese: Stir in the heavy cream and grated Parmesan cheese. Continue to heat, stirring constantly, until the cheese is fully melted and the mixture is smooth.
- Infuse with Herbs: Add the fresh thyme leaves and black pepper to the mixture. Remove from heat and let it steep for about 15 minutes to infuse the flavors.
- Strain and Chill: Strain the mixture to remove the thyme leaves. Allow it to cool to room temperature, then cover and refrigerate for at least 2 hours or overnight.
- Churn the Ice Cream: Pour the chilled mixture into your ice cream maker and churn according to the manufacturer’s instructions until it reaches a soft-serve consistency.
- Freeze Until Firm: Transfer the churned ice cream to an airtight container and freeze for at least 4 hours or until firm.
- Serve and Enjoy: Scoop your homemade Parmesan herb ice cream into bowls and enjoy the unique savory flavor.
Tips for Savory Ice Cream
- Balance Flavors: Ensure a good balance between savory and sweet elements to create a harmonious flavor profile.
- Use Fresh Herbs: Fresh herbs impart a vibrant flavor, so opt for freshly picked herbs for the best taste.
- Experiment with Ingredients: Don’t hesitate to try different cheeses, spices, or savory additives to create your own signature savory ice cream flavors.
Tomato Basil Ice Cream
Another intriguing savory option, tomato basil ice cream combines the sweetness of tomatoes with the aromatic freshness of basil, perfect for a unique palate cleanser or appetizer.
Ingredients
- 2 cups ripe tomatoes, peeled and chopped
- 1 cup whole milk
- 2 cups heavy cream
- 3/4 cup granulated sugar
- 2 tablespoons fresh basil leaves, finely chopped
- 1 tablespoon lemon juice
- Pinch of salt
Instructions
- Prepare the Tomatoes: In a blender or food processor, puree the peeled and chopped tomatoes until smooth.
- Mix the Ice Cream Base: In a large bowl, whisk together the sugar and salt. Add the whole milk and stir until the sugar is completely dissolved. Stir in the heavy cream, tomato puree, chopped basil, and lemon juice until well combined.
- Chill the Mixture: Cover the bowl and refrigerate the mixture for at least 2 hours or overnight to ensure it is thoroughly chilled.
- Churn the Ice Cream: Pour the chilled mixture into your ice cream maker and churn according to the manufacturer’s instructions until it reaches a soft-serve consistency.
- Freeze Until Firm: Transfer the churned ice cream to an airtight container and freeze for at least 4 hours or until firm.
- Serve and Enjoy: Scoop your homemade tomato basil ice cream into bowls and enjoy the refreshing and savory treat.
Enhancing Your Ice Cream Recipes with Mix-Ins and Toppings
Incorporating mix-ins and toppings can elevate your ice cream recipes, adding texture and additional layers of flavor. Here are some ideas to enhance your homemade ice cream creations.
Popular Mix-In Ideas
- Chocolate Chips or Chunks: Add semi-sweet or dark chocolate chips during the last few minutes of churning for a classic addition.
- Fruit Pieces: Incorporate chopped fruits like strawberries, blueberries, or mangoes to add bursts of natural sweetness.
- Nuts: Toasted nuts such as almonds, pecans, or walnuts provide a crunchy contrast to the creamy ice cream.
- Cookies and Brownies: Crushed cookies or chunks of brownies create a rich and indulgent texture.
- Swirls and Sauces: Drizzles of caramel, fudge, or fruit preserves can be swirled into the ice cream for extra flavor complexity.
Creative Topping Options
- Fresh Berries: Top your ice cream with a handful of fresh berries for a vibrant and healthy addition.
- Whipped Cream: A dollop of whipped cream adds lightness and richness to every scoop.
- Sprinkles: Colorful sprinkles or edible glitter can make your ice cream visually appealing, especially for special occasions.
- Fruit Compotes: Warm fruit compotes, such as berry or apple, add a luscious and tangy contrast to the cold ice cream.
- Spices and Herbs: A sprinkle of cinnamon, nutmeg, or fresh mint can enhance the flavor profile of your ice cream.
Storing and Serving Homemade Ice Cream
Proper storage and serving techniques are essential to maintain the quality and flavor of your homemade ice cream. Here are some tips to ensure your ice cream stays fresh and delicious.
Freezing Tips
- Use Airtight Containers: Store ice cream in airtight containers to prevent ice crystals from forming and to keep out unwanted odors.
- Leave Headspace: Leave a small amount of headspace in the container to allow for expansion as the ice cream freezes.
- Freeze Quickly: Freeze the ice cream as soon as possible after churning to preserve the smooth texture and prevent large ice crystals from forming.
Serving Suggestions
- Proper Scooping: For easier scooping, run your ice cream scoop under warm water before each use. This prevents the ice cream from sticking and helps create neat scoops.
- Presentation: Serve your ice cream in chilled bowls or elegant waffle cones to enhance the overall presentation.
- Temperature Management: Allow the ice cream to sit at room temperature for a few minutes before serving to soften slightly, making it easier to scoop and more enjoyable to eat.
Reviving Hardened Ice Cream
If your ice cream becomes too hard after extended freezing, you can revive its creamy texture by letting it sit at room temperature for 5-10 minutes before scooping. Alternatively, use a warm spoon to gently soften the ice cream on top before serving.
 Final Thoughts
Investing in a quality ice cream maker not only enhances your ability to experiment with different flavors but also ensures that each batch meets your high standards for texture and taste. Embrace the joy of homemade ice cream, whether you’re seeking a simple treat or an impressive dessert for special occasions. With this guide, you have everything you need to start creating your own delicious ice cream recipes with your ice cream maker, turning every scoop into a moment of pure indulgence.