

Craving a delicious scoop of ice cream but don’t have an ice cream maker at home? How to make ice cream without ice cream maker is a common question, especially during those hot summer months when homemade ice cream seems like the perfect treat. Fortunately, you can create creamy, flavorful ice cream using simple kitchen tools and a few basic ingredients. This comprehensive guide will walk you through various methods, ensuring that you can enjoy your favorite frozen dessert anytime, anywhere.

Understanding the Basics of Ice Cream Making Without a Machine
Why Choose Homemade Ice Cream?
Firstly, homemade ice cream offers complete control over the ingredients. Unlike store-bought versions, you can tailor the sweetness, flavors, and add your favorite mix-ins without artificial additives or preservatives. Moreover, making ice cream at home can be a fun and rewarding activity, perfect for family gatherings or solo indulgence.
The Science Behind Ice Cream
To make ice cream without ice cream maker, understanding the science is beneficial. Ice cream’s creamy texture results from a balance of fat, sugar, and air. When you churn ice cream, you incorporate air, which prevents large ice crystals from forming and ensures a smooth consistency. Without a machine, achieving this balance requires manual techniques to maintain the desired texture.
The Freezer Bag Method: A Fun and Effective Technique
Step-by-Step Instructions
- Prepare the Ice Cream Mixture
Start by combining the heavy cream, whole milk, sugar, and vanilla extract in the smaller quart-sized resealable bag. Seal the bag tightly, ensuring all excess air is removed to prevent leaks during shaking. - Set Up the Freezing Environment
First, fill the larger gallon-sized resealable bag halfway with ice. Then, add the salt to the ice, as this lowers the freezing point and creates an optimal freezing environment for the ice cream mixture.
- Combine and Seal
Next, place the sealed quart-sized bag containing the ice cream mixture into the larger bag filled with ice and salt. After that, seal the larger bag securely to avoid any spills.
- Shake Vigorously
Finally, shake the bags vigorously for about 5-10 minutes. To make this process easier, you can wear gloves or wrap the bags in a towel to protect your hands from the cold. This shaking action will help the ice cream mixture freeze evenly. - Check and Serve
After shaking, check the consistency of the ice cream. Once it reaches your desired firmness, remove the smaller bag from the larger one. Carefully wipe off any salt before opening the bag. Scoop the ice cream into bowls and enjoy immediately.
Tips for Success
- Use Rock Salt: Rock salt is more effective than table salt at lowering the freezing point of ice, ensuring a faster and more efficient freezing process.
- Vigorous Shaking: The more vigorously you shake, the smoother your ice cream will be. Consistent motion helps to incorporate air, enhancing the creamy texture.
- Experiment with Flavors: Don’t hesitate to add your favorite mix-ins like chocolate chips, fruit pieces, or nuts before shaking. This allows for personalized and diverse flavor profiles.
The No-Churn Method: Simplicity Meets Creaminess
Instructions for No-Churn Ice Cream
- Whip the Cream
In a large mixing bowl, beat the heavy whipping cream with an electric mixer until stiff peaks form. This usually takes about 3-5 minutes. - Combine Ingredients
In another bowl, whisk together the sweetened condensed milk and vanilla extract until well combined. - Fold Together
Next, gently fold the whipped cream into the condensed milk mixture. Ensure it’s well incorporated without deflating the whipped cream. - Add Mix-Ins
If you’re adding any mix-ins like chocolate chips, crushed cookies, or fruit, fold them in now to distribute evenly. - Freeze
Pour the mixture into a loaf pan or airtight container. Smooth the top with a spatula, cover, and place it in the freezer for at least 6 hours or until firm. - Serve
Once frozen, scoop the ice cream into bowls or cones and enjoy your creamy, no-churn creation.
Advantages of the No-Churn Method
- No Specialized Equipment: Perfect for those who don’t own an ice cream maker, requiring only basic kitchen tools.
- Customize Easily: Easily add various flavors and mix-ins to suit your taste preferences.
- Rich and Creamy Texture: Achieves a luxurious texture similar to traditional churned ice cream without extensive effort.
Using a Blender or Food Processor: Quick and Convenient
Instructions for Blender/Food Processor Ice Cream
- Freeze the Fruit
Ensure your fruit, such as bananas, is sliced and frozen beforehand. This makes blending easier and gives a creamy texture. - Blend the Ingredients
In a blender or food processor, combine the frozen fruit, milk, sweetener, and vanilla extract. Blend until smooth and creamy. You may need to stop and scrape down the sides or add a bit more milk if the mixture is too thick. - Customize Your Flavor
Add any optional ingredients like a spoonful of peanut butter for a peanut butter ice cream or cocoa powder for chocolate flavor. Blend again until well mixed. - Serve Immediately or Freeze
For a soft-serve texture, serve the ice cream immediately. If you prefer a firmer consistency, transfer it to a container and freeze for an additional 1-2 hours. - Enjoy
Scoop your blender-made ice cream into bowls and savor the freshness.
Benefits of the Blender/Food Processor Method
- Speed: Faster than traditional methods; you can have ice cream ready in minutes.
- Versatility: Easily adapt recipes based on available ingredients and desired flavors.
- Healthy Options: Perfect for making healthier ice cream versions using fresh fruit and natural sweeteners.
The Cast-Iron Pan Method: Merging Tradition with Modern Flavors
Step-by-Step Instructions
- Combine All Ingredients
In the cast-iron pan, mix together the heavy cream, whole milk, sugar, vanilla extract, and salt until the sugar is fully dissolved. - Freeze and Stir
Place the pan in the freezer. Every 30 minutes, remove the pan and stir the mixture vigorously with a wooden spoon or spatula. This process helps break up ice crystals and incorporate air, resulting in a creamy texture. - Repeat Until Firm
Continue the freeze-and-stir process for about 2-3 hours, or until the ice cream is firmly set and reaches your desired consistency. - Serve
Scoop the ice cream into bowls and enjoy your homemade treat.
Benefits of the Cast-Iron Pan Method
- Accessibility: Ideal for those without specialized equipment, using common kitchen tools.
- Control: Allows you to manually control the texture and consistency by frequently stirring.
- Versatility: Suitable for making a variety of flavors by simply adjusting the ingredients.
Flavor Variations: Customize Your Ice Cream
Flavor Ideas to Try
Chocolate Delight
To begin with, add 1/2 cup of cocoa powder or melted chocolate to the basic mixture for a rich chocolate flavor. Alternatively, you can mix in chocolate chips to enhance the texture.
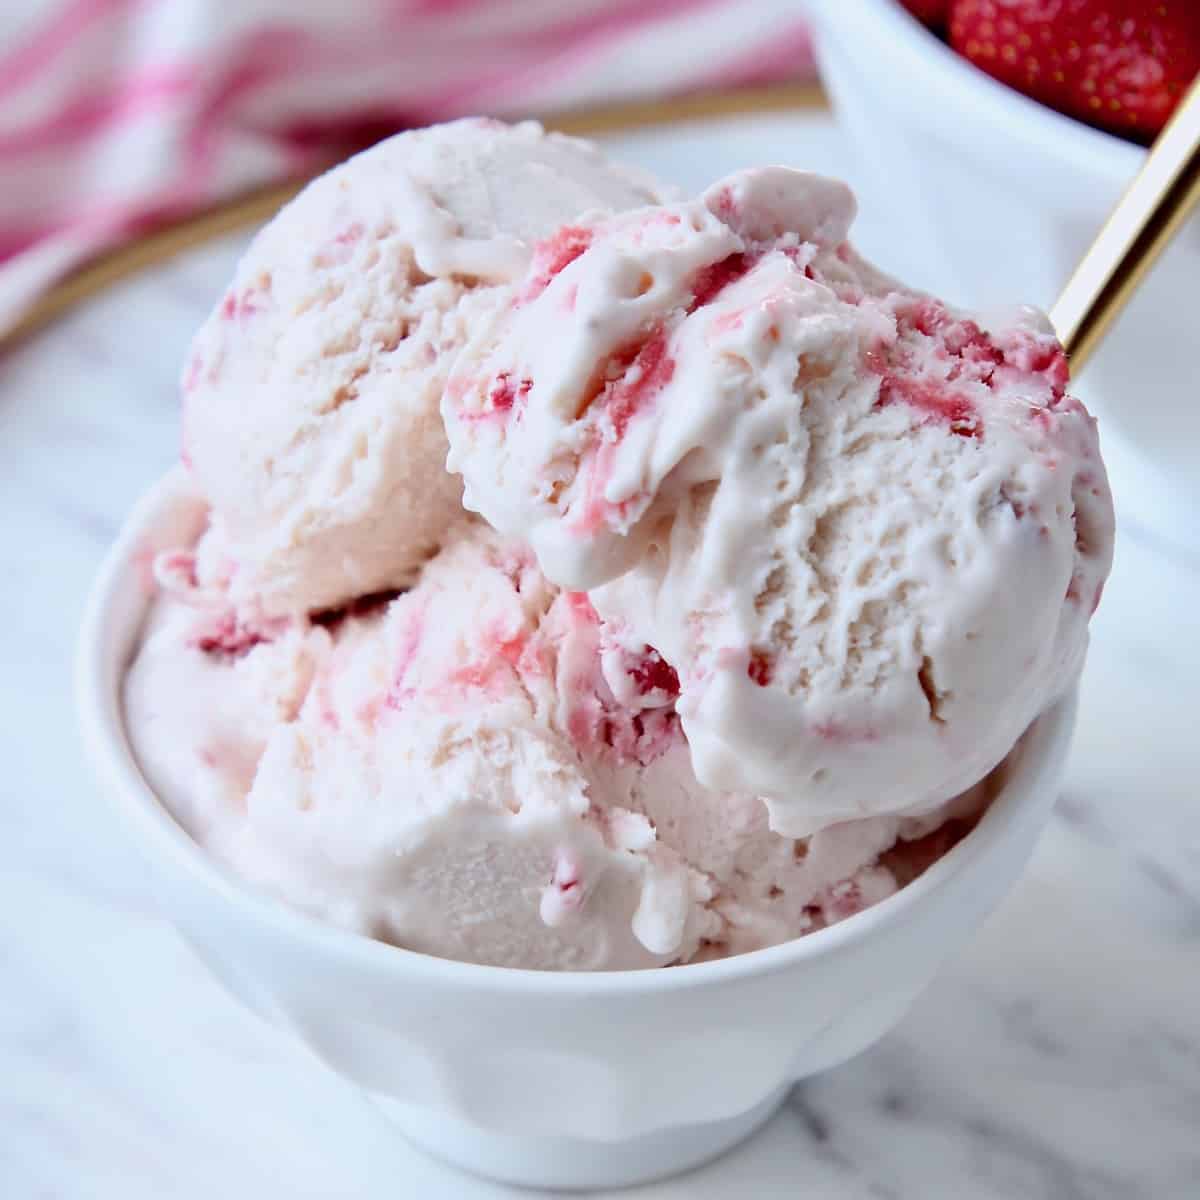
Strawberry Bliss
Next, incorporate pureed strawberries or fresh strawberry pieces into the mixture for a refreshing and fruity ice cream. Furthermore, you can add chunks of chocolate or swirl in some strawberry syrup for an extra burst of flavor.
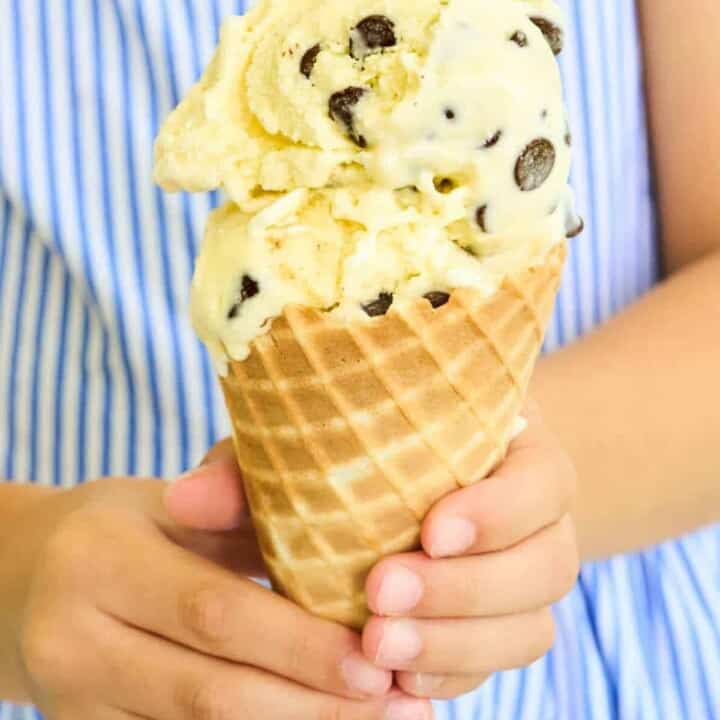
Mint Chocolate Chip
Additionally, add a few drops of peppermint extract and mix in chocolate chips to achieve a classic mint chocolate chip flavor. This combination offers a cool, refreshing taste alongside crunchy chocolate bits.
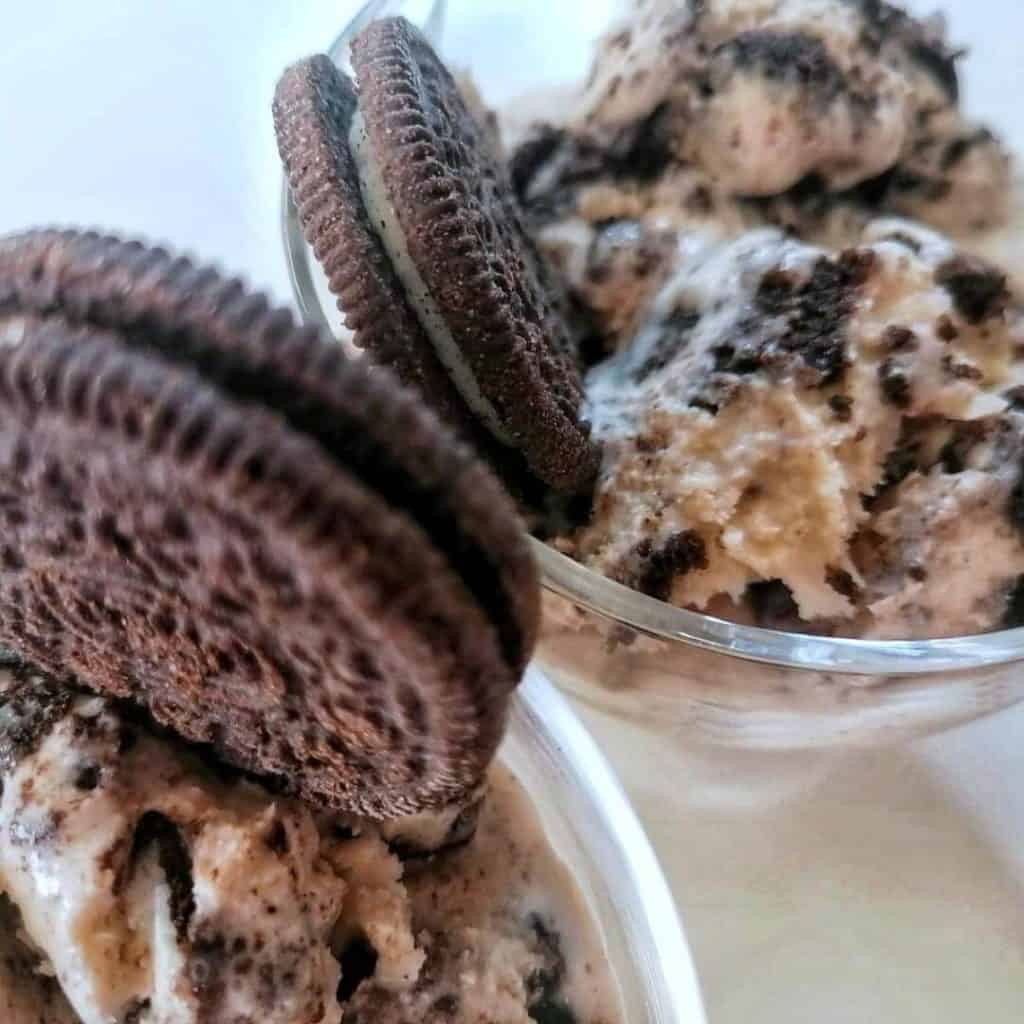
Cookies and Cream
Finally, crush your favorite cookies and fold them into the ice cream mixture to create a delightful cookies and cream flavor. This option is perfect for cookie enthusiasts seeking a rich and creamy treat.
Enhancing Your Flavors
- Using High-Quality Ingredients: The quality of your ingredients significantly impacts the final taste. Opt for high-quality cocoa powder, fresh fruits, and premium vanilla extract to elevate your ice cream.
- Layering Flavors: Combine multiple flavors to create more complex and interesting ice creams. For example, mix chocolate and peanut butter or add caramel swirls to vanilla ice cream.
- Incorporating Mix-Ins: Adding nuts, dried fruits, chocolate chips, or caramel bits can enhance both the texture and flavor of your ice cream, making each bite more enjoyable.
Preventing Ice Crystals: Achieve Smooth Ice Cream
Proper Mixing and Churning
When how to make ice cream without ice cream maker, thorough mixing and churning are essential to prevent large ice crystals from forming. Large crystals can make the ice cream grainy rather than smooth. Regardless of the method you choose, consistently stirring the mixture helps incorporate air and evenly distribute the cold, resulting in a creamier texture.
Selecting the Right Ingredients
Choosing the right ingredients is crucial for smooth ice cream. Heavy cream and sweetened condensed milk are excellent for providing richness and creaminess, which help mask ice crystals. Additionally, using gelatin or alcohol in the mixture can help stabilize the ice cream, preventing it from becoming too hard and icy.
Rapid Freezing Techniques
The speed at which your ice cream freezes affects its texture. To make ice cream without ice cream maker effectively, utilize methods that allow for quick freezing. For instance, the freezer bag method and the blender technique both involve rapid agitation and freezing, which help achieve a smoother consistency by minimizing the formation of large ice crystals.
Serving Your Homemade Ice Cream: Creativity and Enjoyment
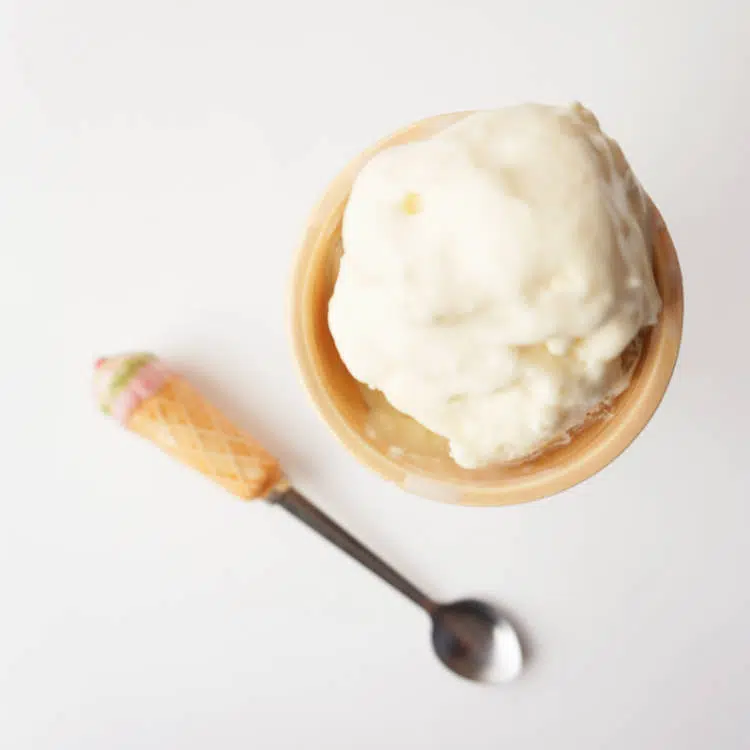
Classic Scoop on Its Own
Sometimes, the simplest way to enjoy ice cream is the best. Serve a generous scoop in a bowl or cone, and savor the creamy texture and rich flavor you’ve created.
Toppings and Mix-Ins
Enhance your ice cream with a variety of toppings and mix-ins. Fresh fruits, sprinkles, chocolate chips, caramel sauce, whipped cream, and nuts are all excellent choices that can add texture and flavor complexity to your dessert.
Ice Cream Sandwiches and More
Get creative by making ice cream sandwiches using freshly baked cookies or brownies. You can also layer ice cream with cake or brownie pieces in a parfait glass for a decadent treat.
Pairing with Beverages
Serve your homemade ice cream alongside your favorite beverages; for instance, a scoop of ice cream can elevate a cup of hot chocolate. Furthermore, it can also enhance your coffee or tea, thus creating a delightful dessert pairing. In this way, each combination becomes a unique treat that adds a special touch to your enjoyment.
FAQs: Common Questions About Making Ice Cream Without an Ice Cream Maker
Can You Make Ice Cream Without an Ice Cream Maker?
Absolutely, you can make ice cream without ice cream maker using several methods such as the freezer bag technique, no-churn recipes, using a blender or food processor, and the plastic container or cast-iron pan methods. Each approach offers a unique way to achieve creamy, delicious ice cream without the need for specialized equipment.
How Long Does It Take to Make Ice Cream Without an Ice Cream Maker?
The time required depends on the method you choose. The freezer bag and blender methods can produce ice cream in as little as 30 minutes to an hour, while the no-churn and container methods typically require a few hours of freezing time with intermittent stirring. Planning ahead ensures that you have freshly made ice cream ready when you need it.
What Are Some Easy Flavors to Try?
Some easy flavors to try include vanilla, for example, chocolate, similarly, strawberry, additionally, mint chocolate chip, moreover, and cookies and cream. As a result, these classic flavors are straightforward to make, and therefore, they can be customized with additional mix-ins to suit your taste preferences.
Is Homemade Ice Cream Healthier Than Store-Bought?
Homemade ice cream can be healthier than store-bought options as you have control over the ingredients. You can reduce sugar, use natural sweeteners, incorporate fresh fruits, and avoid preservatives and artificial additives. However, it’s still important to enjoy it in moderation as it can be rich and calorie-dense.
How Do I Store Homemade Ice Cream?
Store homemade ice cream in an airtight container to prevent it from absorbing odors and to maintain its texture. Place a piece of parchment paper or plastic wrap directly on the surface before sealing the container to minimize ice crystal formation. Keep it in the freezer for up to two weeks for the best taste and texture.
 Conclusion
Learning how to make ice cream without ice cream maker opens up a world of delicious possibilities right in your own kitchen. Whether you prefer the simplicity of the freezer bag method, the richness of no-churn recipes, or the versatility of using a blender or stand mixer, there’s a technique that fits your needs and equipment. By following the methods outlined in this guide and experimenting with various flavors and mix-ins, you can create a variety of homemade ice creams that are both delightful and satisfying. Embrace the joy of making your own frozen treats, and enjoy the creamy, customized ice cream that’s perfect for any occasion.